| << . 1 . 2 . 3 . 4 . |
| Author |
Message |
Jabberwocky
Member
|
# Posted: 5 Oct 2017 09:09am
Reply
Next project: Installing the ductwork for the bathroom exhaust fan. This required moving the fan from the original location we specified to the electrician. The reason is because the duct would travel to the north exterior wall rather than through the roof, and we realized the stud bay it was in interfered with the duct routing. Unfortunately this meant routing a new leg of cable.
Mrs. Jabber pretending (and succeeding) to be an electrician
|
|
Jabberwocky
Member
|
# Posted: 5 Oct 2017 09:12am - Edited by: Jabberwocky
Reply
Here's the fan exhaust duct and furr-down running through the closet. The reason it has to kick down on the left side is to avoid the 2x6 girt of the the pole barn in that spot.
|
|
Jabberwocky
Member
|
# Posted: 5 Oct 2017 09:17am
Reply
Fitting the exhaust vent to the exterior kicked my butt. I had a really hard time trimming the metal siding and getting the vent slid up underneath it for proper flashing. Spent way more time on this than I'd care to admit. The end result works, but it wasn't my finest moment to be sure.
|
|
Jabberwocky
Member
|
# Posted: 5 Oct 2017 09:30am
Reply
Same difficulties with the dryer vent, only this time I discovered that the raised ridge of the siding also happened to be a conduit for one of the electrical cables. There was almost no slack, and of course all the rigid insulation is up on the inside, so no way to re-route it. I ended up trimming a board to extrude from the siding and dado-cut a groove on the backside for the armored cable. Anther project that took way longer than I had time-budgeted for.
|
|
Jabberwocky
Member
|
# Posted: 5 Oct 2017 09:32am
Reply
Finished framing the tub...
|
|
Jabberwocky
Member
|
# Posted: 5 Oct 2017 09:42am
Reply
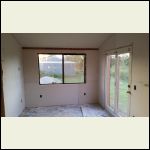
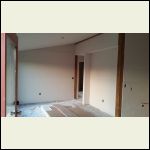
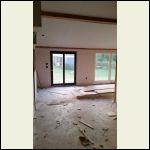
And now it's finally starting to look like a real house!
The sheetrock guys are unbelievable. They understood the design intentions, the intersections where the walls meet the posts & beams, and knocked it out the rough-in in half a day.
It's amazing to see the progress made so quickly by a team of professionals compared to our puffing along at a snail's pace on the weekends.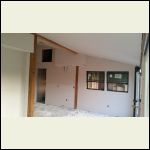
20171003_185447.jpg
| 
20171003_185410.jpg
| 
20171003_185504.jpg
| 
20171003_185811.jpg
|
|
|
Jabberwocky
Member
|
# Posted: 5 Oct 2017 09:44am
Reply
The little section of plywood in the far corner is an access panel for the jet pump on the tub. The fridge will eventually cover it on this side.
|
|
sparky30_06
Member
|
# Posted: 6 Oct 2017 07:56am
Reply
Quoting: Jabberwocky 20170909_152812.jpg
Some nice classic iron in the back ground
|
|
|
Jabberwocky
Member
|
# Posted: 6 Oct 2017 12:02pm
Reply
sparky30_06
Yessir! My dad owns the building and most of the classics inside it. That's a Dodge Dart and a Mercury Cougar, but I don't know what year models exactly. I'm embarrassed to say that, because I used to be into classic cars heavily myself, but I've been too busy to keep up with his projects.
|
|
Jabberwocky
Member
|
# Posted: 6 Feb 2018 11:53am
Reply
It has been a while since I've posted because I've been more busy making progress than being worried about posting pictures of it, as it should be 
These are pics I've taken although they don't show a lot of the progress that has been made... I need to take some more pictures but have neglected to do that lately.
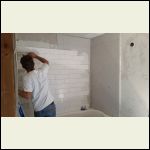
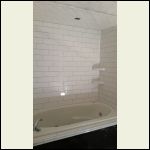
My brother-in-law and his wife came out to visit us from California and he offered to tile our tub while they were here. It looks fantastic!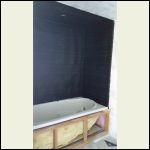
20171015_112218.jpg
| 
20171017_202536.jpg
| 
20171021_090836.jpg
|  |
|
|
Jabberwocky
Member
|
# Posted: 6 Feb 2018 11:56am
Reply
Walls are textured (and painted now actually but I don't have photos of that yet)
|
|
Jabberwocky
Member
|
# Posted: 6 Feb 2018 11:59am
Reply
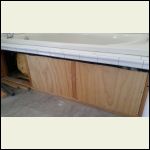
After the tub was tiled I set out to make the enclosure at the bottom look nice. I ended up with some nice finish-grade plywood panels and trim will go over that. I'm in the middle of that project currently but don't have photos just yet.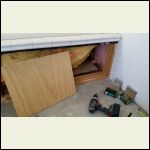
20171123_102926.jpg
| 
20171123_113104.jpg
|  |  |
|
|
Jabberwocky
Member
|
# Posted: 6 Feb 2018 12:02pm
Reply
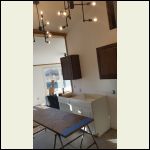
Electrical is finished and light fixtures are up. More photos to come of that. Meanwhile I have been working on installing the cabinets and counter tops..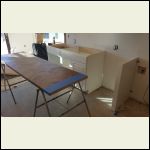
20180120_161126.jpg
| 
20180120_161141.jpg
|  |  |
|
|
Jabberwocky
Member
|
# Posted: 6 Feb 2018 12:05pm
Reply
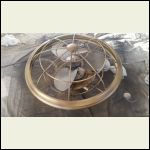
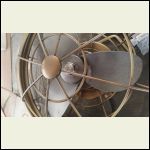
In-between the more pressing items needed on construction, I've been working on the final decorations... This is the ceiling fan I bought for my office on the cheap. Painted it to look more vintage and interesting..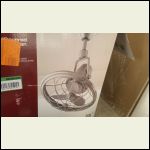
20171105_162456.jpg
| 
20171105_162502.jpg
| 
20171105_162516.jpg
|  |
|
|
ILFE
Member
|
# Posted: 6 Feb 2018 01:34pm
Reply
Jabberwocky, your place is shaping up nicely!
One question, though, are ya feeding your electrician (Mrs. Jabber) enough? 
J/k man. Lovely wife. Like mine, she is happy to pitch in on projects.
|
|
Jabberwocky
Member
|
# Posted: 7 Feb 2018 08:24am
Reply
Thanks!
Mrs. Jabber is an accomplished cook - she feeds me, not the other way around... my only skill at "cooking" involves the use of a microwave 
|
|
ILFE
Member
|
# Posted: 7 Feb 2018 03:36pm
Reply
Quoting: Jabberwocky my only skill at "cooking" involves the use of a microwave
I can TOTALLY relate!
|
|
Jabberwocky
Member
|
# Posted: 23 Feb 2018 11:42am
Reply
Pouring the pad for the new HVAC unit...
I agree with you that there's something wrong with this picture - I should be the one mixing while Mrs. Jabber holds the camera! What can I say, she just has to get involved with everything and try it out... (I did most of the mixing)  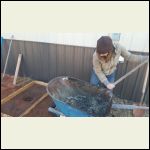
Building the pad for the outdoor unit
|  |  |  |
|
|
Jabberwocky
Member
|
# Posted: 23 Feb 2018 11:56am - Edited by: Jabberwocky
Reply
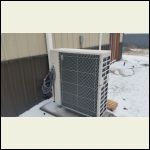
We now have heat! We are getting dangerously close to being able to move in!
This is our new Mitsubishi ductless minisplit heat pump system. We are putting it to good use since the ice storm hit right after installation. The compressor supplies two indoor units, one in the bedroom and one in the kitchen/living room. This is my first experience with a minisplit system and while I needed no convincing that it was the best system for our design, I was still a little nervous about how it would perform. I'm happy to say it has exceeded expectations. Unbelievably quiet and heats up the space more quickly and evenly than I would have guessed.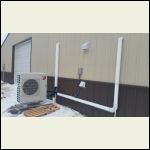
Outdoor compressor and lines
| 
Ice all over
|  |  |
|
|
| << . 1 . 2 . 3 . 4 . |

