| << . 1 . 2 . 3 . 4 . >> |
| Author |
Message |
Pawag
Member
|
# Posted: 10 Jan 2016 11:51pm
Reply
Today I made the drawer pulls for the kitchen cabinets and drawers. These are made from antler sheds I have collected the past few years. I will be doing the same for the vanity soon.
|
|
Pawag
Member
|
# Posted: 30 Jan 2016 09:12am
Reply
The loft railing turned out great. Thanks to Brad, Eric and Craig. Smart guys who have really helped me a lot with this project.
|
|
SteveF
Member
|
# Posted: 7 Feb 2016 09:37am
Reply
What a piece of craftsmanship - excellent work!
|
|
Pawag
Member
|
# Posted: 7 Feb 2016 08:14pm
Reply
Finally finished the outer portion of the loft wall that ties into the sitting area also the inner loft wall. I still have some window trim to do.
|
|
Pawag
Member
|
# Posted: 12 Feb 2016 08:46pm
Reply
Thanks SteveF. I've had some talented people working with me.
|
|
Pawag
Member
|
# Posted: 5 Mar 2016 08:43pm
Reply
We added a real bronze rain chain to the gutter. Next we spread the rock
|
|
Julie2Oregon
Member
|
# Posted: 5 Mar 2016 10:29pm
Reply
I love the loft railing, the recessed lighting, and all of the interior woodwork! It's so warm and inviting!
|
|
Pawag
Member
|
# Posted: 8 Mar 2016 07:44pm
Reply
Thanks Julie2Oregon. I recommend the knotty pine board with a natural finish. It's a lot of work but pays off.
|
|
|
abby
Member
|
# Posted: 9 Mar 2016 09:19am
Reply
so beautiful!
|
|
Pawag
Member
|
# Posted: 27 Mar 2016 01:13pm
Reply
My dad and I spent the day yesterday building the base for our Hobbit Stove. Now we are just waiting for the metal heat shield that will cover the cement board.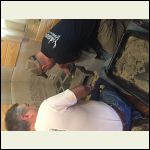
image.jpg
| 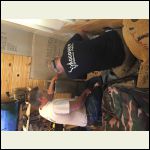
image.jpg
| 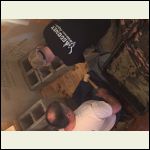
image.jpg
| 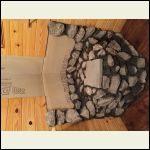
image.jpg
|
|
|
Pawag
Member
|
# Posted: 9 Apr 2016 12:57pm
Reply
The hobbit stove is nearly done. The heat shield is in place. This was made out of steel plate and painted with heat resistant pain. The rock turned out nice with a natural stacked look.
|
|
Pawag
Member
|
# Posted: 14 Apr 2016 11:24pm
Reply
My wonderful friends Jim and Daniela did such a great job spreading the rock and leveling the road.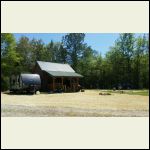
image.jpg
| 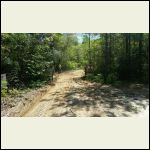
image.jpg
| 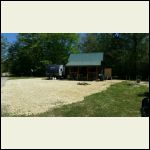
image.jpg
|  |
|
|
Pawag
Member
|
# Posted: 28 May 2016 07:46pm
Reply
The Hobbit stove is finally in place. Thanks to my dad who had the guts enough to cut a hole in the roof.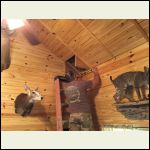
image.jpeg
| 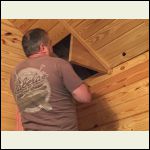
image.jpeg
| 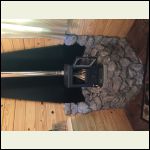
image.jpeg
|  |
|
|
jjr
Member
|
# Posted: 29 May 2016 11:21am
Reply
Wow, your place looks fantastic. It looks like your almost to the point where you will be able to just sit back and just enjoy all of the fruits of your labor. I sure hope my cabin turns out half as nice as yours.
|
|
Pawag
Member
|
# Posted: 10 Aug 2016 12:37am - Edited by: Pawag
Reply
I added a couple shelves and finished the box above the hobbit stove. My next project is to finish the loft. Pics and an explanation of what and what I'm doing with the loft as I search for space.
|
|
sparky30_06
Member
|
# Posted: 10 Aug 2016 06:46am
Reply
WOW now that's a hunting cabin!!! Complete with it's own metered electric service. makes my little 10' x 20' shack look like a shack for sure. Good hunting this season!
|
|
TBK
Member
|
# Posted: 17 Dec 2016 10:02am
Reply
I'm building one like it
|
|
Pawag
Member
|
# Posted: 28 May 2017 08:13pm
Reply
Any similar builds, getting ready to add a bunk room
|
|
nscampgirl
Member
|
# Posted: 7 Sep 2017 12:04am
Reply
Fantastic build! really love it!
|
|
Pawag
Member
|
# Posted: 8 Sep 2017 10:02am
Reply
Thanks so much. I am putting a 240 sqft addition on the back now. It has a bathroom and 2 addition (small) rooms.
|
|
Sheeterdan
Member
|
# Posted: 19 Sep 2017 09:27am
Reply
Wow I like that cabin
|
|
Pawag
Member
|
# Posted: 19 Sep 2017 03:50pm
Reply
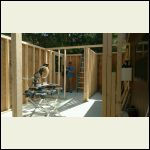
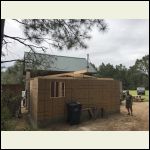
Thanks. It's such a fun project. I can't wait to show everyone the new 240 sqft bunk room addition in the back. Here are some initial photos of where I am. [img=null]null[/img]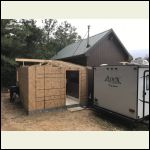
IMG_3647.JPG
| 
IMG_3646.JPG
| 
IMG_3648.JPG
|  |
|
|
KabinKat
Member
|
# Posted: 1 Oct 2017 02:09pm
Reply
Very nice! Looking forward to seeing more photos!

|
|
Kudzu
Member
|
# Posted: 1 Oct 2017 07:01pm
Reply
Congrats on kicking those corndogs ass.
|
|
gauman2
Member
|
# Posted: 11 Oct 2017 12:58pm
Reply
Pawag, great build. Why did you go with poured floor on addition over building it the same as the main cabin?
|
|
Pawag
Member
|
# Posted: 11 Oct 2017 01:46pm
Reply
That is a very good question. It was actually done to protect the back portion of the cabin from the run off that comes from the hill behind the cabin. We placed the structure closer to a hill to protect it from the elements. We get a lot of wind to include tornado activity in this portion of Alabama and the hill actually protects it. The trade off was trying to redirect the run off and we would later figure out how to protect the back portion of the cabin
|
|
hootnholler
Member
|
# Posted: 20 Mar 2018 12:19am
Reply
Love your place! May I ask where you bought your knotty pine from? We are in Mississippi and are looking for a reasonable price on some pine or shiplap for our walls.
|
|
Pawag
Member
|
# Posted: 20 Mar 2018 01:03am
Reply
Thanks so much. I get my wood from Southern Wood Specialties in Flomaton Alabama. It’s a great place and worth the drive. You can call and they will bundle what you need. Great company!
|
|
Pawag
Member
|
# Posted: 20 Mar 2018 10:44am
Reply
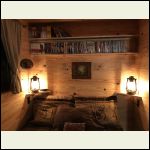
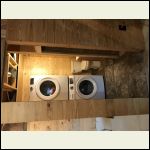
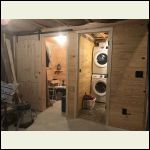
New picks, nearly done with the bunk room. Added a small bedroom and bad/laundry room (gotta clean those stinky hunting clothes)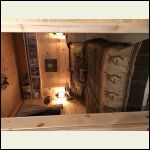
A9ACB7A2905549C39.jpeg
| 
FFF0F557389C4C0B8.jpeg
| 
C8D77182257642D3A.jpeg
| 
53DE3AC4A495410AB.jpeg
|
|
|
Pawag
Member
|
# Posted: 20 Mar 2018 10:47am
Reply
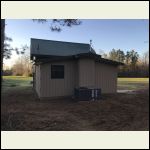
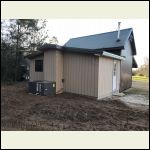
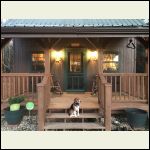
Some pics from outside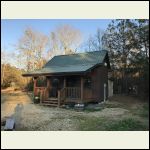
77D7D02F7DD74B218.jpeg
| 
312C4B28DC2B418E8.jpeg
| 
ACAE7AF16C274E62B.jpeg
| 
17E9616799484AD0A.jpeg
|
|
|
| << . 1 . 2 . 3 . 4 . >> |

