| << . 1 . 2 . 3 . 4 . >> |
| Author |
Message |
nathanprincipe
Member
|
# Posted: 3 Feb 2011 04:36pm
Reply
do you have a thread on this site with your project? I would love to check it out
|
|
Anonymous
|
# Posted: 22 Feb 2011 08:56pm
Reply
Any updates Nathan...Great looking project
|
|
nathanprincipe
Member
|
# Posted: 8 Mar 2011 03:24pm
Reply
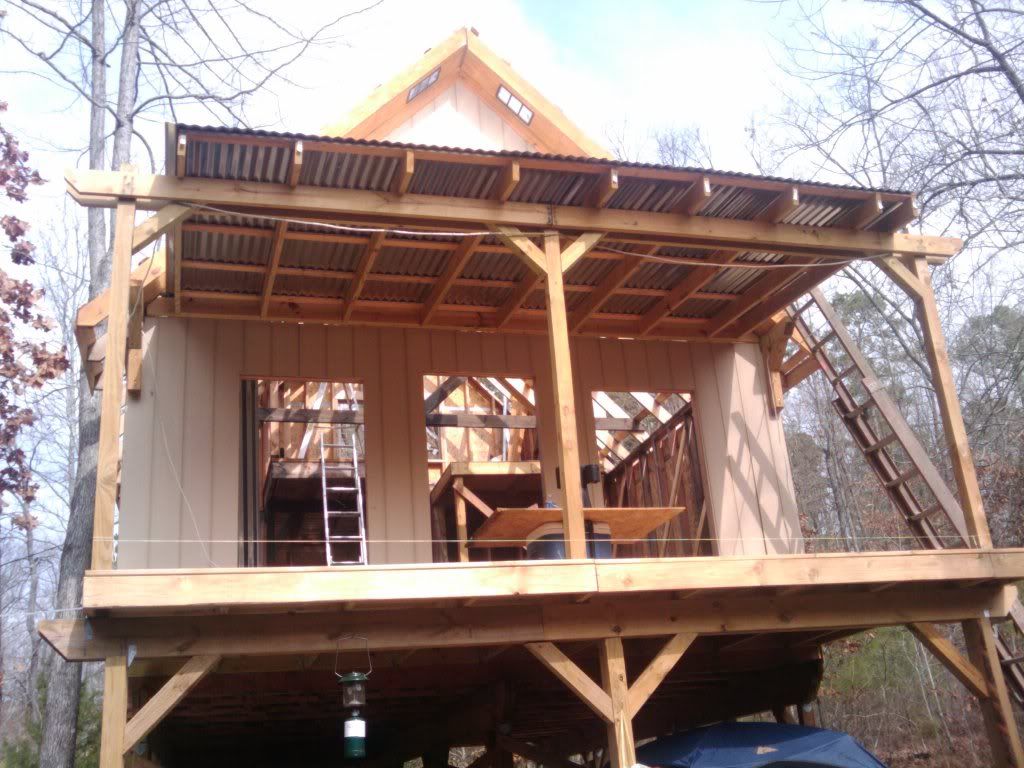
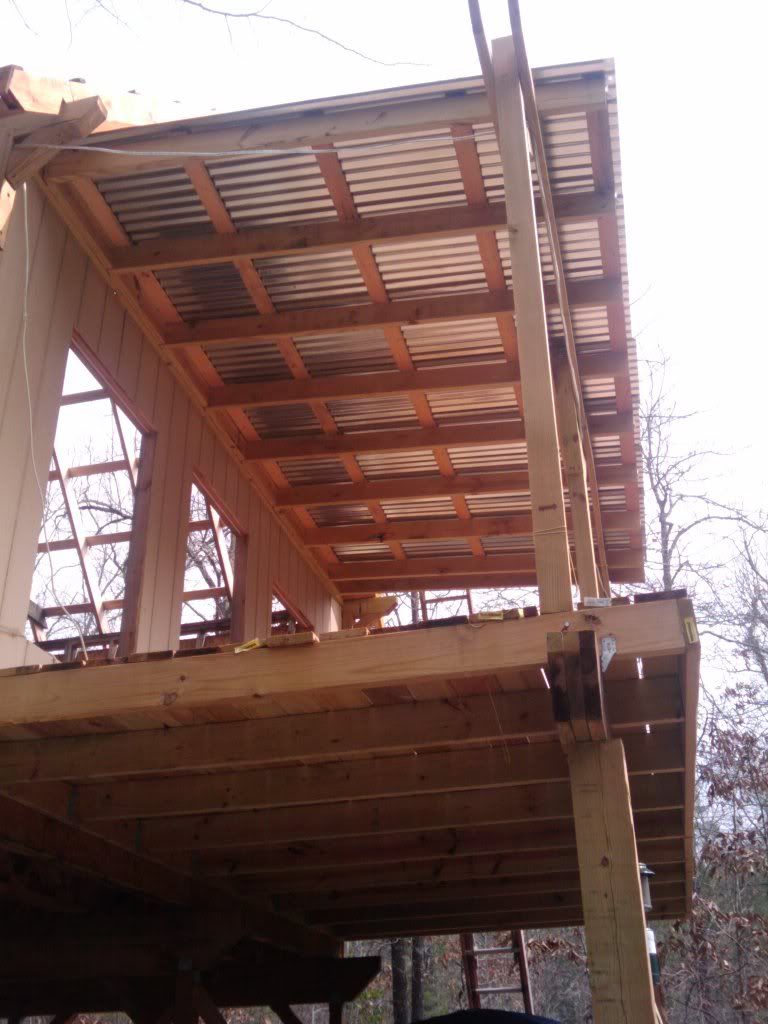
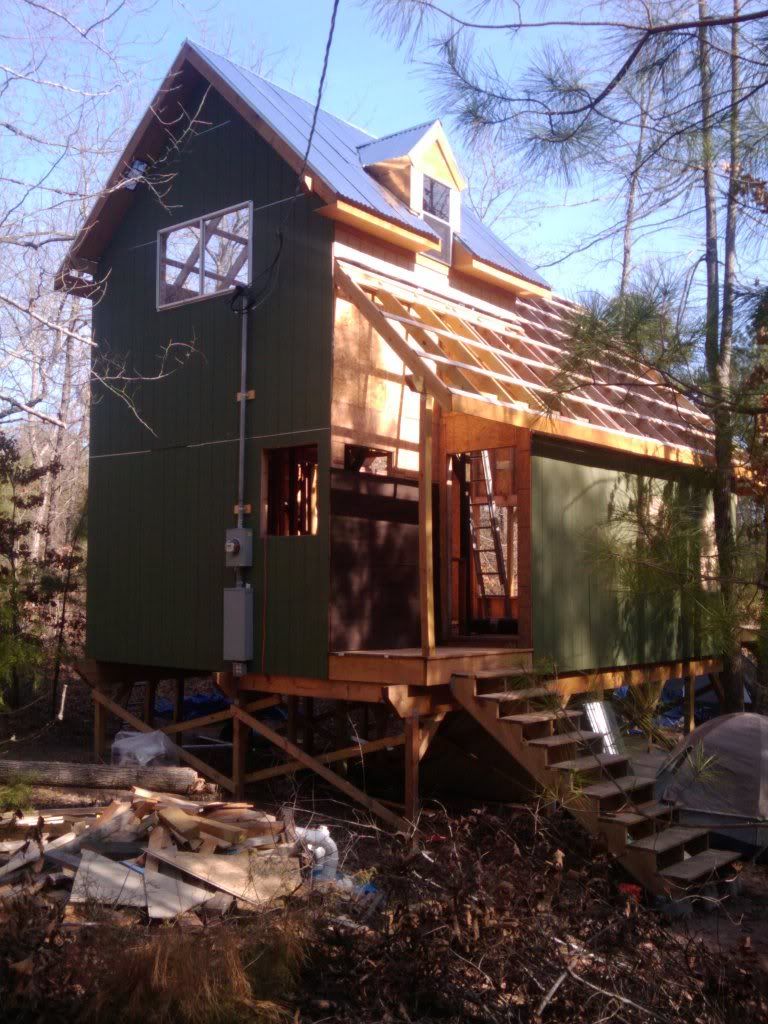
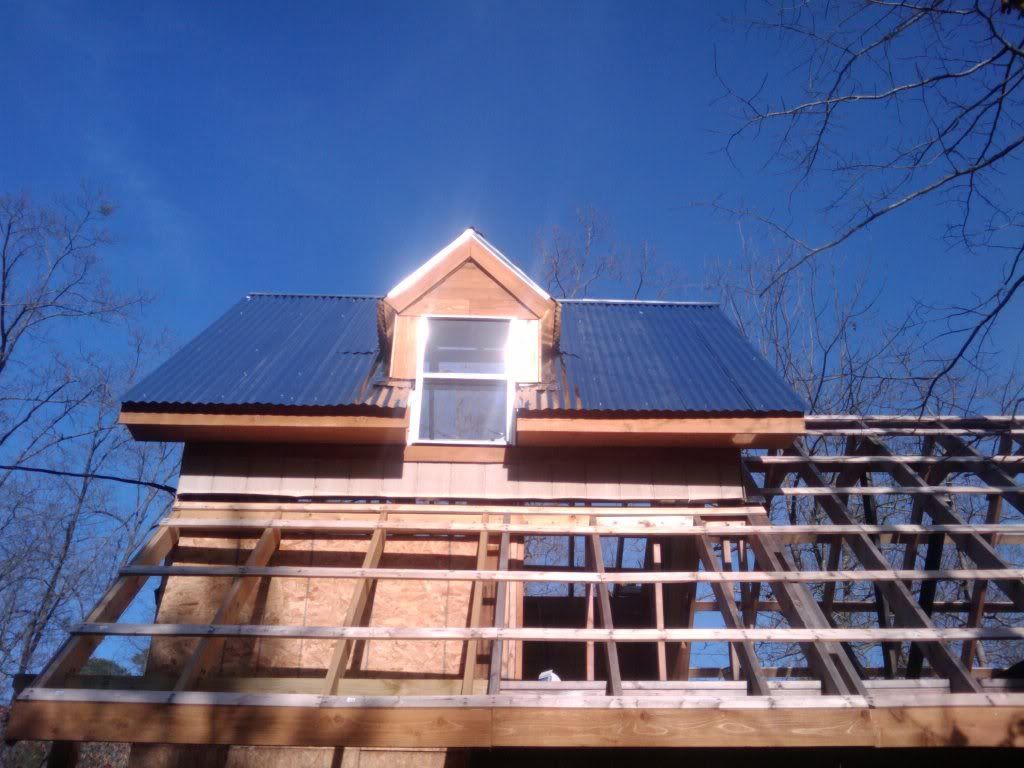
Finally got around to installing more metal roofing, I believe I have the hardest part done, should be able to finish the rest on my next visit with some help. Heres some pics enjoy
|
|
turkeyhunter
Member
|
# Posted: 9 Mar 2011 08:34am
Reply
nice camp---the metal roof looks good.....i bet it was hard staying up there on the roof---while installing the metal.
|
|
nathanprincipe
Member
|
# Posted: 9 Mar 2011 01:01pm
Reply
not hard, just scary! one of the reasons I installed the roofing over purlins and not plywood sheathing is so I could use the purlins to climb around on.
|
|
MikeOnBike
Member
|
# Posted: 9 Mar 2011 01:28pm
Reply
Lookin' good Nathan! I'm envious. We are waiting on 3ft of snow to melt. I'm going with a shed roof this year. Much easier to work on than that 12/12 stuff.
|
|
nathanprincipe
Member
|
# Posted: 9 Mar 2011 03:15pm
Reply
man your not kidding! its been my nemesis thus far. If it weren't for the look of it I would have done something less steep
|
|
neb
Member
|
# Posted: 9 Mar 2011 06:56pm
Reply
very nice.
|
|
|
larryh
Member
|
# Posted: 22 Mar 2011 08:52am
Reply
Very impressive I must say, and a great design as well. It looks somewhat more complicated than a standard cabin, but I really like the style. Great work, look forward to seeing the finished project one day..
Larry
|
|
Just
Member
|
# Posted: 22 Mar 2011 09:18am
Reply
Nice job Nate
|
|
nathanprincipe
Member
|
# Posted: 22 Mar 2011 05:06pm
Reply
I look forward to seeing it done one day too! haha..... Thx for the compliments
|
|
RnR
Member
|
# Posted: 30 Mar 2011 10:11am
Reply
beautiful! thanks for all the photos too.
|
|
nathanprincipe
Member
|
# Posted: 3 Apr 2011 03:59pm
Reply
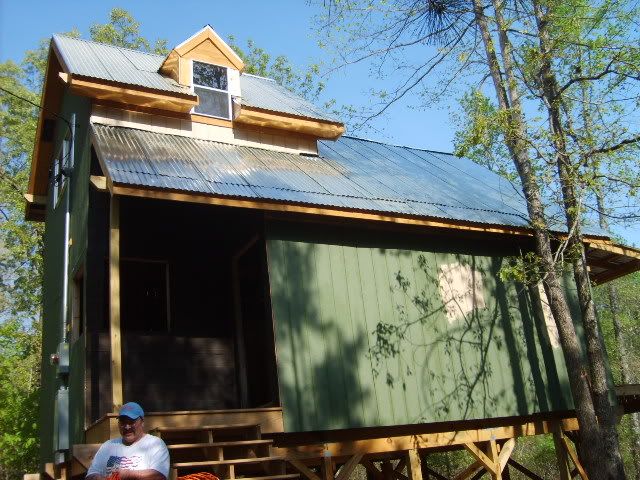
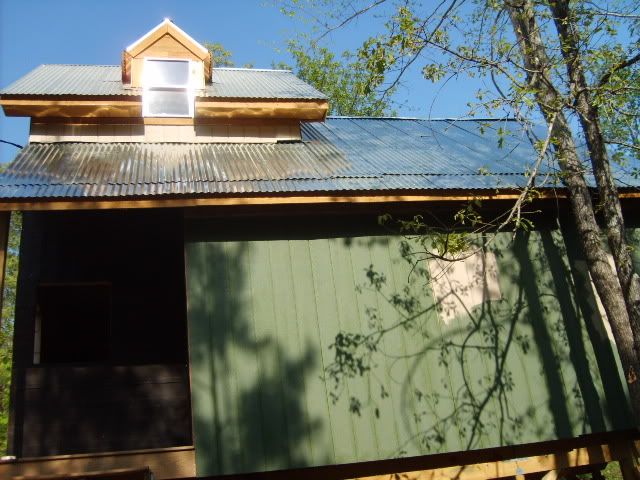
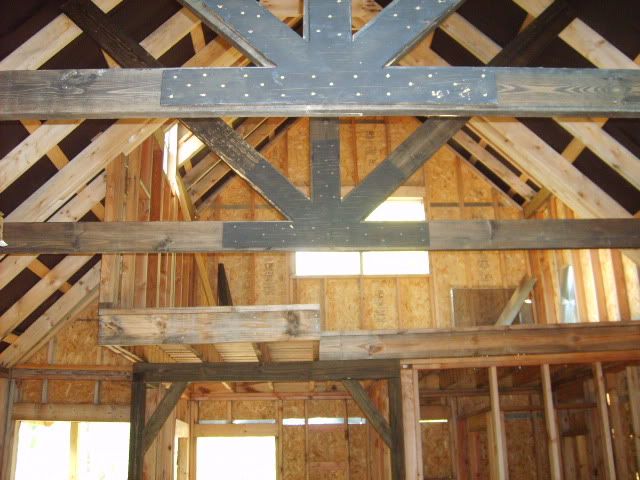
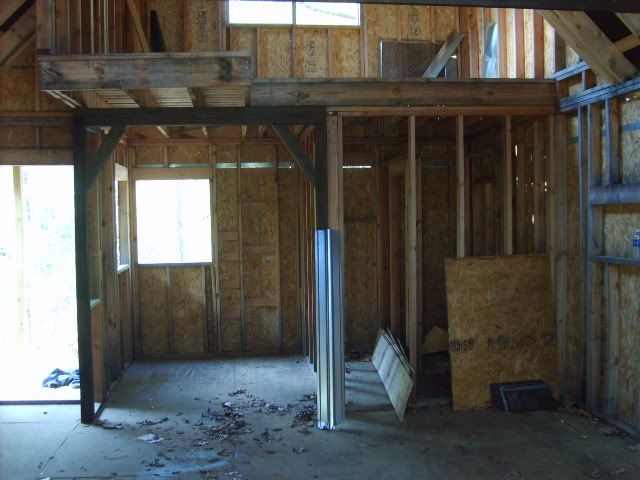
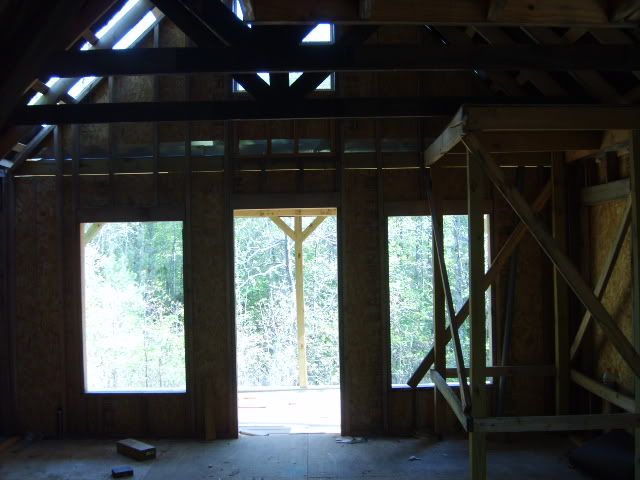
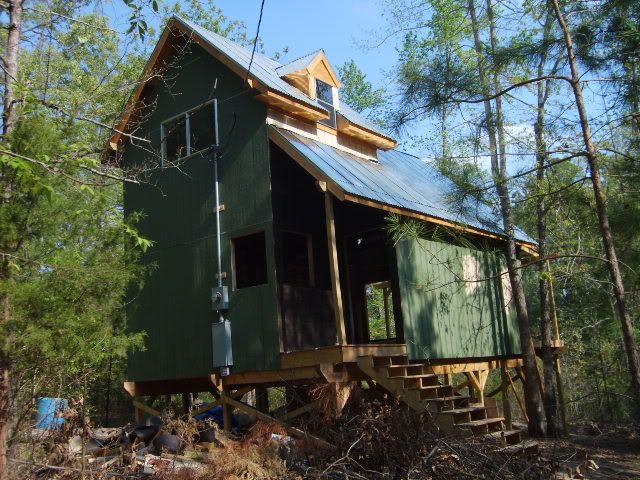
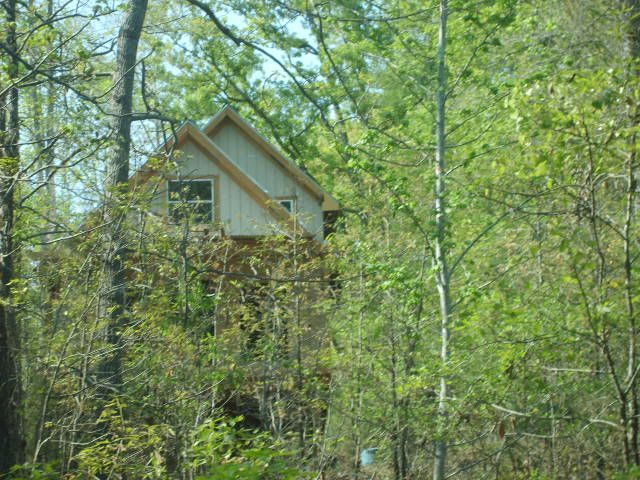
Almost complete with the roof! fell 2 panels short. Most of you know that I took an untraditional approach to my roof being that I installed the metal over purlins. I was able to tuck vertical strips of 30# felt under each panel as I installed and lapped them by 6"-8". I also fastend the ridge cap as I moved along the roof, tucking each panel under it as I installed it. All in all, it was a much tougher job than I expect, just as everything else has been. There are flaws that occured in some of the panels getting out of line with each other by over all Im happy with it, and the look. I also installed another interior "truss thingy " that matches the 1st one and acts as a "rafter tie" ( thx! Mtn Don). Also painted some of the exterior green ( the two unpainted spots in the front will get cut out for windows) and finished up putting on the felt underlayment in the porch area that will get cedar siding. Enjoy the pics
|
|
MikeOnBike
Member
|
# Posted: 3 Apr 2011 08:18pm
Reply
Looking great Nathan! You are almost closed in. I like your paint color. It looks good and blends in with the surroundings very well.
I'm envious, can't wait to get up to our place. Hopefully only 2-3 more weeks and most of the snow will be melted.
|
|
hattie
Member
|
# Posted: 3 Apr 2011 09:24pm
Reply
BEAUTIFUL!!! Nice Work!!!
|
|
nathanprincipe
Member
|
# Posted: 2 May 2011 05:20pm
Reply
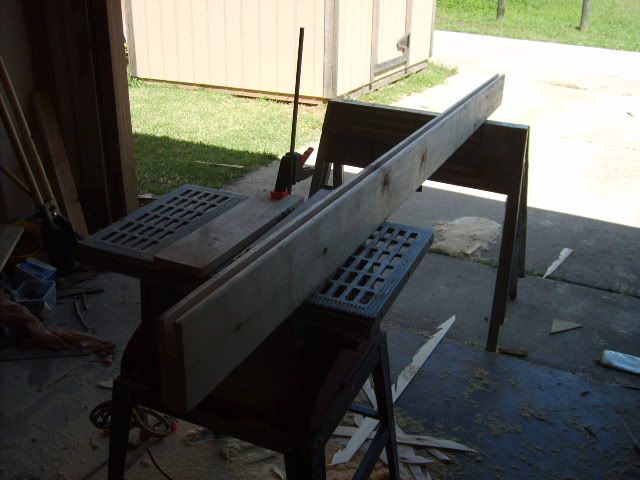
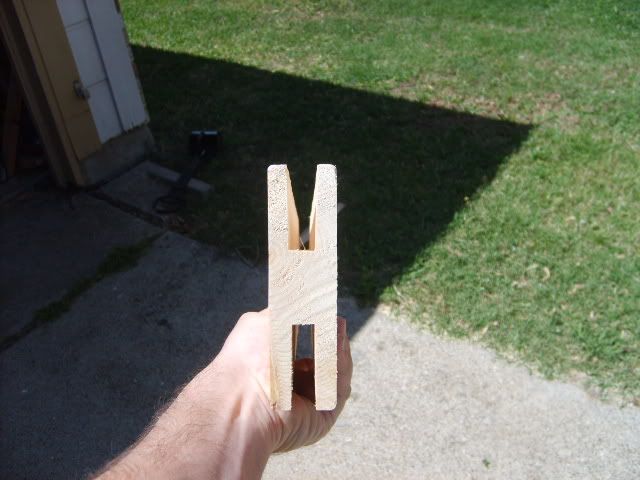
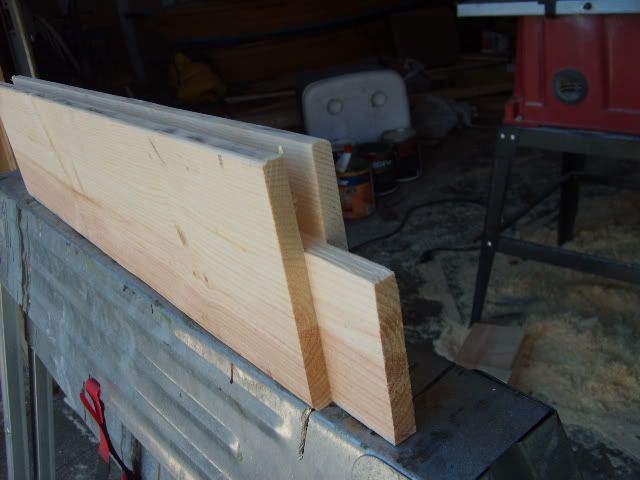
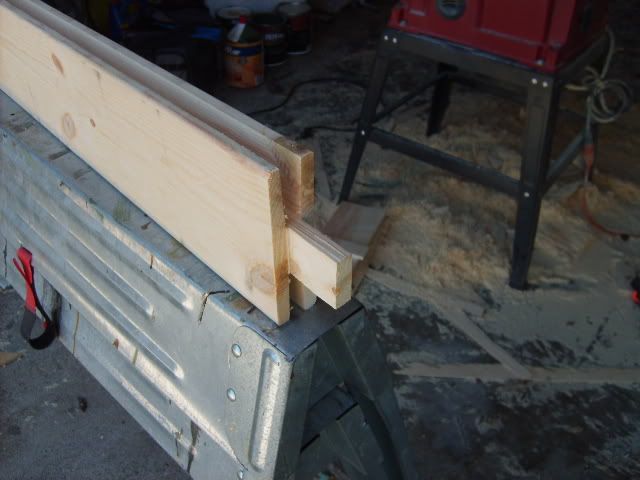
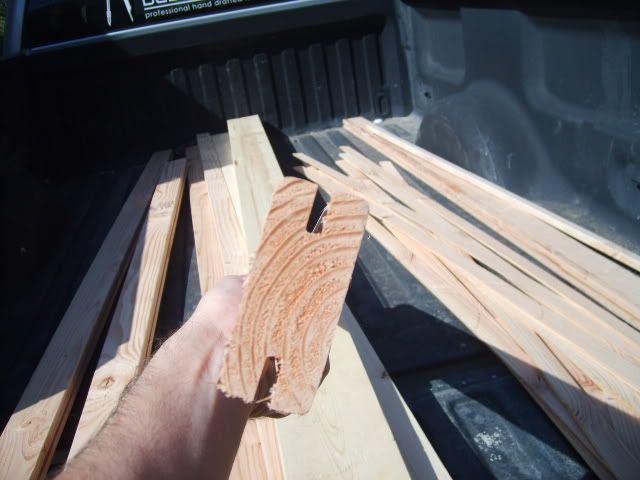
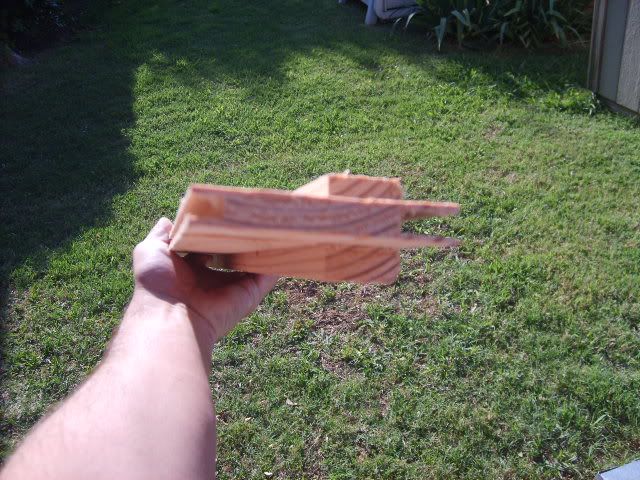
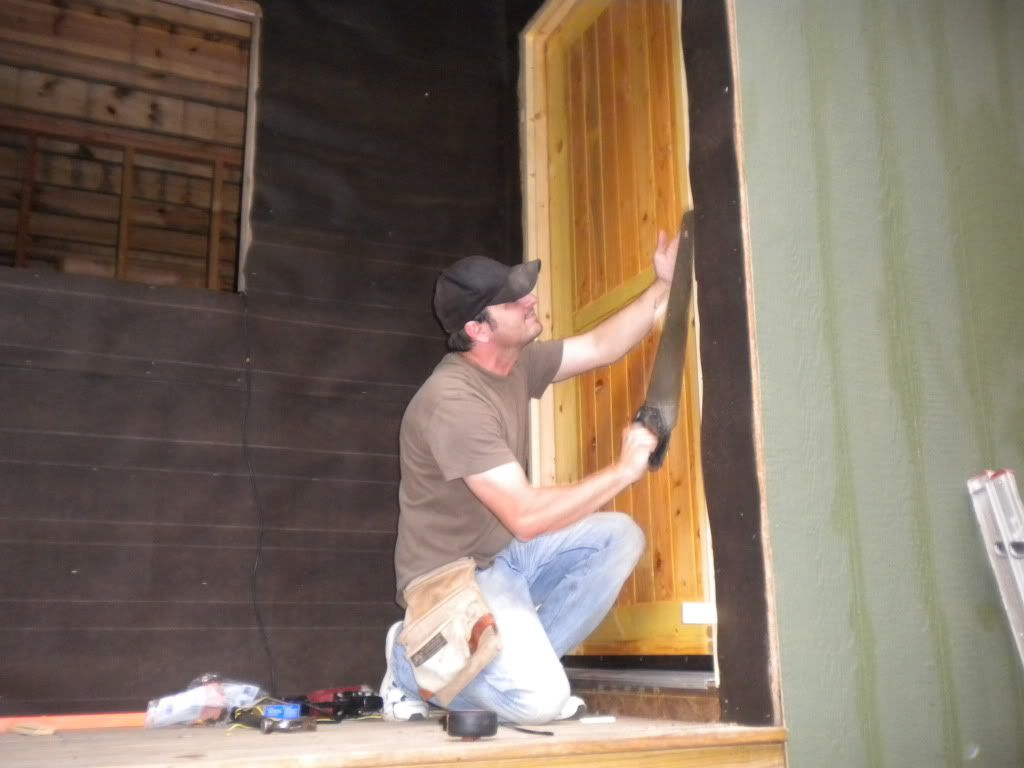
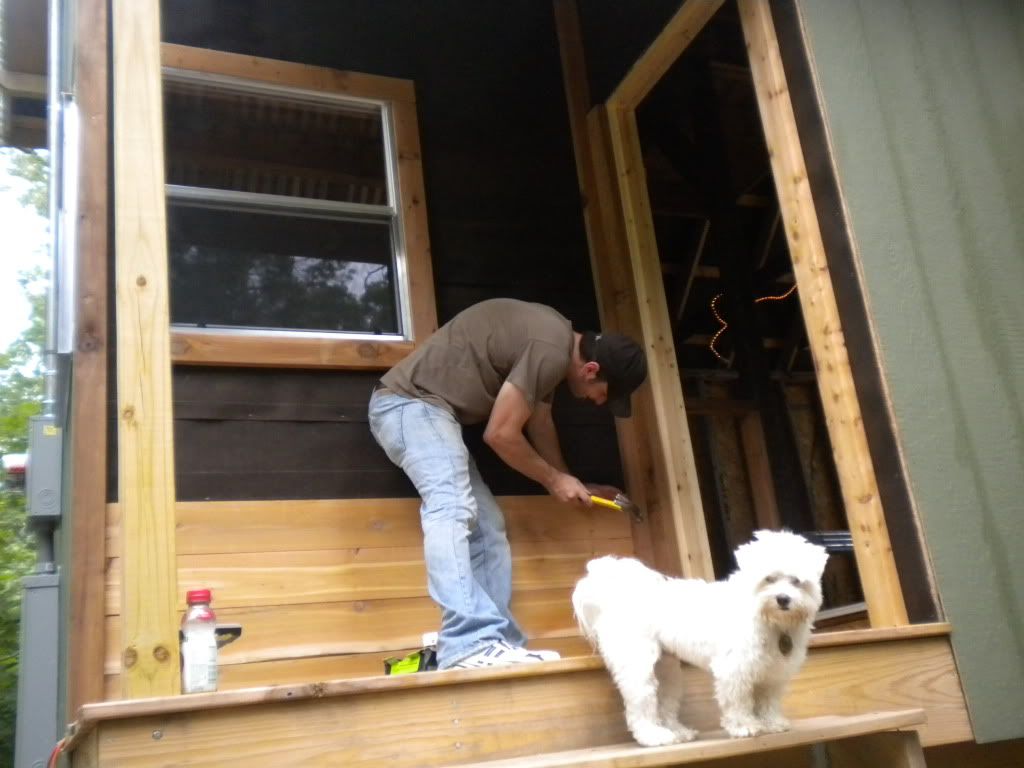
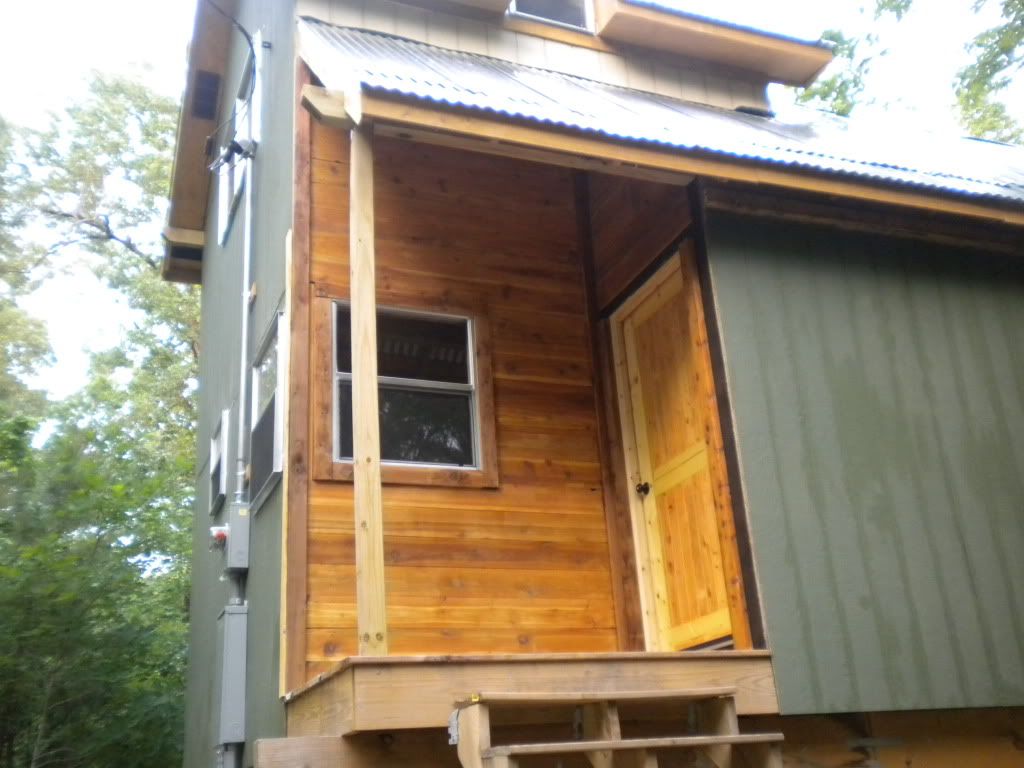
ot to the cabin this weekend for a little work! This time I brought with me a project I have been working on at home....My front door! After pricing exterior wood slabs, I knew that was out of the question. My next option was looking at solid wood interior slabs which were much more reasonable, but still a pretty penny, my thought was to give it several coats of exterior grade poly to protect it from the elements. As my wheels started to turn the idea of making my own slab and frame from scratch sounded like a challenge worth giving a try. I did a little research and drew some rough plans. Heres how I started
I started with 2x6 white pine for the perimeter part of the door as well as one board that cuts across the middle. I set my table saw and made a 1/2" grove in the center, 2" deep, by making several passes with a typical saw blade
|
|
nathanprincipe
Member
|
# Posted: 2 May 2011 05:22pm
Reply
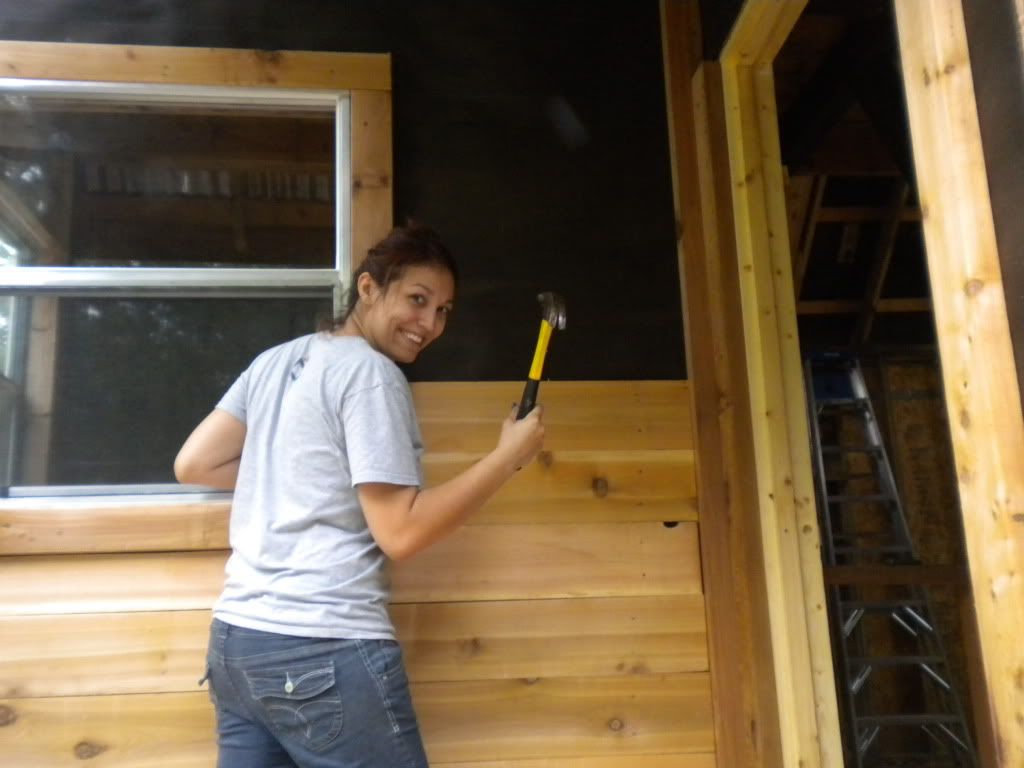
The next few pics are of the finished product being install along with a few more windows and cedar siding on the porch area, enjoy!
|
|
neb
Member
|
# Posted: 8 May 2011 08:30pm
Reply
Awesome. Great job.
|
|
nathanprincipe
Member
|
# Posted: 23 Aug 2011 06:13pm
Reply
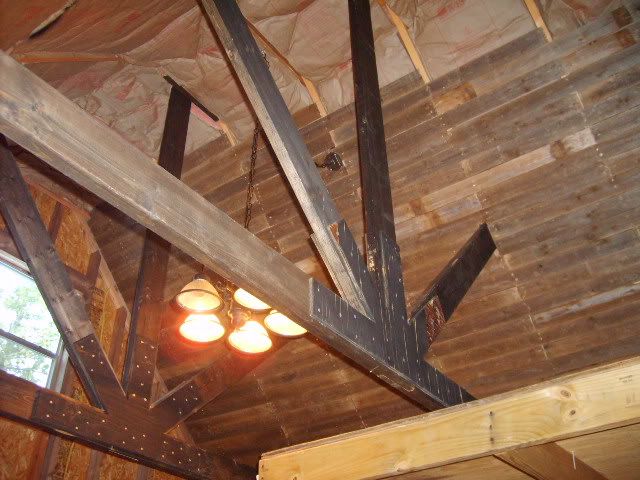
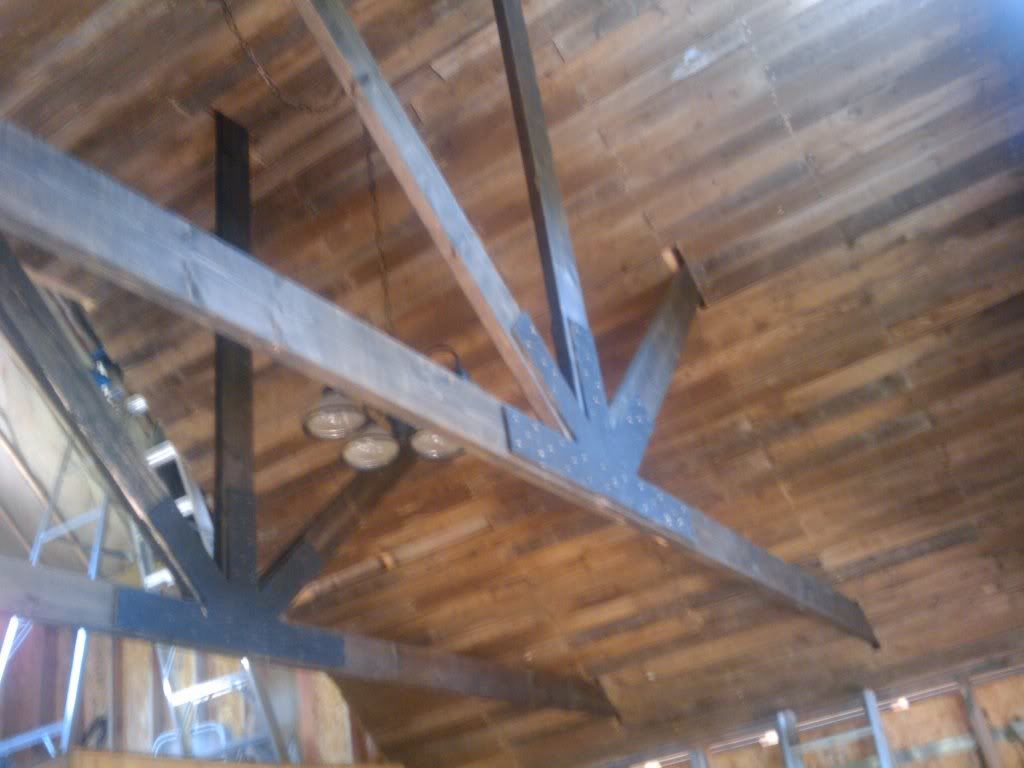
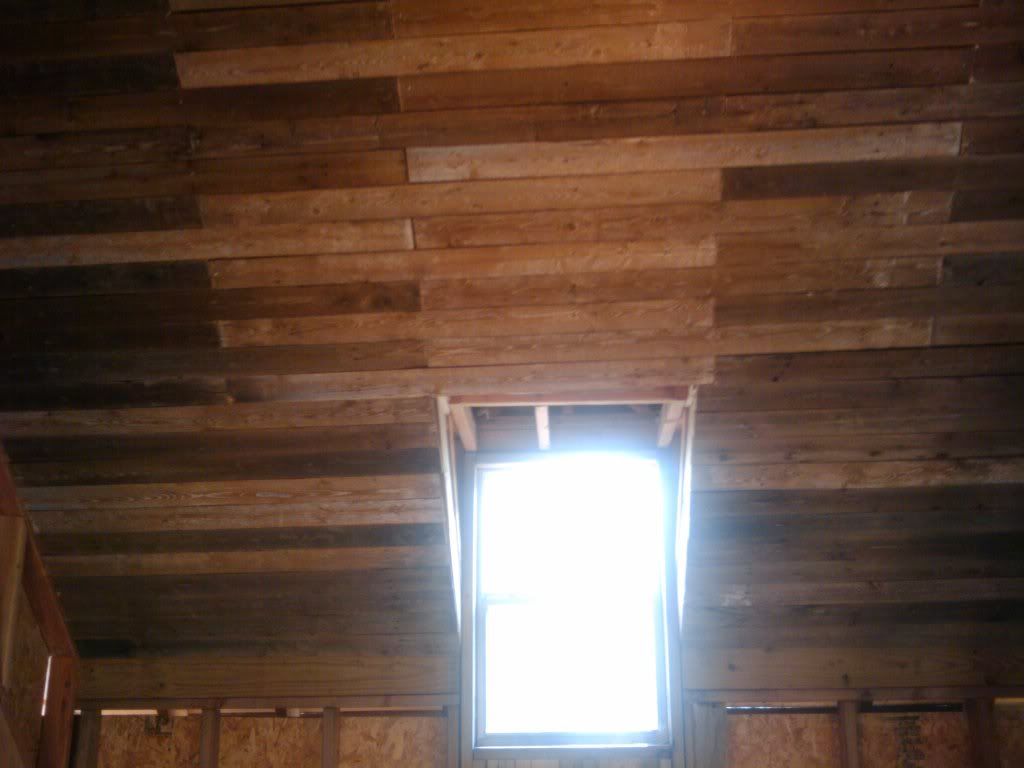
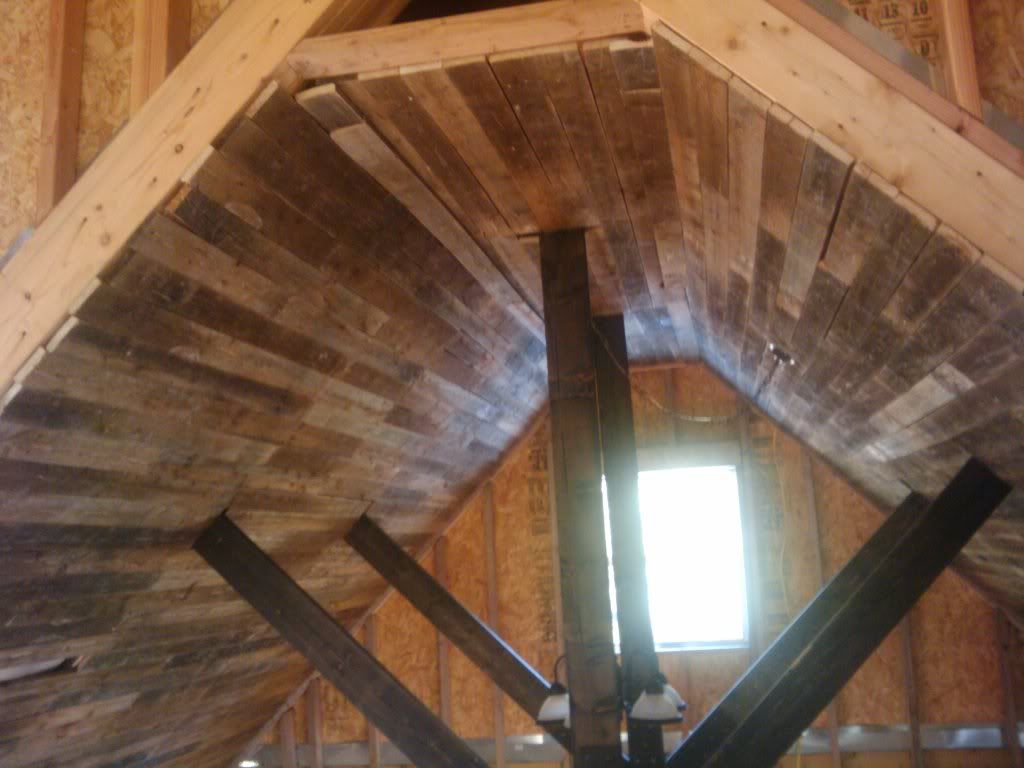
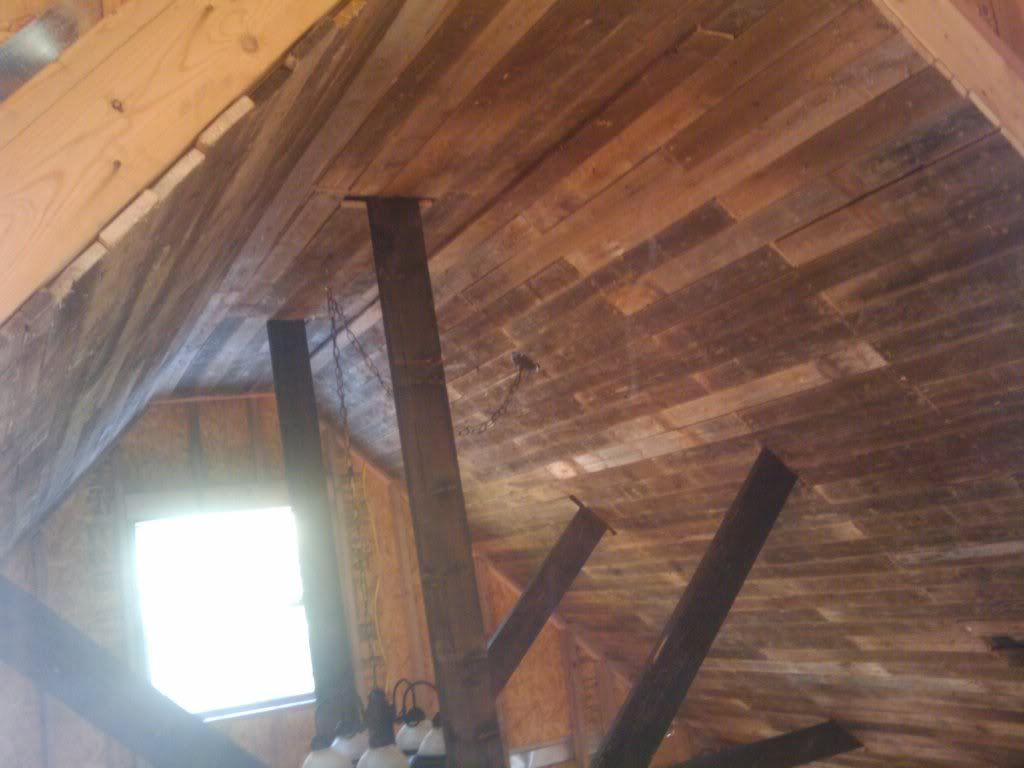
been a while since I posted since most of the progress I have made hasn't been photo worthy ( and I love photos ) since Ive last posted I have tied up some loose ends, finished all the electrical, insulated the ceiling and started sheathing it. I have recommended to a few on here of my ideas of using reclaimed weathered fence pickets for ceiling sheathing because of its rustic effect and cheap nature ( in my case free!) I will worn tho, it is not an easy task breaking down the panels and removing each nail by hand, but worth it to me in the long run. I am accually further along in the process then the pics show, and I plan on finishing this weekend
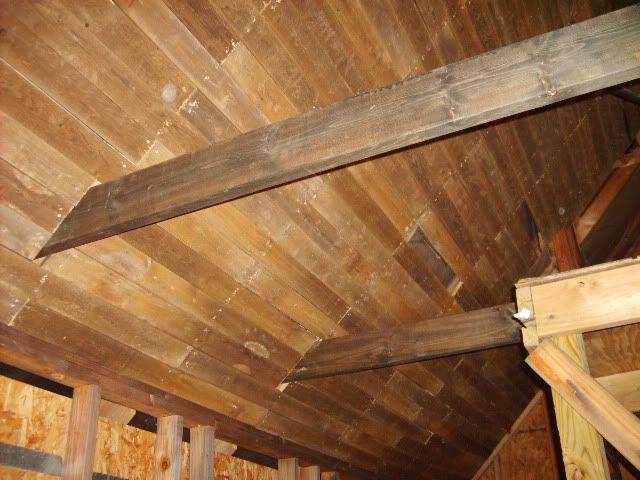
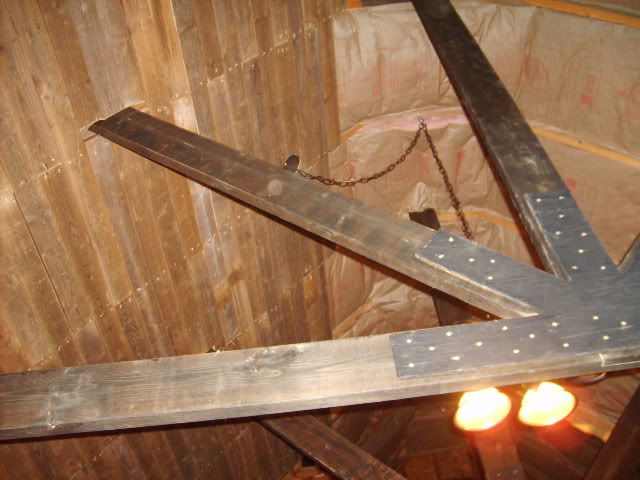
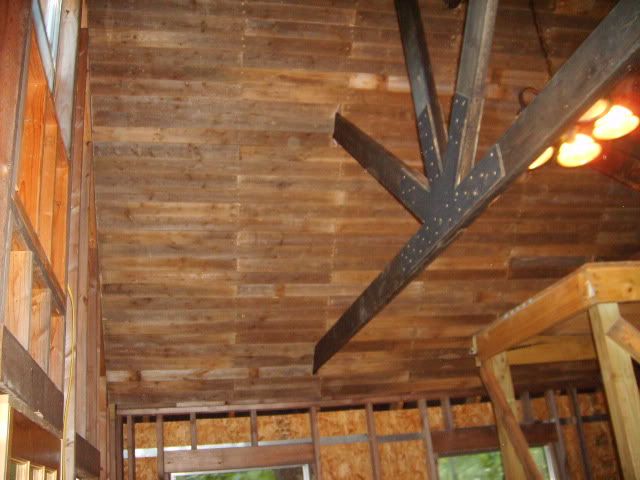
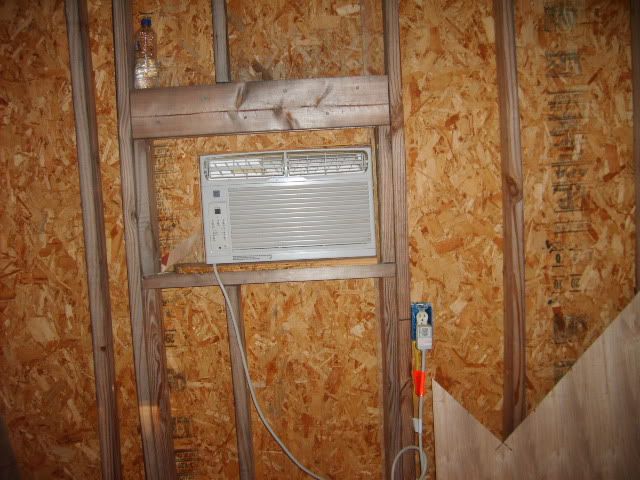
this ac was given to me for free by my parents, while there is yet no insulation ( and concidering teh ac is probably too small) it at least does the trick of letting you get cooled off by standing on front of it, and right now that is a must!
|
|
Erins#1Mom
|
# Posted: 23 Aug 2011 06:46pm
Reply
love the look of the ceiling. would never have thought of that.
|
|
Malamute
Member
|
# Posted: 23 Aug 2011 09:03pm
Reply
Looks good Nate.
Good job!
|
|
Montanan
Member
|
# Posted: 23 Aug 2011 11:41pm
Reply
Looks great! I love those trusses.
|
|
nathanprincipe
Member
|
# Posted: 24 Aug 2011 12:46pm
Reply
thx for the kind words everyone, Ill look forward to posting more pics early next week
|
|
trollbridge
Member
|
# Posted: 24 Aug 2011 11:35pm
Reply
Your ceiling looks awesome! I like the looks of your cabin with the different roof lines and the way it sits among the trees. Very nice!
|
|
cxdyer
Member
|
# Posted: 25 Aug 2011 06:35pm
Reply
We are in Texas too, the heat is so intense it's hard to start a buidling project. We have the money and the land, now we just need to decide on a design. Your ceiling is a great idea, I liked the rustic look and the eco friendliness of reusing old fencing.
|
|
nathanprincipe
Member
|
# Posted: 31 Aug 2011 12:59am
Reply
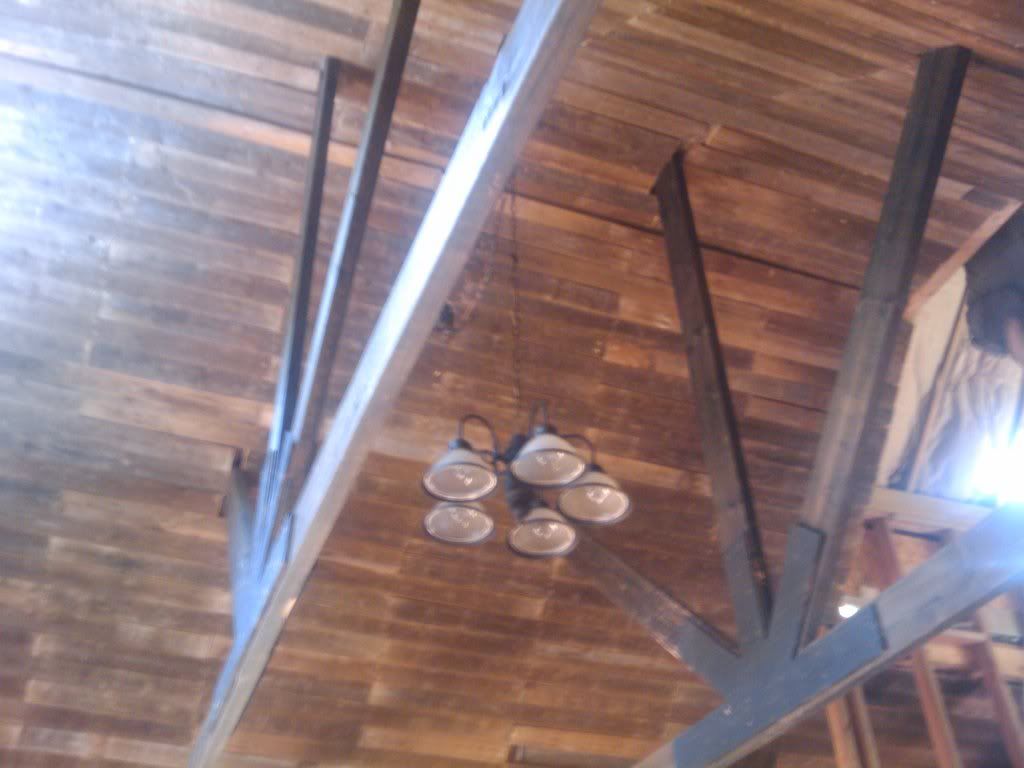
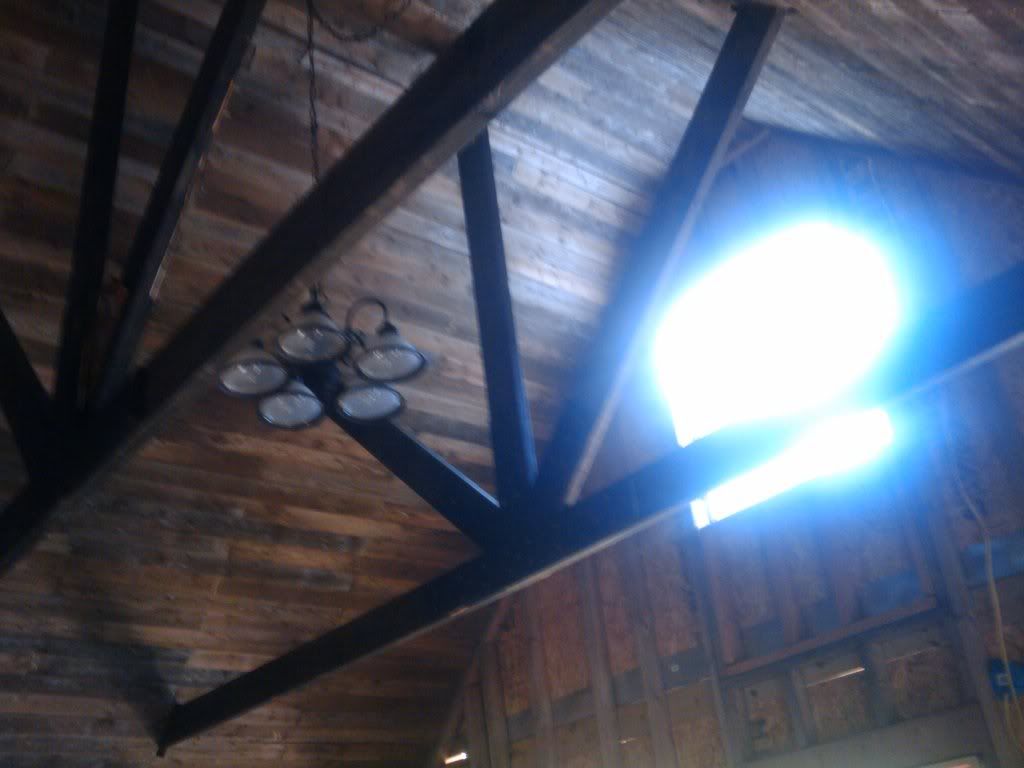
More ceiling progress, got a little more to do tho
|
|
LakeSuperior5
Member
|
# Posted: 31 Aug 2011 02:58pm
Reply
Nice!
|
|
nathanprincipe
Member
|
# Posted: 31 Aug 2011 11:47pm
Reply
Thanks every one, my plan is to contrast the dark wood ceilings with drywall walls and paint them a very light airy color, maybe a pale sage green??? suggestions?
|
|
trollbridge
Member
|
# Posted: 1 Sep 2011 10:09am
Reply
A green would compliment your wood nicely. I like the combination of drywall with the wood to break it up. We will be doing the same, so we'll watch your project closely...your ceiling looks awesome and I like your light fixtures with it. Will you be hanging drywall next?
|
|
exsailor
Member
|
# Posted: 1 Sep 2011 12:19pm
Reply
Nathan,
The truss structure and short board approach is fantastic. I did see a step ladder, but you have pretty high ceilings. How did you get the boards put up, especially past the loft area? While it looks like a really tall step ladder, it doesn't look big enough. Did you use scaffolding or a temporary platform between rafters. The roof is an inspiration, thanks.
|
|
| << . 1 . 2 . 3 . 4 . >> |

