| << . 1 . 2 . 3 . 4 . >> |
| Author |
Message |
Pookie129
Member
|
# Posted: 31 Mar 2015 06:56am
Reply
Awesome job and the pictures are amazing. Good for you and I hope you enjoy.
|
|
turkeyhunter
Member
|
# Posted: 31 Mar 2015 07:00am
Reply
thanks for the pic's awesome fishing there for sure!!!
I really like the looks of those red fins...beautiful fish ...and I would love to throw a bunch of those yabbies' in a pot of hot water
|
|
victorvector
Member
|
# Posted: 31 Mar 2015 08:46am
Reply
Thank you for the replies ,
Hope you all have a great summer there soon.
I`m still working away at our little floating cabin , the bathroom has some of the plumbing installed and there is a bathroom interior.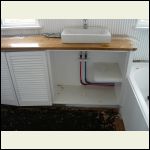
RV plumbing.
| 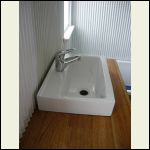
Recycled oak flooring vanity top.
| 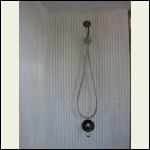
Some more painting needed.
| 
River view.
|
|
|
victorvector
Member
|
# Posted: 31 Mar 2015 08:57am
Reply
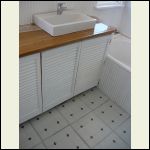
Work has continued whenever I could manage to find some time.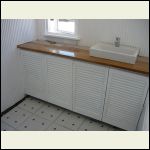
Tiles will be put in soon.
| 
Bath is a light weight fiberglass job .Salvaged.
| 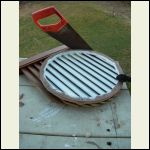
I used some used louvred doors to make a vent for the recycled cedar bathroom door.
| 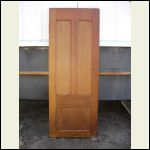
This is how the door looked originally.
|
|
|
victorvector
Member
|
# Posted: 31 Mar 2015 09:05am
Reply
It`s midnight here , so goodnight all and thanks for the interest.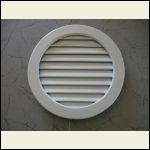
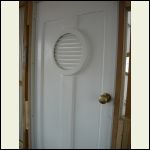
Vent for door completed ready to install in the door.
| 
Completed bathroom door.
| 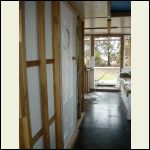
Bathroom is placed in the middle of the floor plan.
| 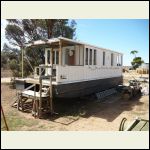
Outside view.
|
|
|
victorvector
Member
|
# Posted: 2 Apr 2015 12:02pm - Edited by: victorvector
Reply
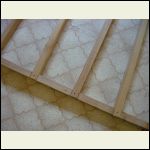
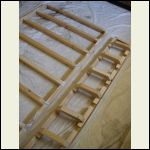
Framing in the bed base in the forward cabin.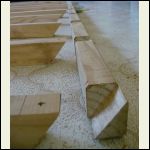
16974856802_8cba89fb.jpg
| 
16768803527_7dd1a5b7.jpg
| 
16799283100_ae0be38d.jpg
|  |
|
|
victorvector
Member
|
# Posted: 2 Apr 2015 12:09pm - Edited by: victorvector
Reply
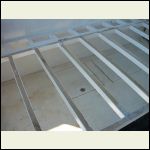
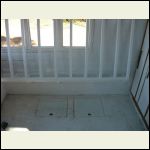
The bed base is hinged to allow access to the hatches in the floor.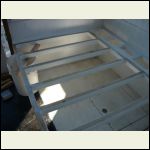
P1030580.jpg
| 
16821141689_ed3345df.jpg
| 
16981367106_d70697cf.jpg
|  |
|
|
Simpleman
Member
|
# Posted: 2 Apr 2015 01:52pm
Reply
Looks good! Going to have alot of fun with that boat! Congrats
|
|
|
Salty Craig
Member
|
# Posted: 2 Apr 2015 07:12pm
Reply
victorvector
I love the boat, love the river, and your fish. Do you plan to live on the river or just vacation on the house boat? I don't know crap about building pontoons, but I give you a ten on everything that I see! I'm a water lover and have a 30' sailboat. Your boat is awesome!!!!
Salty Craig
|
|
victorvector
Member
|
# Posted: 3 Apr 2015 06:16am - Edited by: victorvector
Reply
Well thank you for the kind words guys !
Sometimes I feel I`m quite mad doing all this.... a big job for just one person ......
Happy to hear you like the pictures Pookie .
Turkeyhunter , those red fin are quite strong fish for their size.
Simpleman , I will need a holiday when ( if ) I ever get this thing finished.....
Salty Craig ,
You are most kind , I don`t know if i can even be objective about this project , it`s been going on a long time it`s all the little details that constantly seem to run around in your head that can make you weary.
We intend to just move aboard this little craft for a year or so , with a mooring and mains power .That should be long enough to determine what changes need to be made , and perhaps even go completely off grid and travel the entire length of this river ( over 1700 miles ). Either way , it`s going to be fun I think .
Thank you all for the replies .
A couple of pictures of the river :
23_eveninglighton.jpg
| 
26_blanchetownhouse.jpg
| 
20_Banrockstation2.jpg
|  |
|
|
victorvector
Member
|
# Posted: 22 Apr 2015 04:35am - Edited by: victorvector
Reply
Work continues on the fit out of the forward cabin.
It`s all very simple and basic;
Some hanging lockers for clothes , storage for small items in the little drawers , and under bed storage.
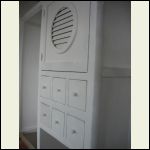
The small locker with the circular vent will contain the power distribution panel it will contain the circuit breakers for main shore power ( 240 volt AC )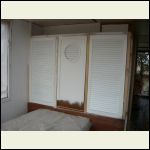
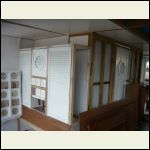
Hanging locker space.
| 
Clothes cupbboard carcass framed out
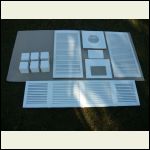
| 
Pre - painted panels ready to install.
| 
Small storage bins.
|
|
|
creeky
Member
|
# Posted: 22 Apr 2015 08:47am
Reply
what did you use for wall cover in the washroom? nice texture.
and that door certainly turned out well.
something to be said for slow but steady.
|
|
victorvector
Member
|
# Posted: 22 Apr 2015 09:39pm
Reply
Hi creeky.
The bathroom walls are covered in corrugated steel sheeting.
It`s called mini - orb here :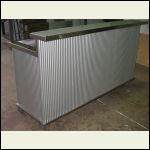
Mini orb steel sheeting
| 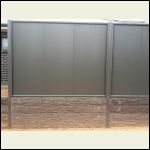
Mini orb steel panel fencing
|  |  |
|
|
victorvector
Member
|
# Posted: 25 Apr 2015 03:43am - Edited by: victorvector
Reply
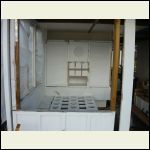
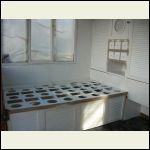
The bed is fitted in the front cabin space.
The dark filler that can be seen is still soft after four hours , too cold for paint.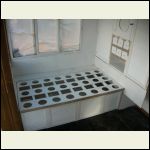
Bed fitted in place.
| 
Bed fitted in place ( 2 ).
| 
Front cabin , starboard side..
|  |
|
|
victorvector
Member
|
# Posted: 27 Apr 2015 04:41am - Edited by: victorvector
Reply
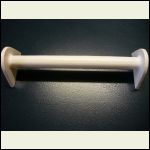
Making all the small items in order to complete the forward cabin.
Time consuming !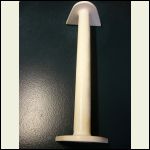
Small items to complete the front cabin.
| 
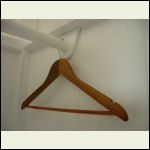
Wooden clothes rod.
| 
Installed clothes rod.
| 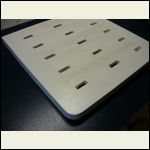
Laminated top for the bedside drawer.
|
|
|
victorvector
Member
|
# Posted: 30 Apr 2015 01:51am
Reply
Finished the bedside drawer today.
Lots of little things to go.....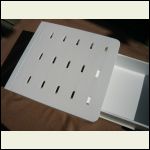
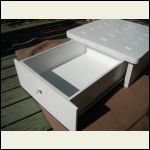
Drawer unit
| 
Marine plywood drawer.
| 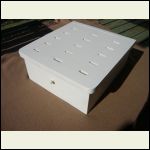
Ready to install.
|  |
|
|
Gary O
Member
|
# Posted: 30 Apr 2015 04:37am
Reply
a tad off topic, but since I know you, and (thanx to me) you are a legend at the company I just retired from, I'd luv to call you by your first name on here....
|
|
SantanaWoods
Member
|
# Posted: 30 Apr 2015 07:41am
Reply
howdy
love your project, good for you.
How did you calculate the total weight and design of your pontoon? It looks very small for such a load. What is the trick?
hope you enjoy it and good luck.
|
|
victorvector
Member
|
# Posted: 30 Apr 2015 07:21pm - Edited by: victorvector
Reply
Gary O :
Thank you for the comment , most kind of you.
Hello SantanaWoods:
The pontoons may be larger in volume than they perhaps appear .
They are three ft wide , and the submerged volume at 12 inch draft is over 200 cubic feet.
200 cubic ft of displaced fresh water weighs 200 x 62.4 lbs.
That gives a total displacement of over 12480 lbs.
At 24 inch draft displacement is just under 25000 lbs.
These are approximate , but close.
Because we work in the metric system here , original displacement figures were calculated at one cubic meter to the metric ton.
Regards , Harry.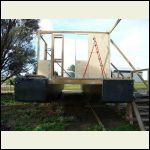
36 inch wide pontoons.
| 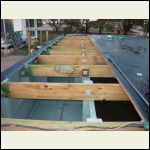
Looking inside the pontoons.
| 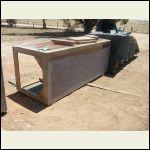
Pre- fabbed 12 ft section of pontoon.
|  |
|
|
SantanaWoods
Member
|
# Posted: 30 Apr 2015 10:58pm
Reply
Thanks for explanation Harry. Fascinating stuff. Looking forward to more updates. Good luck.
|
|
joedepilot
Member
|
# Posted: 1 May 2015 08:43am - Edited by: joedepilot
Reply
Are the pontoons compartmentalized so that if you get a leak the whole thing doesn't fill up? That is a great looking house boat.

|
|
victorvector
Member
|
# Posted: 1 May 2015 02:08pm - Edited by: victorvector
Reply
Hi joedepilot
Yes , they are.
There are eight water tight sections , four in each pontoon.
Each compartment will have a separate bilge pump fitted.
There is a hatch fitted to each compartment , for inspection. The hatches are large enough to enter the hulls.The circular cut - outs you can see in the photograph will be fitted with marine plywood blank - off plates to seal them water tight.
The interior of the pontoons is coated with a fiber reinforced liquid ( brush on ) membrane used to seal basements and balconies , to keep any condensation out of the hull structure.
Thank you for the interest !
Pictures are below: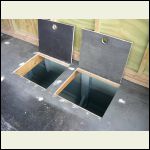
Inspection hatches in the floor.
| 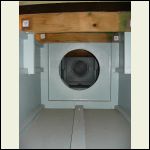
Sealed interior of pontoon section.
| 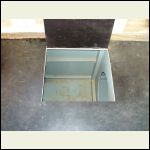
Circular cut - out is blanked off to form a water tight compartment.
| 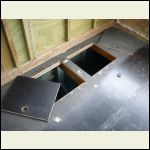
Looking down into the hatch.
|
|
|
victorvector
Member
|
# Posted: 1 May 2015 02:37pm
Reply
The hatches are hidden under the seating and beds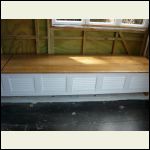
Seating over the hatches.
| 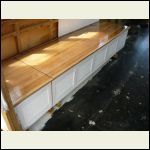
Generous storage under the seats.
| 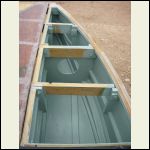
Installing front deck and forward hatches.
| 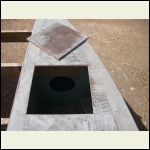
Cutting the deck.
|
|
|
victorvector
Member
|
# Posted: 1 May 2015 02:42pm
Reply
Front deck hatch with water tight compartment .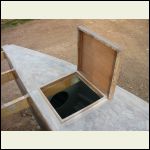
Hatch installed.
| 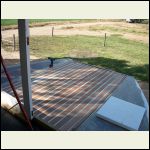
Forward hatch and hardwood decking.
| 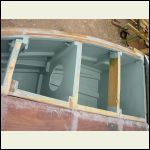
First water tight compartment , eight feet from the bows.
| 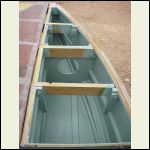
Vent hole in small forward bulkhead.
|
|
|
victorvector
Member
|
# Posted: 1 May 2015 02:58pm
Reply
I have fitted the bed side drawer in the forward cabin.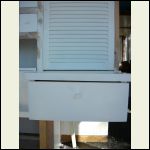
Cabin fit out.
| 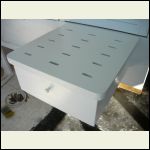
Drawer fixed in place.
| 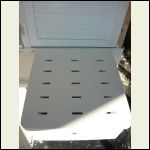
Drawer fixed in place.
| 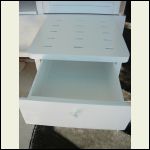
Drawer fitted with common kitchen roller runners.
|
|
|
victorvector
Member
|
# Posted: 25 May 2015 10:35pm
Reply
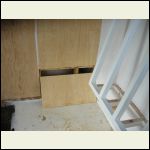
I have moved on to the rear cabin fit-out.
The wall is lined with foam insulation and A bond construction plywood.
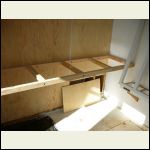
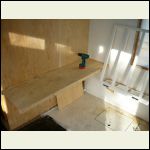
The lower shelf framing is temporarily fitted in place .
The other hinging bed base frame is assembled and fitted in place.
There are two small rustic cabinets that will be fitted in place as soon as they are completed .
|
|
victorvector
Member
|
# Posted: 25 May 2015 10:42pm
Reply
Pictures of some rear cabin fit - out.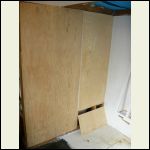
Cabin_wall_lined_wit.jpg
| 
Removeable_panel_to_.jpg
| 
Lower_shelf_framing..jpg
| 
Lower_shelf_temporar.jpg
|
|
|
victorvector
Member
|
# Posted: 25 May 2015 10:54pm
Reply
Some more pictures of the rear cabin fit - out.
I built a rustic sideboard over a decade ago , made entirely out of discarded pallets . I decided to cut it in half and make two smaller " boat size " cabinets for the rear cabin.
Then it`s back to some sanding and painting.
Thanks for dropping by ,
Regards , Harry.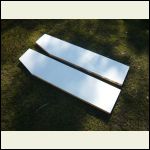
Upper_shelves_to_sto.jpg
| 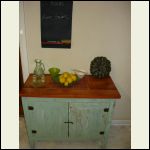
Rustic_sideboard_mad.jpg
| 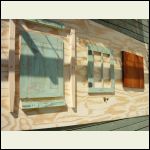
Cutting_up_the_side_.jpg
| 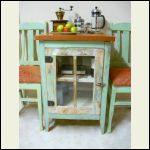
Paint_and_varnish_st.jpg
|
|
|
Salty Craig
Member
|
# Posted: 27 May 2015 08:37pm
Reply
Very nice. Do you stop to sleep?
Salty Craig
|
|
victorvector
Member
|
# Posted: 28 May 2015 03:59am
Reply
Sleeping is for wimps Salty .....
Truth be told , I need to get cracking and work a little harder if I want to ever finish this thing in my lifetime .
Thanks for stopping by.
|
|
| << . 1 . 2 . 3 . 4 . >> |

