| . 1 . 2 . 3 . 4 . 5 . 6 . 7 . 8 . 9 . 10 ... 13 . 14 . >> |
| Author |
Message |
Shadyacres
Member
|
# Posted: 3 Jan 2014 08:27am
Reply
My wife and I looked high and low for land to build a cabin on in PA. Finally found some not exactly where we were looking but it has worked out good since it is only 40 minutes from home and it is so easy to just go for the day or overnight. After two years with our camper on the site we finally started our get a way cabin in October of this year. I visit this site very often to look at pictures and get ideas.
|
|
OwenChristensen
Member
|
# Posted: 3 Jan 2014 08:28am
Reply
Welcome, Keep us posted on your progress.
Owen
|
|
Shadyacres
Member
|
# Posted: 3 Jan 2014 08:31am
Reply
Thanks, I have lots of pictures I took along the way. I will start posting them as soon as I figure out how.
|
|
OwenChristensen
Member
|
# Posted: 3 Jan 2014 08:54am
Reply
It's nice if your cabin is that close. Cabin chores go much better. You can get them done one weekend and come back for fun the next. I also have been broke enough to stay home as it cost to much in fuel to get there, and my land is only 75 miles away. Cheap weekend, but it costs to get there.
|
|
PA_Bound
Member
|
# Posted: 3 Jan 2014 08:58am
Reply
Welcome mrhayes! If I can ask, what part of PA is your cabin in? There are several of us on the forum with cabins in PA- mine in Bedford county.
|
|
Shadyacres
Member
|
# Posted: 3 Jan 2014 08:59am - Edited by: Shadyacres
Reply
I noticed on another post Owen Christenson you said you have a bronco. I had a 71 bronco at one time and wished I would still have it.
|
|
Shadyacres
Member
|
# Posted: 3 Jan 2014 09:00am
Reply
Good Morning PA bound, we are located outside of Port Royal PA at bottom of Tuscarora Mt.
|
|
Shadyacres
Member
|
# Posted: 3 Jan 2014 09:01am
Reply
This is what we started with.
|
|
|
Shadyacres
Member
|
# Posted: 3 Jan 2014 09:04am
Reply
We had a sand mound put in and also a well the first year.
|
|
Shadyacres
Member
|
# Posted: 3 Jan 2014 09:07am
Reply
Camp site progress in 2012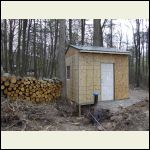
Well and Shed area
| 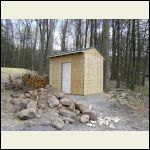
Well and shed area
|  |  |
|
|
Shadyacres
Member
|
# Posted: 3 Jan 2014 09:12am
Reply
Camp site progress in 2012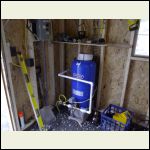
Water tank
| 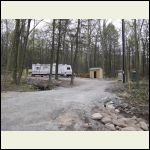
Ready for camping
|  |  |
|
|
Shadyacres
Member
|
# Posted: 3 Jan 2014 09:20am
Reply
Getting settled while dreaming of a cabin.
|
|
Shadyacres
Member
|
# Posted: 3 Jan 2014 09:23am
Reply
2012 campsite progress.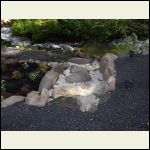
Plenty of stone around
| 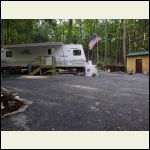
We camp almost every weekend
|  |  |
|
|
Shadyacres
Member
|
# Posted: 3 Jan 2014 09:27am
Reply
2012 campsite progress.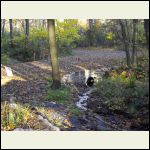
Stone I laid around pipe
| 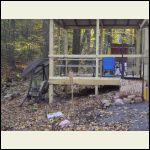
Small pavillion
|  |  |
|
|
Shadyacres
Member
|
# Posted: 3 Jan 2014 09:30am
Reply
Fall is the one of the best times to be camping.
|
|
Shadyacres
Member
|
# Posted: 3 Jan 2014 11:48am
Reply
After searching many years for land for a cabin , we finally found some outside of Port Royal PA along the Tuscarora Mt. in fall of 2011. After tearing down the old camper and shack that winter , we sat our camper up on the site after placing a sand mound. We then proceeded to get a well drilled and dreamed about our cabin. We finally broke ground for the cabin in Oct of 2013.
|
|
Shadyacres
Member
|
# Posted: 3 Jan 2014 12:02pm
Reply
I decided I wanted a basement under the cabin so after researching block , poured walls etc. decided to go with a superior wall basement. I will post pictures of the progress.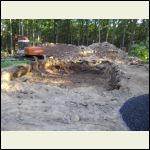
Basement cavity
| 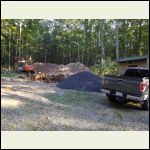
IMGP0005.JPG
|  |  |
|
|
Shadyacres
Member
|
# Posted: 3 Jan 2014 12:06pm
Reply
I don't like to cut any more trees down than what I need to but this old hickory had to come down for crane swing radius. I will use lumber from this tree to make things for inside cabin.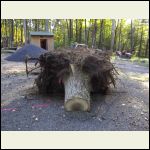
Hickory tree that needed to come down
| 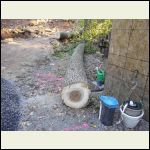
Hickory tree
|  |  |
|
|
Shadyacres
Member
|
# Posted: 3 Jan 2014 12:10pm
Reply
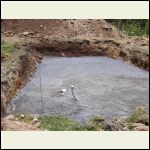
These pictures show the stone base for under the walls.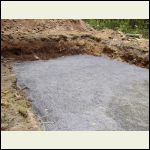
Basement stone base
| 
Basement stone base
|  |  |
|
|
Shadyacres
Member
|
# Posted: 3 Jan 2014 12:15pm
Reply
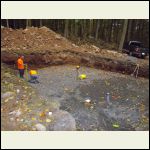
This is a picture of the crane used to set the basement walls and the set crew. They showed up at 7:30 am to prepare base and walls showed up at about 8:20 and they were all leaving by 9:30 am. So in two hours max my basement was up and very well insulated. I was very impressed with Superiors Walls. Would recommend them to anybody.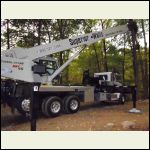
Crane to set walls
| 
Set crew
|  |  |
|
|
Shadyacres
Member
|
# Posted: 3 Jan 2014 12:19pm
Reply
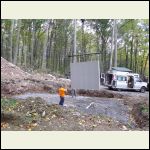
These pictures show the set crew grading the stone that the excavator and I placed 3 days earlier where the walls will set. The other picture is of the first section of wall being moved into place with the crane.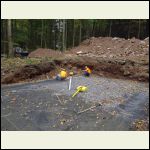
set crew grading stone
| 
first wall section going in
|  |  |
|
|
Shadyacres
Member
|
# Posted: 3 Jan 2014 12:23pm
Reply
These pictures show the completion of the basement.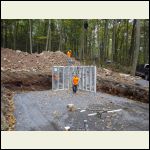
First corner
| 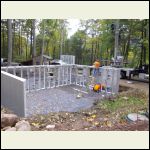
Moving right along
| 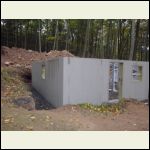
Finished basement
|  |
|
|
Shadyacres
Member
|
# Posted: 3 Jan 2014 12:42pm
Reply
My lumber arrived. You gotta love how they unload this stuff. I guess who ever pays the bill is more concerned about it. (lol)
|
|
Shadyacres
Member
|
# Posted: 3 Jan 2014 12:46pm
Reply
Of course , I had to restack most of the lumber pile that was delivered to keep it from warping as the shell builder will not be here for a few days yet.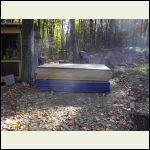
Restacked sheet goods.
| 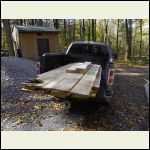
This is lumber from hickory tree cut earlier.
|  |  |
|
|
Shadyacres
Member
|
# Posted: 3 Jan 2014 12:50pm
Reply
After one day the floor was on and side walls were laid out.
|
|
Shadyacres
Member
|
# Posted: 3 Jan 2014 12:53pm
Reply
Here we have the walls up and the roof line is started.
|
|
redlandfd
Member
|
# Posted: 3 Jan 2014 12:54pm
Reply
Nice job
|
|
Shadyacres
Member
|
# Posted: 3 Jan 2014 01:02pm
Reply
Thanks redlandfd , I am still in the process of uploading more pictures, it is kind of time consuming.
|
|
Shadyacres
Member
|
# Posted: 3 Jan 2014 01:06pm
Reply
At end of third day , this is what it looked like.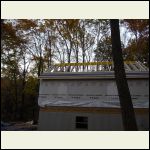
Roof trusses done and sheathing started
| 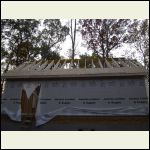
Roof trusses done and sheathing started
|  |  |
|
|
Shadyacres
Member
|
# Posted: 3 Jan 2014 01:16pm
Reply
This was end of fifth day and I told the contractor that I would take it from here. They were planning on coming back Monday to close in with sheeting but I opted to do it myself to save a few bucks. My time is free although I don't seem to have much FREE time.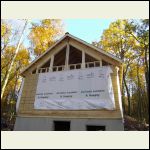
Almost closed in.
| 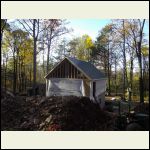
Almost closed in.
|  |  |
|
|
| . 1 . 2 . 3 . 4 . 5 . 6 . 7 . 8 . 9 . 10 ... 13 . 14 . >> |

