| << . 1 . 2 . 3 . >> |
| Author |
Message |
cbright
Member
|
# Posted: 7 Oct 2013 09:03am
Reply
More progress...
Had to bring the 9' x 5' bay window over by Zodiac because the hill is so step and narrow down to my waterfront. Went smoothly!
Unloaded the window onto the floating dock, then up the ramp and into place.
Window in place and installed... calculation were correct and only required minor shimming.
Installed the side window/door and started with the siding (Hardie board).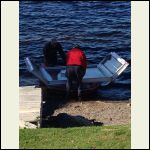
BayWindowBoating.jpg
| 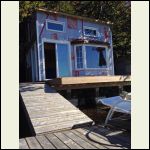
BayWindowRamp.jpg
| 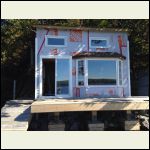
BayWindowInPlace.jpg
| 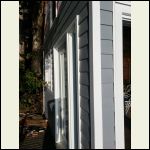
SideTrim.jpg
|
|
|
cbright
Member
|
# Posted: 7 Oct 2013 09:08am
Reply
Latest progress. Starting to look like a finished building.
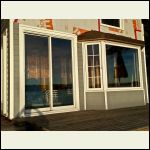
Front window and lower half of the siding installed.
Angle view of the front.
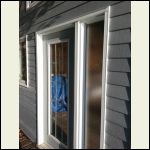
Side door and siding.
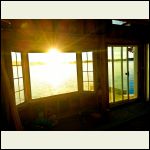
First sunset through the bay window.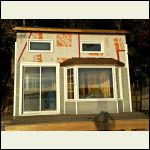
BayWindowSiding.jpg
| 
FrontLowerSiding.jpg
| 
SideDoorSiding.jpg
| 
BayWindowSunset.jpg
|
|
|
TheCabinCalls
Member
|
# Posted: 7 Oct 2013 10:52am
Reply
I can't even focus on your cabin...I just keep looking at your great views!! Great work on the build and picking that spot.
|
|
customrunner
Member
|
# Posted: 7 Oct 2013 06:03pm
Reply
Great job love your build and location, keep up the good job.
|
|
hattie
Member
|
# Posted: 7 Oct 2013 06:10pm
Reply
Oh this is beautiful! I LOVE that bay window!!!
|
|
cbright
Member
|
# Posted: 8 Oct 2013 08:41am
Reply
Thanks for the nice comments.... It has been tons of work because of the location... bottom of a 60' long 45 degree hill down to my waterfront... and built on a platform that I basically had to build from scratch.
The bay window is great.... wasn't the easiest to float over from the nearby beach, but worth it. It probably looks like I spent a ton windows, but I got them all used or free.
FYI, here is a run down of what I spent on them.
Bay window - $150 ... near new, came out of a building that was fire damaged.
Patio door - free - saw an ad where people were just giving it away.
3 horizontal awning windows... $50 each, brand new, had to build frames for them as they were just inserts.
2 large double hung vertical sliders, $100 each, brand new, had to build frame also, were easily worth $400 each, a builder had ordered the wrong size and just needed to get rid of them.
36" entry door with side window panel, $125... used, but works perfect
4'x3' window (beside entry door) - free garbage find. Had to rebuild the bottom ledge as it was rotted out.
So, that make $525 ifor all the windows.... I'd estimate them to cost around $4000 if bought retail !!!
"Heron Blue" metal roof goes on this weekend.
Haven't kept exact numbers, but I think I'm into it for around $4500 to this point.
|
|
cbright
Member
|
# Posted: 16 Oct 2013 03:18pm
Reply
Got the metal roof on this past weekend. "Heron Blue" from Scotia Metal.
First pic is a combo of last fall vs. this fall.
Reflections take from the canoe.
Angle view.
Angle view of my place and the neighbors.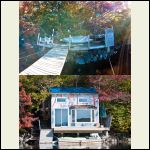
A year ago
| 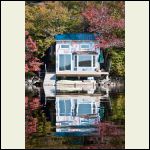
Reflections
| 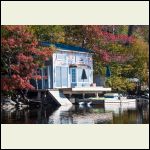
Angle view
| 
Angle overview
|
|
|
scout100
Member
|
# Posted: 7 Nov 2013 07:59pm - Edited by: scout100
Reply
Holy crap, that place is awesome!!! You have what I want  You are literally right on the water! I prefer this set-up to the other where people have a camp and then walk over to a beach.. I like to be right on the water.. Get some of those mobile home anchors, they are like 12 bucks each. Screw them down 48" underwater and into the sand... Then stick an 8 foot length of galv 2" pipe over them.. Space them like 12' apart.. S-Hook a Pawleys Island dble person hammock to them and have a hammock over the water. Place close to your deck so you can just jump into it.. My friend did that at his place, it was neat. Cool build, and cool Sully dog.. You are literally right on the water! I prefer this set-up to the other where people have a camp and then walk over to a beach.. I like to be right on the water.. Get some of those mobile home anchors, they are like 12 bucks each. Screw them down 48" underwater and into the sand... Then stick an 8 foot length of galv 2" pipe over them.. Space them like 12' apart.. S-Hook a Pawleys Island dble person hammock to them and have a hammock over the water. Place close to your deck so you can just jump into it.. My friend did that at his place, it was neat. Cool build, and cool Sully dog..
|
|
|
cbright
Member
|
# Posted: 20 Nov 2013 03:47pm - Edited by: cbright
Reply
Not a lot of updates to post... starting to get cold and dark early so I don't get much done in the time I have.
But I did get the siding on one side fully and most of the way up two other sides...
Also built the soffits for the entire place, so it is "air/critter tight" but still un-insulated.
Picked up a used Hunter direct vent propane heater that I'll hopefully get installed soon. Then do the electrical and wall insulation.
A few phone pictures (floating dock is out of the water now, so it is hard to get back to get much in the frame)
Outside work is pretty much done for the winter I'm thinking.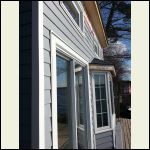
Front siding
| 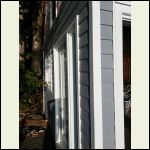
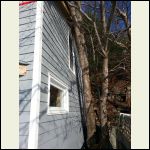
Entry siding
| 
Finished side
| 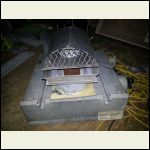
Propane heater
|
|
|
North Sask
Member
|
# Posted: 26 Nov 2013 11:19pm
Reply
Great looking place, cbright.
I'm working on my plans for a cabin with a half loft and a cathedral ceiling. It looks like you went with doubled studs (2x6?) on the rear load bearing wall. Was your plan to create a stiffer wall that would resist any outward thrust from the roof loading? It looks like you also used a ridge beam (rather than a ridge board). Did you feel it was necessary to stiffen the wall even with the ridge beam? Your thoughts on your cathedral roof design, and any suggestions for improvement, would be welcomed.
|
|
cbright
Member
|
# Posted: 27 Nov 2013 09:34am - Edited by: cbright
Reply
The back wall isn't double studded but is 2x6 (whole cabin is 2x6)... it is just spliced at the top because it is actually a 13 foot wall. I had originally built it at 12 feet, but I wanted to extra foot to give better head room in the loft (which turned out great!).
I doubled up the "ridgebeam for two reasons....
First was that I wanted it to be over 16 ft (is about 17'2") so that it would stick out to build the eves on the side and wood only comes in 16 ft lengths. I ended up using 3 - 12' 2"x8"s ... spliced/glued/screwed together at 6' and 12'
Second was that I wanted it to act a bit like a ridge beam (rather than a board) if it had to. There are outward forces at the top of the wall since it isn't rather tied together.
It is super solid, but what I plan on doing is installing the huge "eyelets" I have through the front and back walls at the top (through the main studs). Between them I'll have a cable with two hooks and a turnbuckle in the middle. This will be removable in the non-snow months, but put in place when there could be a snow load (mid-Dec through end of March here in NS)
There will also be a "tie' at the level of the loft, connecting the main support in the front (triple 12' 2"x6') across the 5.5 foot gap to the loft's main beam. Probably just use a piece of 1.5" pipe, securely fastened at both ends. Over building is my style!
|
|
North Sask
Member
|
# Posted: 27 Nov 2013 08:16pm
Reply
Thanks for all the extra details. The cable/turnbuckle is an interesting idea for a temporary rafter tie.
|
|
cbright
Member
|
# Posted: 2 Jan 2014 10:37am - Edited by: cbright
Reply
Made some progress over the Christmas break on the inside of the cabin...
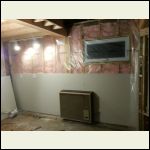
Got my propane heater installed roughly a few weeks back. 30k btus... heats well even without any insulation in the place.
Bought an old fuse panel for $30 (with about 40 fuses) ... have since wired the entire cabin with lights/fan/outlets/outside outlet/outside lights ...
Started on the insulation.
Drywall and heater re-install.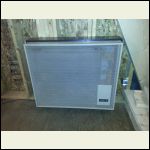
Heater
| 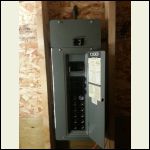
ElectricalBox
| 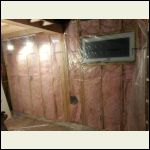
FirstInsulation
| 
HeaterReinstall
|
|
|
cbright
Member
|
# Posted: 2 Jan 2014 10:41am
Reply
And more progress...
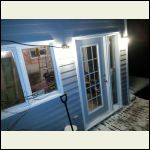
Outside view of the door,lights, outside outlet.
And again at night.... lights things up nicely.
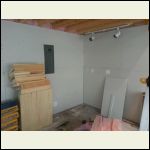
More drywall...
And a wood pecker that was hanging out outside.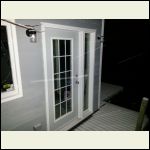
OutsideLights
| 
Lights at night
| 
MoreDrywall
| 
WoodPecker.
|
|
|
cbright
Member
|
# Posted: 2 Jan 2014 10:46am
Reply
And then some more interior progress.
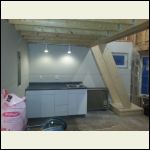
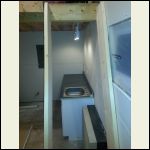
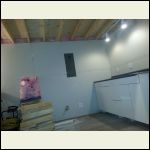
I picked up a little kitchen counter for free from my work when they were renovating the kitchen. Just had to cut it down for length a bit and modify one of the cabinet sections.
Starting to get a feel for how it will all fit together. Next up will be assembling the offset tread staircase and finishing the drywall on the lower, front of the cabin.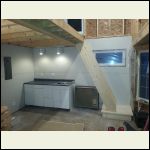
Counter1
| 
Counter2
| 
Counter3
| 
Counter4
|
|
|
cbright
Member
|
# Posted: 6 Jan 2014 09:16am - Edited by: cbright
Reply
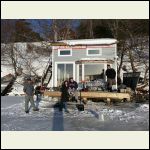
Didn't do any work on the weekend. We had a big snowstorm with lots of cold weather before hand, so the ice is now safe to walk/skate on.
Chain-sawed out a chunk and it is about 10-12 inches.
Some pics from out on the ice ... Angled shot, friends hanging out after skating, my dog Sully posing, and an overview showing the hill that I had to move everything down.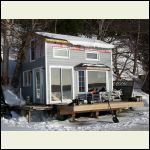
IceAngle
| 
IceFront
| 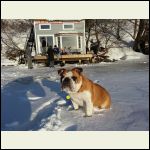
Sully
| 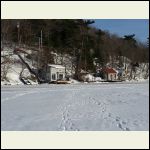
OverView
|
|
|
cbright
Member
|
# Posted: 13 Jan 2014 09:24am - Edited by: cbright
Reply
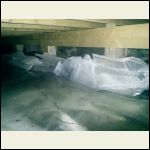
Had some crazy weather here over the weekend. +12c, 100kmph winds, and lots of rain. Ice on the lake melted and drifted and buckled up under the dock/cabin supports.
Thankfully I over build things and nothing moved on my supports. The neighbor had a support get knocked out that had been in place for 14 winters.
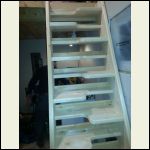
Also did some work on the inside yesterday... no heat turned on and was about 14c inside. Finally assembled the offset stairs. Everything lined up perfectly. Easy to walk up and down.... and will be dead simple when there is a handrail.
IceLastWeek
| 
IceBuckle
| 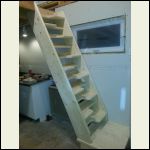
OffsetStairs1
| 
OffsetStairs2
|
|
|
razmichael
Member
|
# Posted: 13 Jan 2014 09:53am
Reply
Love the alternating tread stair design you went with (more complicated to build than my design but much nicer looking - you have more carpentry skills than I do!). It is surprising how quickly you get used to them and how easy they are!
|
|
knock
Member
|
# Posted: 13 Jan 2014 11:02pm
Reply
What an amazing build. Looks like an awesome place to stay.
|
|
cbright
Member
|
# Posted: 23 Apr 2014 12:55pm
Reply
Haven't updated this thread in a while.... I've done a lot since the last update. Mostly interior work.
I've kind of gone overboard finishing the insides. Will be something straight out of a better homes and gardens magazine when complete. Drywalled, completely trimmed out, all white (going for the "boat house" look), except the dark hardwood floor and the pine t&g ceiling (stain t.b.d.).
Putting the final coat of paint on tonight, then ceiling work and finally the flooring installation.
Pics to come soon!
|
|
In the Hollow
Member
|
# Posted: 23 Apr 2014 01:11pm
Reply
Beautiful. I love BHG, bring it on!!!!!!!!!!!!!
|
|
cbright
Member
|
# Posted: 24 Apr 2014 09:45am
Reply
Just a preview cell phone pic from under the loft. Only primer on the loft wood, but the finish pure white on the walls. Coming together nicely now.
|
|
stickbowcrafter
Member
|
# Posted: 29 Apr 2014 08:51pm
Reply
Wow! Absolutely beautiful place and location. Congrats on all your hard work.
-Brian
|
|
cbright
Member
|
# Posted: 30 Apr 2014 01:58pm
Reply
Ceiling going up tonight... pre-stained all the t&g boards last night.
|
|
cbright
Member
|
# Posted: 20 May 2014 02:42pm
Reply
Just back from vacation... will be pushing to finish by the end of the weekend...
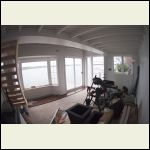
Latest pics;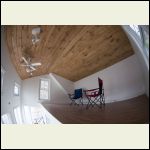
Loft
| 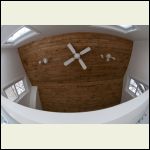
Ceiling 1
| 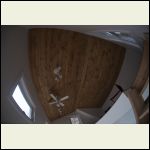
Ceiling 2
| 
Under the loft
|
|
|
cbright
Member
|
# Posted: 20 May 2014 02:44pm
Reply
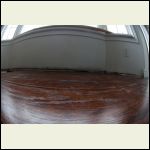
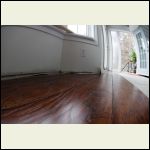
And a few more pics;
Flooring preview.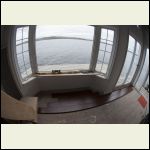
Flooring 1
| 
Flooring 2
| 
Flooring 3
| 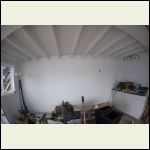
Under the loft
|
|
|
cbright
Member
|
# Posted: 22 May 2014 09:24am
Reply
Started installing the flooring last night. Only got a little done because I had to make sure the sub-floor was perfect and screwed down solid.
I had to sand down some bumps,etc....
What's finished looks great and the rest should be straight forward.
|
|
cbright
Member
|
# Posted: 23 May 2014 03:16pm
Reply
Got the flooring done last night... went smoothly and looks great. Just baseboards and I can move some furniture in!!!
It is the 15.3mm stuff from Costco "Golden Select Laminate Flooring Autumn Oak" ... if you ever install this stuff, make sure to get a floor puller bar... I used it (and a block of 2x10) on every piece. Makes getting everything snug very easy.
|
|
cbright
Member
|
# Posted: 8 Jul 2014 02:57pm - Edited by: cbright
Reply
Been awhile since I've done much... enjoying the summer.
But I finally got the railing for the loft and the stair handrail completed.
Used 3/16 cable for the horizontals. Turned out great... just need to be inventive on how you keep it tight.
I basically used a big ratchet strap to tighten each row up as I went and then use vise grips to hold that row tight while I do the next... and repeat 9 times.
|
|
Glenn911
Member
|
# Posted: 18 Dec 2015 08:12pm
Reply
Really nice. totally looks like it's in the Waverly area. Lots of work.
|
|
| << . 1 . 2 . 3 . >> |

