| << . 1 . 2 . 3 . 4 . 5 . 6 . 7 . 8 . 9 . 10 ... 17 . 18 . >> |
| Author |
Message |
Bevis
Member
|
# Posted: 26 Nov 2011 07:40am
Reply
Your place is looking better and better with each group of pics you post.
|
|
Tim
Member
|
# Posted: 26 Nov 2011 05:58pm - Edited by: Tim
Reply
We had a great day today! Nathan came back to help finish the siding on the north east gable end, and finish the roof metal. We still had to put the last half sheet of roofing on, the rakes (gable trim) and the ridge cap. here are some pics summing up our days work: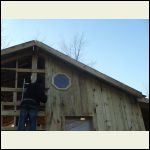
Nathan, nailing siding
| 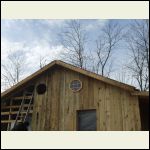
Ready for the second window!
| 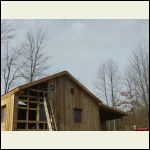
Second window in!
| 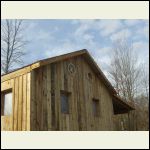
Siding finished on the north east end
|
|
|
Tim
Member
|
# Posted: 26 Nov 2011 06:02pm
Reply
More pictures...............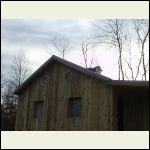
The rake trim finished!
| 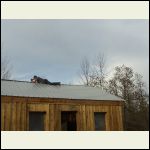
Nathan installing the ridge cap. lol...not very fun!
| 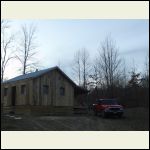
The end of a long hard day.....time for some Bud Light!
| 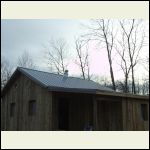
The back porch
|
|
|
Martian
Member
|
# Posted: 27 Nov 2011 06:50am - Edited by: Martian
Reply
Quoting: Tim As for special instructions, there are quite a few trick to working with green wood. One of the most critical that comes to mind is the way it is nailed. The framing is pretty typical, but like when nailing siding, you angle the nails that are on the outside edges. Angle them so the head of the nail is tward the center of the board. The center nail gets put straight in. By angling the nail, the boad will slip on the nail just slightly as it shrinks in, instead of spitting where the nail is.
Tim, this doesn't sound right. If the nail is angled with the head towards the center, then as the board shrinks it gets loose and can cup. If nailed with the head towards the edge, the board gets tightened against the framing as it shrinks.
Tom
|
|
Tim
Member
|
# Posted: 27 Nov 2011 07:38am - Edited by: Tim
Reply
Quoting: Martian If nailed with the head towards the edge, the board gets tightened against the framing as it shrinks.
Nope! It will spit the edge off every board as it shrinks! Trust me on this one, I had it happen on a small pole building I built. The boards won't cup this way either. They would if you use too wide of a siding board though. That it why 8" is as wide of a siding board as you dare use.
I do understand your reasoning, but that isn't what happens in reality.
Tim
|
|
Martian
Member
|
# Posted: 27 Nov 2011 08:25am - Edited by: Martian
Reply
Tim, I, too, do this for a living. My reality is different from yours. Over the years I've learned the real secret to preventing the edge from splitting is to keep the nails 3/4" in and use a full 2" batten board. I agree the nails need to be angled; I just angle them the other way.
The size of the nail is important. I use galvanized 8-penny no-split's for board and batten or lap applications whether green or cured.
Tom
|
|
Tim
Member
|
# Posted: 27 Nov 2011 08:30am
Reply
Tom,
Hey, if it works for you, then it works. On the building I had the trouble with, I can't say I was off the edge a full 3/4" so maybe that was part of the problem. I have been angling them the other way for years though, and havn't had a problem with cupping or splitting either one.
I too, put the boards tight together, and use a full 2" batton. I use galvenized twist shank 10d nails.
Tim
|
|
Tim
Member
|
# Posted: 27 Nov 2011 08:57pm - Edited by: Tim
Reply
I did a little video tour of the inside and outside of the house.
click the "url" below to watch the youtube video.
URL
|
|
|
Tim
Member
|
# Posted: 30 Nov 2011 06:39pm
Reply
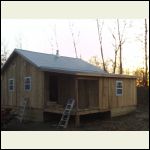
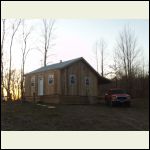
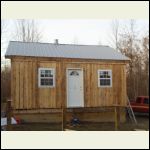
I got the widows and front door in over that last couple of days. Here are some pics: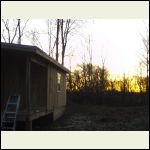
Zi6_6321.JPG
| 
Zi6_6319.JPG
| 
Zi6_6318.JPG
| 
Zi6_6315.JPG
|
|
|
Erins#1Mom
|
# Posted: 30 Nov 2011 07:45pm
Reply
Tim,
I just found out I may have an opportunity to build several good sized logs (app, 10 - 20 ft in length) from a uncle who cut them down this summer. If I do, I will most likely hire someone with a portable sawmill to cut up the wood in the desired lengths. As I haven't started the foundation yet, would that be a problem. Would I need any special care of the lumber until I'm ready to build?
|
|
Tim
Member
|
# Posted: 30 Nov 2011 07:50pm
Reply
It wouldn't be any problem at all. You will, however have to stack the lumber with small "sticks" between each layer so it can breath. Cover the stack with a tarp on top and leave the sides partially open for air circulation. It should be good until you are ready for it.
If you happen to own a barn, stacking it inside is even better, but still needs the sticks between the layers.
It will be a little harder by then for nailing and cutting, but will still work fine.
Tim
|
|
mountaineer
Member
|
# Posted: 30 Nov 2011 08:09pm
Reply
Quoting: Tim You will, however have to stack the lumber with small "sticks" between each layer so it can breath.
Make sure the "sticks" that you use are dried lumber or they will leave "sticker stain" on your lumber.
|
|
Tim
Member
|
# Posted: 2 Dec 2011 06:26pm - Edited by: Tim
Reply
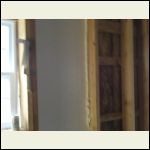
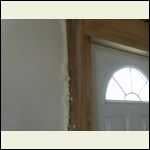
I sided the last gable today. Now, only the back door remains to be closed in completely for winter. Oh, I took some pics of the way I am going to put the foam in too. I have talked about the 1 inch styrofoam being the moisture burrier inside the siding.
Fiberglass will then go over the styrofoam. Here are some pics of what I am talking about.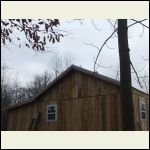
Zi6_6329.JPG
| 
Zi6_6332.JPG
| 
Zi6_6333.JPG
| 
Zi6_6341.JPG
|
|
|
customrunner
Member
|
# Posted: 2 Dec 2011 08:04pm
Reply
Cabin looks great Tim I was going to do styrofoam the same way but in my floor...
|
|
Tim
Member
|
# Posted: 2 Dec 2011 10:08pm - Edited by: Tim
Reply
Thanks Chad! I was just checking you cabin post too. Lookin' great! I see you are doing some solar too. I will be looking into solar and wind power both for my cabin a little later.
Wow, I am glad we don't have your weather yet though. It's coming soon here, but not yet. We've been really lucky so far this winter!
|
|
naturelover66
Member
|
# Posted: 2 Dec 2011 11:11pm
Reply
Wow tim...i just read your blog... Aloud to my husband. I love your cabin... The energy of your story.. The dogs... Your wonderful wife...i too am tired of swimming against the current and can't wait for a simplier life. Congrats on the cabin and pursuing the dream. Lisa
|
|
trollbridge
Member
|
# Posted: 3 Dec 2011 11:53am
Reply
Tim...been watching your post and am impressed with how far you have come! It really looks wonderfully rustic and it is very obvious that you are enjoying the process! Continue on with a smile...
|
|
Tim
Member
|
# Posted: 3 Dec 2011 03:13pm
Reply
Quoting: trollbridge it is very obvious that you are enjoying the process! Continue on with a smile...
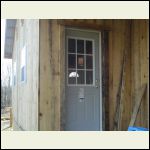
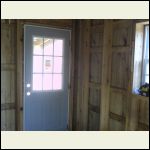
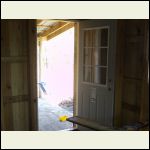
Thanks Troll! There have been parts that I have enjoyed, and parts that were just necessary evils to get to the desired end. I am pretty much past all that now though. Today, as I left to go out to the site, I decided to make it a pretty easy day. I installed the back door and put the trim around it. Then I took a little walk around the property. I found a hill at the side of the pond that has out croppings of small stones. PERFECT for stoning the hearth for the wood stove!
When I got back from my walk, I loaded up enough boards to bring home and rip on the table saw for the battons. I cut almost enough to finish the whole house! :-)
Here are some pics of the back door I put in and trimmed today: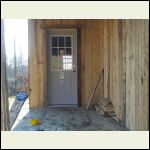
Zi6_6357.JPG
| 
Zi6_6362.JPG
| 
Zi6_6356.JPG
| 
Zi6_6353.JPG
|
|
|
trollbridge
Member
|
# Posted: 3 Dec 2011 03:39pm
Reply
Looks great! You sound just like us...searching for rocks, cutting down wood at home to bring up next time and so forth! My mother last weekend asked me if I was having a typical Sunday(we were at home and I was doing laundry). I told her it was far from typical cause IF we were at home either it would be because we had to attend some family event like these next 2 weekends(bridal shower and baptism) or Mr. Trollbridge had to work(which he is doing right now). On those weekends we always do something to help prepare us for the next time we get to go to the cabin. This weekend we will be picking up the wood bead board that will be going on the ceilings below the loft and we also picked up a bunch of pallets that were free for building a wood shed with. We always seem to be working on the cabin even when we are not at the cabin!!!
Stones will be nice for your hearth. We will be using ours to face an arched wall between our kitchen and living room. I can't wait to get to that part-hopefully soon!
|
|
Tim
Member
|
# Posted: 4 Dec 2011 07:41am
Reply
Quoting: naturelover66 Wow tim...i just read your blog... Aloud to my husband.
I sure hope you can convince hubby. My wife is somewhat like he is. She has said several times she is going to miss being in town with the sidewalks etc. lol...last night we were hanging Christmas decorations. We live on a main street and I couldn't here what she was saying over the traffic. Yeah.....I'm gonna miss that! lolol
|
|
Tim
Member
|
# Posted: 7 Dec 2011 06:49pm - Edited by: Tim
Reply
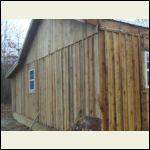
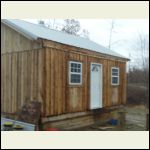
More batton strips on. I finished stripping the back porch tonight in the cold, freezing rain.
Zi6_6373.JPG
| 
Zi6_6376.JPG
| 
Zi6_6377.JPG
|  |
|
|
Erins#1Mom
|
# Posted: 7 Dec 2011 07:43pm
Reply
Tim,
It just gets better and better. I'm anxious to see it with the porch on front. It may be mentioned somewhere in an earlier posting, but, do you plan to stain or do anything with the wood?
|
|
Tim
Member
|
# Posted: 7 Dec 2011 07:50pm - Edited by: Tim
Reply
E1M,
Thank you very much!
Well, that was a topic of great debate with the Ms. lol....I wanted hunter green tin and dark brown stain. She want to go "the cottage" look, instead of the "cabin" look. That means she wanted light gray roof tin, white trim, and dark gray stain on the wood.
Since you can see the light gray tin and white trim, you already know how that went for me. lol
I pick and choose my battles!
|
|
hct4all
|
# Posted: 7 Dec 2011 09:28pm
Reply
Tim,
Just watched the video. Very Nice. How are you going to seal the boards. I notice you can see light from the inside out.
Very nice work!!
Best regards,
Rick
|
|
Tim
Member
|
# Posted: 7 Dec 2011 09:32pm - Edited by: Tim
Reply
hct4all,
That is what the battons I am putting on now are for. The cracks you see between the boards were where the battons were not yet put on. 4 sides are now complete and there is no light showing through them at all now. (See the last set of pics above)
Tim
|
|
hct4all
|
# Posted: 7 Dec 2011 09:35pm
Reply
Sweet!
|
|
Erins#1Mom
|
# Posted: 8 Dec 2011 10:02pm
Reply
Tim,
I would have gone your way with the green tin and the dark stain. All in keeping with the theme of cabin not cottage. But, you are a smart man and went with the wife. SMART.
|
|
Tim
Member
|
# Posted: 9 Dec 2011 06:25am
Reply
Erins#1Mom
lol.....years of experience! :-)
|
|
Tim
Member
|
# Posted: 9 Dec 2011 06:28am
Reply
Last night was sort of a land mark night. I stopped and bought the wood stove! It took until fairly late after work to get it all put together and the chimney pipe connected. It is ready for the first fire, but I didn't have the camera with me. I want a pic of the first fire, plus it was getting too late and I wanted the fire out before I left, so I waited.
It is really going to be nice having heat to snuggle up against while working out there! :-)
|
|
oldbuddy
|
# Posted: 9 Dec 2011 09:57am
Reply
i know exactly what you mean about wanting to have a picture of it and not wanting to start it too late in the day...especially if you were not going to be there all night. the first fire was really nice watching and feeling the cabin warming up was really nice too.
we made the mistake of putting screen over the top of the exhaust stack to keep hot debris from exiting. that was a big mistake i have come to find out. yesterday, after already having about six fires in the stove, it decided to start smoking us out. apparently the screen was covered with kreosote and caused a downdraft since it couldn't exit properly. we will have that corrected asap or at least before the next fire. experience is a wonderful teacher...if you live through it. i know i sure don't want a chimney fire in the middle of sixty-four acres with no decent road for a fire truck to get to.
good luck on your first fire and don't forget the hot dogs and marshmallows! old old buddy
|
|
| << . 1 . 2 . 3 . 4 . 5 . 6 . 7 . 8 . 9 . 10 ... 17 . 18 . >> |

