| << . 1 . 2 . 3 . 4 . 5 . 6 . 7 . 8 . 9 . 10 ... 17 . 18 . >> |
| Author |
Message |
Bevis
Member
|
# Posted: 8 Nov 2011 07:12am
Reply
coming along nicely.
|
|
customrunner
Member
|
# Posted: 8 Nov 2011 11:46am
Reply
Great job keep the picks a coming....
|
|
Tim
Member
|
# Posted: 11 Nov 2011 07:06pm
Reply
We finished the rafters today, and started the purlins. Here are some pics: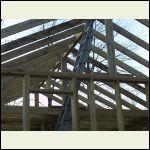
Zi6_6134.JPG
| 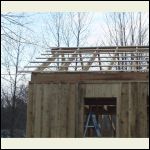
Zi6_6138.JPG
| 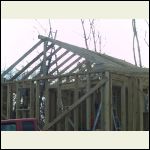
Zi6_6135.JPG
|  |
|
|
Tim
Member
|
# Posted: 12 Nov 2011 09:14pm - Edited by: Tim
Reply
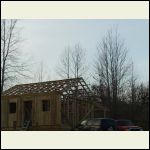
Wow, this has been a busy weekend! We sure got a lot done. Nathan, a friend and co-worker came up for the weekend and helped set rafters and purlins. It's a good thing I had the help. We were climbing around on that roof like monkeys, and I didn't like it one little bit! lol Except for one end rafter on the overhang of the back porch, we got finished. As soon as that is done, I am ready for roof tin! Yeah....
Pics: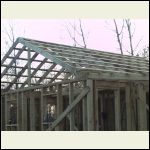
Zi6_6161.JPG
| 
Zi6_6163.JPG
| 
Time for Bud Light at the end of a long hard day!
|  |
|
|
Tim
Member
|
# Posted: 12 Nov 2011 09:18pm
Reply
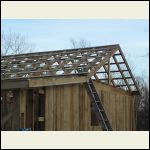
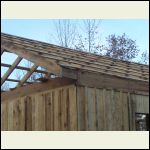
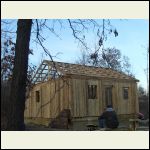
More pics......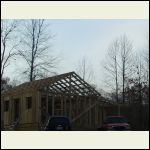
Zi6_6162.JPG
| 
Zi6_6156.JPG
| 
Zi6_6154.JPG
| 
Zi6_6150.JPG
|
|
|
trollbridge
Member
|
# Posted: 12 Nov 2011 09:27pm
Reply
Wow Tim...you're really moving along quickly!!!
|
|
Tim
Member
|
# Posted: 18 Nov 2011 06:08am
Reply
Thanks Trollbridge!
I ordered the metal for the roof yeasterday. They will be delivering it Monday. The neighbor is allowing me to store it in his garage for safety. I have really been worried about it getting stollen for scrap before I get it all put on. Not that crime is a real problem in this area, but it is a little secluded. That will work out great now.
I will have to hustle this weekend to finish the siding! :-)
|
|
jrbarnard
Member
|
# Posted: 18 Nov 2011 06:27am
Reply
Pictures or it's all lies! ;)
Russ
|
|
|
Tim
Member
|
# Posted: 18 Nov 2011 08:57am
Reply
I haven't taken any this week. I sat on the camera and broke it! :-( I just recently discovered it will still take pics though. You just can't see the display. So....lol...the pics might be off center a little, but at least I can still "point and shoot". I will be taking more pics this weekend.
Tim
|
|
crosswind
Member
|
# Posted: 18 Nov 2011 11:50am
Reply
looks great Tim
|
|
Montanan
Member
|
# Posted: 18 Nov 2011 01:20pm
Reply
Wow- that's impressive progress! Looks great- I really like the board and batten.
|
|
customrunner
Member
|
# Posted: 18 Nov 2011 02:13pm
Reply
love the board and batten looks great keep the picks coming.
|
|
Tim
Member
|
# Posted: 18 Nov 2011 06:13pm
Reply
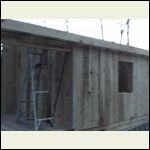
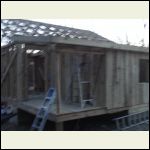
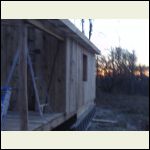
I went out tonight after work and finished more siding. I am down to only the north east side and one gable to put siding on now.
Here are some pics. lol....I had to shoot them blindly!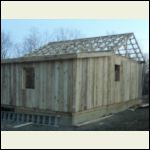
Zi6_6172.JPG
| 
Zi6_6171.JPG
| 
Zi6_6174.JPG
| 
Zi6_6177.JPG
|
|
|
Just
Member
|
# Posted: 18 Nov 2011 09:47pm
Reply
You will soon be in the dry tim congrats?What will you do about the green wood srink and the glass ?
|
|
Tim
Member
|
# Posted: 19 Nov 2011 05:29am - Edited by: Tim
Reply
Just,
I will be using pre-hung window sashes. I made the rough openings about 1/2" larger than the specs in both directions. The windows I chose have a nailing flange around them. So, I can shim them in place and fasten them. Then remove the shims. That will leave them suspended in the middle of the opening. I won't do anything in the gap untill spring. Once most of the shrinkage has completed, I will shoot low expansion foam (Great Stuff) in the gap. Trim will then go over everything inside and outside both. Something I learned from the book "The Green Wood House" by Larry Michael Hackenberg, is that although it takes 1 year per inch of thickness for green lumber to completely dry, 80% of the shrinkage takes place within the first 8 or 9 months.
Tim
|
|
Bevis
Member
|
# Posted: 19 Nov 2011 10:12am
Reply
Looks good. almost have it dried in.
|
|
neb
Member
|
# Posted: 19 Nov 2011 02:04pm
Reply
It looks well built and keep the pictures coming.
|
|
Erins#1Mom
|
# Posted: 19 Nov 2011 03:47pm
Reply
Tim,
How much shrinkage can you expect you using been wood. Any special instructions? Also, did you use different woods? It looks get by the way.
|
|
Tim
Member
|
# Posted: 19 Nov 2011 05:01pm
Reply
Erins#1Mom,
The rule of thumb is about 1/8" inch per 6" of width. For example, I am using 1"X8" siding boards. I can expect about 3/16 shrinkage in the width of the board. That is the case with yellow poplar anyway, which is what I am using. Both the 2X framing and the 1X siding are yellow poplar.
As for special instructions, there are quite a few trick to working with green wood. One of the most critical that comes to mind is the way it is nailed. The framing is pretty typical, but like when nailing siding, you angle the nails that are on the outside edges. Angle them so the head of the nail is tward the center of the board. The center nail gets put straight in. By angling the nail, the boad will slip on the nail just slightly as it shrinks in, instead of spitting where the nail is.
For the siding, squeeze them tightly together. Then put a narrow batton strip on, nailed only in the middle. That allows the shrinking boards to slip benind them slightly. The batton will still cover the gap created, which should only be about 1/2" to 5/8". The battons are 1"X2" strips.
Hope that is helpful.
Tim
|
|
Tim
Member
|
# Posted: 19 Nov 2011 05:08pm
Reply
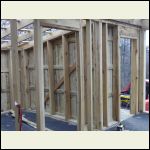
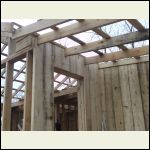
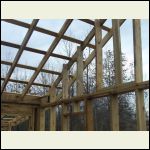
I didn't get a whole lot done today that shows. Alot of little detail work that was time consuming. Then the whole family showed up for a birthday picnic and cake. Something about beer and cake that works if it takes place beside a campfire! :-)
Here are some more pics: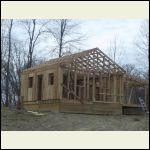
Zi6_6186.JPG
| 
Zi6_6185.JPG
| 
Zi6_6178.JPG
| 
Zi6_6183.JPG
|
|
|
Nirky
Member
|
# Posted: 20 Nov 2011 12:20am
Reply
I'm no construction expert and I can't think of when I last nailed a piece of wood to another, but it looks very very sturdy to me.
Don't let anyone judge the construction technique, if it works and has a proven track record, that is what's important. Like your other forum, you will find "construction police", the know-it-alls, and the incessantly irked, but hang in there because someday some first-time builder like me might just try it in his cabin, and will need the information. :)
|
|
Tim
Member
|
# Posted: 20 Nov 2011 08:16am
Reply
Thanks Nirky,
You are right, sometimes there are people that think there is only one way to do something, and that is THEIR WAY. lol....
I hope to never mislead anybody to do something that is not safe. But there have been things on this project that some have sworn just won't work, and will fall appart in weeks. Very closed minded and not willing to learn anything new. Or old actually. Heaven forbid a house be built out of less than kiln dried pine, that has been plained to dementions that are more like tooth pics than planks.
It defies common sense. But oh well, their loss. Yeasterday, a fellow stopped by my construction site to speak with my surveyor. He loved the cabin. In converstation he asked, so "why did you choose rough sawn lumber"?
My answere? Because up to this point, I have $2,800.00 in lumber. It will be under a metal roof, with windows and doors for just over $4,000.00
"Holly crap" was his responce. He asked for the contact information of the mill where I bought my lumber. He will be building at a near by lake next spring.
|
|
Erins#1Mom
|
# Posted: 21 Nov 2011 11:24pm
Reply
Tim,
Thanks for answering my question. Months ago, when I mentioned to an older friend (70+) my dream of a strong walled but inexpensive cabin, he said go with rough sawn. Save a bundle. I can't wait to see more photos as you get further along.
|
|
turkeyhunter
Member
|
# Posted: 22 Nov 2011 06:18am
Reply
rough saw cabin looks awesoem---nice build
|
|
Tim
Member
|
# Posted: 23 Nov 2011 06:42pm - Edited by: Tim
Reply
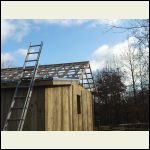
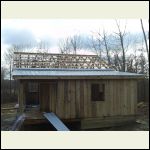
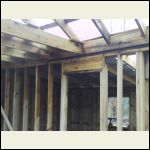
Today, I took a day off and worked on the roof. I was able to get the entire back section done, including the trim pieces. Tomorrow, my friend Nathan will be here to help with the upper parts. Oh, I also went and bought the chimney parts today. That way we can flash in the chimney while we are up there and I won't ever have to go back up! :-)
Here are some pics.
Tim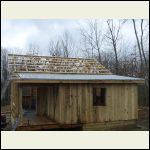
Zi6_6205.JPG
| 
Zi6_6215.JPG
| 
Zi6_6212.JPG
| 
Zi6_6203.JPG
|
|
|
Tim
Member
|
# Posted: 24 Nov 2011 07:20pm
Reply
WOW! It sure was a long hard day today. Nathan came and helped put the roof on. Now.....it is a CABIN!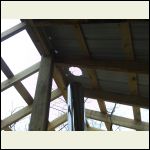
Preping for the chimney
| 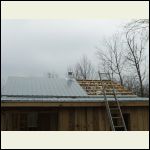
The back, half done
| 
Nathan....chimney cap on!
| 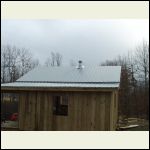
Back, finished except for rake trim
|
|
|
Tim
Member
|
# Posted: 24 Nov 2011 07:23pm - Edited by: Tim
Reply
Now...the front...... We finished it all but the last 1/2 sheet. We decided since it needs cut, and will have to be installed from a ladder, to wait until tomorrow for that one. Then we will do the trim and ridge cap.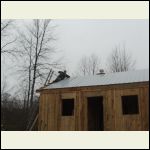
Nathan putting that last couple of screws in
| 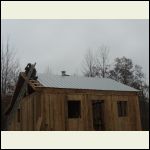
Now, for the last sheet, but getting too dark tonight.
| 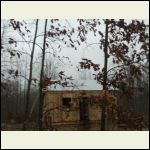
Zi6_6238.JPG
| 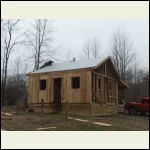
Zi6_6237.JPG
|
|
|
customrunner
Member
|
# Posted: 24 Nov 2011 07:32pm
Reply
looks great Tim, you've been working hard, bet it feels good to get the roof on. Keep up the hard work and keep the picks coming.
|
|
Tim
Member
|
# Posted: 25 Nov 2011 06:41pm
Reply
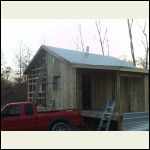
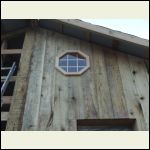
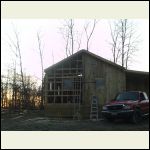
Today, Nathan came back and helped again. We decided to work on the siding until the frost was off the roof. We just never got to the roof to put the ridge cap on, but we will tomorrow for sure.
Here are some pics.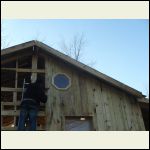
Zi6_6240.JPG
| 
Zi6_6250.JPG
| 
Zi6_6246.JPG
| 
Zi6_6249.JPG
|
|
|
Erins#1Mom
|
# Posted: 26 Nov 2011 07:02am
Reply
I'm loving it..... I may need to have you come to tennessee for a few weeks and work on my build when I get a few bucks.
|
|
| << . 1 . 2 . 3 . 4 . 5 . 6 . 7 . 8 . 9 . 10 ... 17 . 18 . >> |

