| << . 1 . 2 . 3 . 4 . 5 . 6 . 7 . >> |
| Author |
Message |
stickbowcrafter
Member
|
# Posted: 16 Apr 2014 07:43am
Reply
Great thread, nice land and beautiful cabin! I'm working on a 12x12 shed barn with loft for storage/sleeping while I build a cabin on some land I bought last year. Awesome place you got there, nice job so far!
-Brian
|
|
sabiggs
Member
|
# Posted: 21 May 2014 09:58pm - Edited by: sabiggs
Reply
Well, we're another step closer to the finish line. So much is happening, it's exciting.
This past weekend Chris and I were able to finish the stone work behind the wood stove, re-align the foundation of the cabin, try (and fail) to burn the huge brush piles we have, re-grade the driveway and road, try out the new chainsaw, and ride the ATV's like crazy.
We took a lot of time to finish the stone work behind the wood stove, and I must say, it looks pretty legit. We did an awesome job. We had originally bought an old beam from an 1800's barn to use as the mantle but we unfortunately found carpenter ants in it so we had to use unique fence posts as the mantle.
We were hoping to burn at least one of the brush piles this weekend as well, but we just didn't have the time needed to babysit the pile and watch over it as it got started. We did get a chance to meet with the well drilling company who we spoke with about drilling for a well. It looks like we're close to being ready and hopefully within the next month or two, we'll have a drilled well with a hand pump. Water.
We took the chainsaws to the back plateau on the ATV's. Along the way, we widened the trail as we went, cutting down trees with dueling chainsaws. Our hope is to widen the trail enough to get the tractor back to the plateau. We are slowly chipping away at the trees in the back with the hope of one day having a pretty nice clearing.
We also decided it's time to take the plunge and finish off the culvert/ water re-direction work needed. We're going to add another culvert at the road for the wrap-around driveway and one earlier on the wrap-around.
Lots is happening, we're close. So close. Next trip is in about a month. There's talk of 3 days next time up together
More pictures at:
www.halifaxcabin.blogspot.com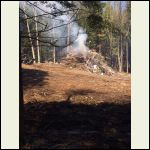
Burn Pile
| 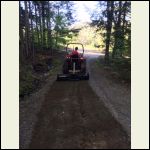
Grading the driveway
| 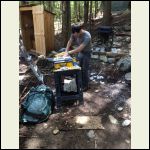
Wet Saw
| 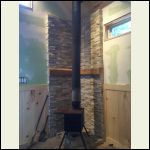
Finished Stonework
|
|
|
sabiggs
Member
|
# Posted: 21 May 2014 10:01pm
Reply
More pictures at:
www.halifaxcabin.blogspot.com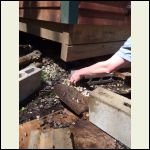
Re-Leveling Foundation
| 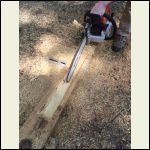
Chainsawing Mantle
| 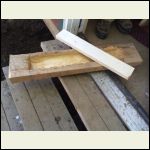
Mantle piece to fit in mantle
| 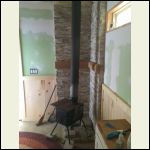
Side view
|
|
|
brooksm29
Member
|
# Posted: 29 May 2014 11:25pm
Reply
sabiggs- I noticed in your 1st wood stove install that it appeared to be very close to the wall. What was the actual distance between your stove and wall? Did you have any problems with that? Wall get too hot? Concern for safety..lol? I am just curious because my stove and cabin are very small. I cannot afford to place the stove in the middle of the cabin due to clearances...lol.
|
|
sabiggs
Member
|
# Posted: 31 May 2014 07:11am
Reply
Hi brooksm29,
We bought the "two dog" wood stove from a guy in Minnesota I believe. I have referenced this stove in several "wood stove" threads on this forum.
Our stove doesn't get too hot below or behind....mainly on the sides and the front. We have never had any heat issues in the back. At first we had a few smaller concerns about heat on the side, but we quickly put up a heat shield and have since diagonally angled the stove (see most recent pictures) to make it look nicer, but it also gives us more wall clearance.
I highly recommend the stove to other small cabin users. It is more than adequate! Thanks for looking!
|
|
sabiggs
Member
|
# Posted: 19 Oct 2014 08:24pm
Reply
What a great fall weekend. So much has happened since I last posted. I got lazy and didn't post after we went up in June. A few updates:
• we have a well now! Pretty sweet.
• we have connected the clearing opening with the cabin opening
• we have about a million culverts now on the property, many in the ground!)
• we got a lot of wood milled from trees from the land
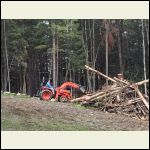
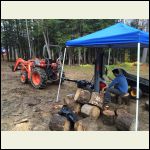
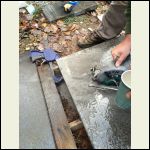
This weekend was productive. Lots got done. We cleaned up a bunch of downed branches, split wood, dropped off the snowmobiles to get serviced, dropped off the backhoe to get serviced, unloaded the wood we had milled, and the big project was installing some granite underneath the wood stove. We are so close to the finish line.
We're also having concrete footers put in to replace the concrete blocks we now use for foundation...should help with frost heave. Next up is flooring and a new sleeper sofa. Then it's cabinets. Then....we're done! Yep, that close. Might be our last time up together before the ground is covered with snow.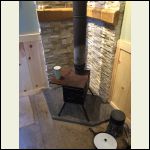
granite under wood stove
| 
downed limbs to the burn pile
| 
wood splitting station
| 
cutting the granite
|
|
|
turkeyhunter
Member
|
# Posted: 19 Oct 2014 09:47pm
Reply
granite looks great!!!!....getting plenty of wood ready for winter..it will be here very soon!!!
|
|
sabiggs
Member
|
# Posted: 15 Mar 2015 08:36pm
Reply
Three and a half years later, our dream is nearly complete. Amazing journey.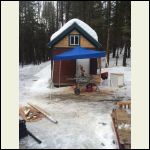
Under the tent because of freezing rain
| 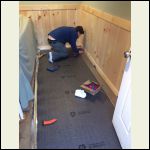
Laying underlayer
| 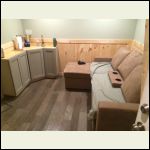
Finished!
| 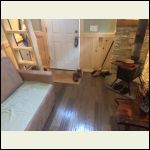
From the back.
|
|
|
|
AK Seabee
Member
|
# Posted: 15 Mar 2015 11:21pm
Reply
Sweet cabin Sabiggs. What's next?
|
|
sabiggs
Member
|
# Posted: 16 Mar 2015 09:53am
Reply
AK SeaBee-Up next is a bigger, more permanent cabin. Thinking 30x40 footprint timber frame. My brother and I will design it, but will not build it. This little cabin will someday serve as a guest house. This was our little project. Fun. Still planning a deck off the side of this cabin this summer. But, we're hoping to clear more trees this summer and pour the foundation for the bigger cabin in the fall.
|
|
AK Seabee
Member
|
# Posted: 17 Mar 2015 01:52am
Reply
 
|
|
sabiggs
Member
|
# Posted: 28 May 2015 07:43pm - Edited by: sabiggs
Reply
Was up for Memorial Day weekend. Beautiful.
The cabin is essentially done. Now, it's time to enjoy. We have already locked in for a spring 2016 build for a 30x40 timber frame barn style cabin in the clearing. Much of the wood will come from the hemlock and eastern white pine you see in these pictures.
We plan to pour foundation and install septic this fall. It's happening!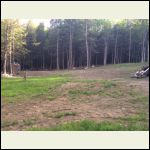
photo_18.JPG
| 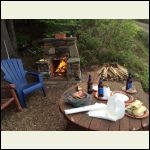
photo_29.JPG
| 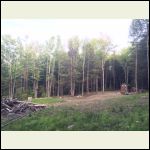
Future 30x40 cabin will be at brush pile in corner of picture
|  |
|
|
sabiggs
Member
|
# Posted: 16 Jun 2015 08:13am - Edited by: sabiggs
Reply
Great weekend at the cabin.
It's funny, now that the cabin's done, there's less to do. Well, not less to do, but less pressing things to do.
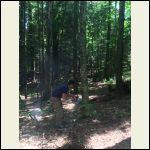
We spent the weekend working on our perimeter trail, pulling stumps with the tractor and widening it. We want to be able to get an excavator about 1000' feet back to a plateau we have in hopes of clearing the trees out there for a sunny, flat field.
We cut some trees, pulled some stumps, weed wacked the hell out of the growing grass, and drank a respectable amount of beer.
All in all it was a great weekend. We also met with a local guy who is going to help us with the "big" cabin. He will installing septic this fall and prepping the land and grading it. We have decided to wait until spring to pour the foundation, but the timber frame company has us on the list. Most of the timber will be coming from our land (Eastern pine and hemlock).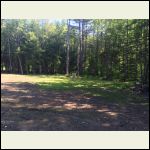
post weed wacking
| 
tree in middle of trail
| 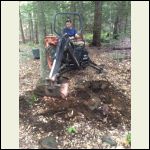
pulling a stump
| 
beer in Brattleboro
|
|
|
sabiggs
Member
|
# Posted: 24 Aug 2015 09:04am - Edited by: sabiggs
Reply
So, I have an update to "Phase 2" of our Vermont dream, If you've been following my thread then you know the 10x12 cabin we built was only a placeholder for a real 2nd home for my brother and I to share between our families. Though I adore our 10x12, and have created some of the most amazing memories ever there, it does get tight with all of us there (myself, my wife, and my two girls).
So, while we have been building the cabin, all the while we've been saving our pennies and planning for the future. Well, the future is now the present.
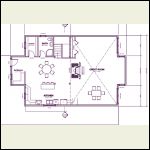
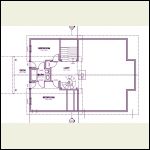
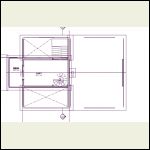
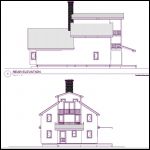
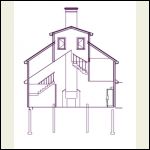
This fall, we're installing a septic and then next spring we are lined up to pour the foundation and build our timber frame (we've already cut down some hemlocks and are storing them to be used as timbers). The plan is for a roughly 30x40 timber frame. I know that graduates me from this forum, as it is not really a "cabin", but it will have its roots in a cabin, and all of your stories have helped inspire us to get to this point. We have designed our own place on bar napkins for years, but now we have actual architect drawings to match our vision. I've copied some of them below. They're not finished, but you get the idea. Feel free to offer up any suggestions you like. Thanks for the constant inspiration everyone!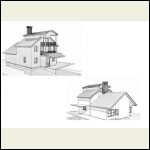
Screen_Shot_201508.png
| 
Screen_Shot_201508.png
| 
Screen_Shot_201508.png
| 
Screen_Shot_201508.png
|
|
|
sabiggs
Member
|
# Posted: 24 Aug 2015 09:05am - Edited by: sabiggs
Reply
A few more. Not included in the drawings is the walk-out basement that we will finish ourselves (the cabin is being built into a small hill). We'll put two more small bedrooms in the basement at a later time. Also, the windows and doors are not finished on the drawings. We plan to add MANY windows and french doors from the great room that walk out to a wrap-around deck. Also, on the backside of the fireplace will be a wood stove that faces the front door/ kitchen area (also vented through the chimney)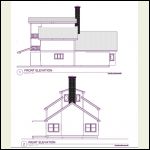
Screen_Shot_201508.png
| 
Screen_Shot_201508.png
| 
Screen_Shot_201508.png
|  |
|
|
sabiggs
Member
|
# Posted: 8 May 2016 05:26pm
Reply
Been a while for me here, but that is not because work has slowed on our cabin dream. Quite the opposite. Seems I can't keep the cabin off my mind, and soon, our cabin dream will become a reality. Concrete pours tomorrow. It doesn't look like we've got many nights left in our little 10x12.
|
|
sabiggs
Member
|
# Posted: 17 May 2016 05:12pm - Edited by: sabiggs
Reply
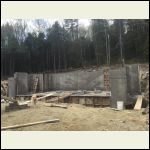
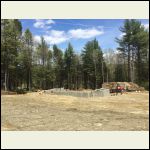
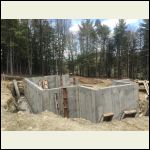
Here we go, the adventure begins. Site work has been completed and concrete has been poured on our 24x36 with 6x10 bump-outs. I'm going up tomorrow to drop off some conduit and I was told the waterproofing and water line have also been completed.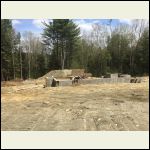
IMG_0166.JPG
| 
IMG_0167.JPG
| 
IMG_0169.JPG
| 
IMG_0165.JPG
|
|
|
sabiggs
Member
|
# Posted: 27 May 2016 04:04pm
Reply
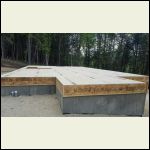
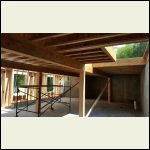
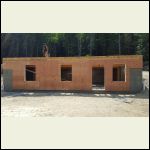
Major progress. Next step, timber frame erection. probably next week.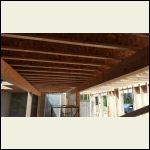
20160527_142241_resi.jpg
| 
20160527_150131_resi.jpg
| 
20160527_142226_resi.jpg
| 
20160527_142209_resi.jpg
|
|
|
sabiggs
Member
|
# Posted: 9 Jun 2016 09:22pm - Edited by: sabiggs
Reply
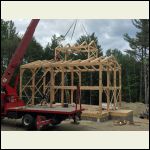
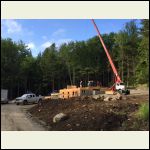
Wow. Just wow.
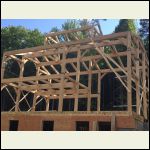
The timber frame went up today. And it blew my mind. 6 years in the making and it was worth every second. Watching it go up was a work of art. Progress will be quick now. Work continues Monday. Weather looks good. It looks like we may be weather tight in two weeks.
Loads more pictures and stories at:
http://halifaxcabin.blogspot.com/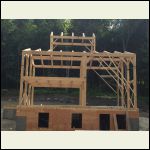
IMG_0364.JPG
| 
IMG_0367.JPG
| 
IMG_0353.JPG
| 
IMG_0296.JPG
|
|
|
sabiggs
Member
|
# Posted: 14 Jun 2016 07:11pm - Edited by: sabiggs
Reply
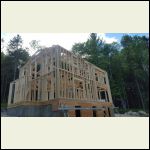
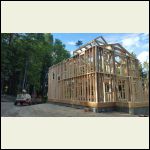
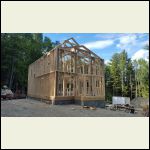
All framed up. Plywood tomorrow and wrapped with windows by Friday!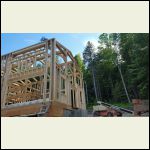
20160614_172517_resi.jpg
| 
20160614_172457_resi.jpg
| 
20160614_172424_resi.jpg
| 
20160614_172416_resi.jpg
|
|
|
naturelover66
Member
|
# Posted: 14 Jun 2016 08:24pm
Reply
Its wonderful... Congrats on your dream come true.
Lisa. 
|
|
sabiggs
Member
|
# Posted: 27 Jun 2016 10:53am - Edited by: sabiggs
Reply
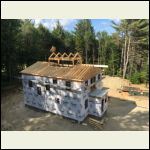
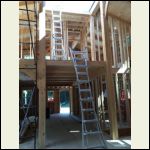
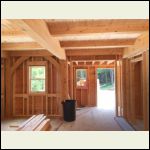
Holy moly, this is really happening. Progress is relentless. I can't sleep at night I'm so excited. We're not far from being weather tonight now. Maybe another week or two before the standing seam roof goes on. Windows are in, even the tub is in. Insulation on Thursday, I'll be up for the day Wednesday to check on progress. Wow!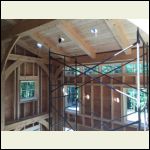
IMG_0408.JPG
| 
IMG_0410.JPG
| 
IMG_0415.JPG
| 
IMG_0411.JPG
|
|
|
aktundra
Member
|
# Posted: 28 Jun 2016 01:42am
Reply
Even though you said you "graduated" from the small cabin forum, I'm enjoying your progress. Love the design and timber frame.
|
|
sabiggs
Member
|
# Posted: 9 Jul 2016 11:53am - Edited by: sabiggs
Reply
For some reason, this most recent update on progress has been my favorite. I just cannot believe this whole thing is happening and happening so fast. All windows are in now, trim has been painted and put up, the clapboards will go up next week. The boiler and on demand hot water heater are in, and the second floor balcony has been finished finally. The standing seam roof goes in on Monday. More updates and pictures at:
http://halifaxcabin.blogspot.com/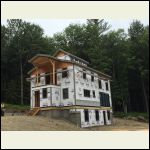
image.jpeg
| 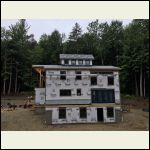
image.jpeg
| 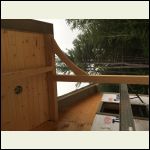
image.jpeg
| 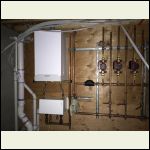
image.jpeg
|
|
|
bldginsp
Member
|
# Posted: 9 Jul 2016 05:17pm
Reply
Wow! Beautiful. You must be thrilled.
I'm curious- you and your architect must have had a long conversation on the structural design of the building- and you chose a design where the timber frame provides only partial support of the building, and the framing outside provides the rest. So you essentially built two frames for the building. Another way it is done is for the timber frame to be designed to do all structural support, and then instead of stick framing the outside, SIP panels or the like are attached to the outside of the framing. I'm wondering- did you consider other methods like this, and how did the numbers come out for cost? Even though you built two frames for your building, perhaps it is less expensive to do it this way because insulated panels are so expensive.
And, who built the timber frame?
Great project! Who cares if it's not a small cabin? It's what al of us would do if we could.....
|
|
hattie
Member
|
# Posted: 9 Jul 2016 05:25pm
Reply
WOW!!! That is BEAUTIFUL!!! I hope you will be living there full time! Absolutely amazing. Keep the pictures coming.
|
|
sabiggs
Member
|
# Posted: 9 Jul 2016 08:53pm - Edited by: sabiggs
Reply
Thanks so much for the kind words. We (my brother and I) saved every penny for years to get here. Prior to even having our 10x12, we probably camped 50 nights on the property. I love this piece of land with all my heart.
bldginsp-we considered the SIP panels, but had a few reasons to go against them. First, they are expensive. Secondly, and more importantly, we have heard many negative things about them in terms of water infiltration. We spoke with several people who went with the SIP panels, and several actually referenced having water issues. Moreover, my brother is a project superintendent and does large scale construction in Boston (just finished the New Balance building and Bruins training facility) and his experience with the SIP panels wasn't great. Of course, that is just what we heard, so I'm sure there are others who have used the SIP panels and loved them.
As for our timber frame builder, we used Bruce Ward of Ward Timber Frames out of New Hampshire. He travels all over the country and has been doing it his whole life. He has his family working with him too. The guy is an absolute magician. I could not recommend him more highly. Everyone on the job on the day of erection (crane operator and his assistant and our GC) all commented that he was the best timber framer they had ever seen. As Bruce says, "nothing beats a successful erection".
Fun fact**** all of the timbers (they're all hemlock) that go from the front to the back of the frame came from our property and we cut them, had them milled ourselves, and delivered them to Bruce ourselves. It was a lot of work, but definitely worth it.
|
|
sabiggs
Member
|
# Posted: 9 Jul 2016 08:54pm - Edited by: sabiggs
Reply
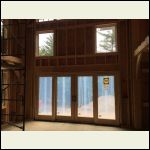
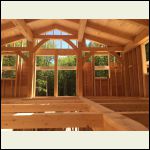
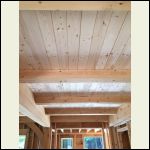
...a few more pictures from the progress.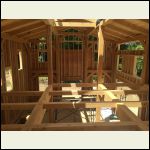
IMG_0412.JPG
| 
IMG_0491.JPG
| 
IMG_0411.JPG
| 
IMG_0414.JPG
|
|
|
bldginsp
Member
|
# Posted: 9 Jul 2016 10:35pm
Reply
Interesting info on SIPS. Traditional stick framing has a lot of virtue to it- the bugs have been worked out- we know what it will do. "Innovative" things are just great- until they screw up. One leaking SIPS panel can ruin your whole day.
Frank Gehry has designed some wonderfully innovative buildings using unique materials, but, well, there have been problems. Stained titanium siding, lawsuits over leaking roofs. I don't mean to say we should stifle innovation, but not in my back yard. I'll stick with tried and true.
|
|
sabiggs
Member
|
# Posted: 12 Jul 2016 08:50pm - Edited by: sabiggs
Reply
More pics from today.
We struggled for a while with the color and whether or not to do a different trim color or go all one color. We ultimately decided to go all one color, though the clapboards are rough sawn so the color looks a little different on them than it does on the trim when you see it in person. We had wanted vertical siding, but experience has taught us that over time water will eventually find its way behind vertical siding (think sideways driving rain), so ultimately that drove us to go with the clapboard. The lookout at the top will be shingles, maybe red cedar.
There's a house in Wilmington, VT that is this color. We actually stopped one day this past winter to get the color from them. It's a stain from Cabot. Kind of looks green/blue/gray at times. Similar colors on their house to ours.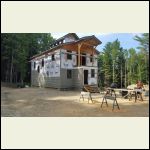
image.jpeg
| 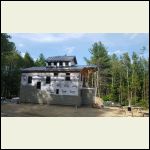
image.jpeg
| 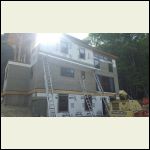
image.jpeg
|  |
|
|
| << . 1 . 2 . 3 . 4 . 5 . 6 . 7 . >> |

