| << . 1 . 2 . |
| Author |
Message |
ICC
Member
|
# Posted: 11 Apr 2013 02:17pm
Reply
my sentiments on disconnects too. much easier to install one in the beginning than to wish you had one at a later date. we use one to kill all power to the cabin when we leave. CC stays connected to keep batteries up though there are diconnects there too for just in case
|
|
jaransont3
Member
|
# Posted: 26 Apr 2013 10:30pm
Reply
Got my battery box just about fully fabricated. Started by drawing it up in Adobe Illustrator...
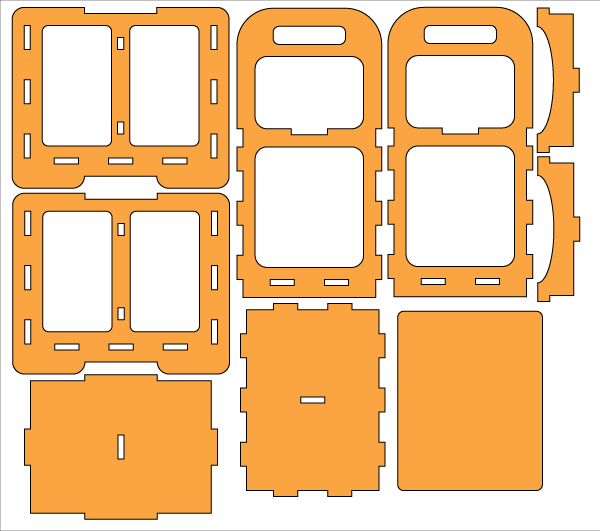
Going to make it all out of 1/2" plywood. Then I went over to TechShop Detroit and used the large ShopBot CNC router to cut out all the pieces...
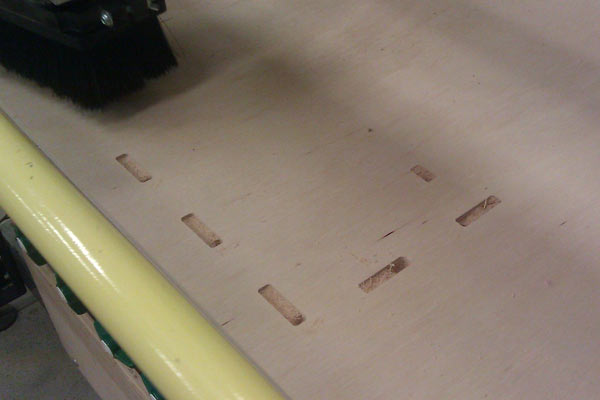
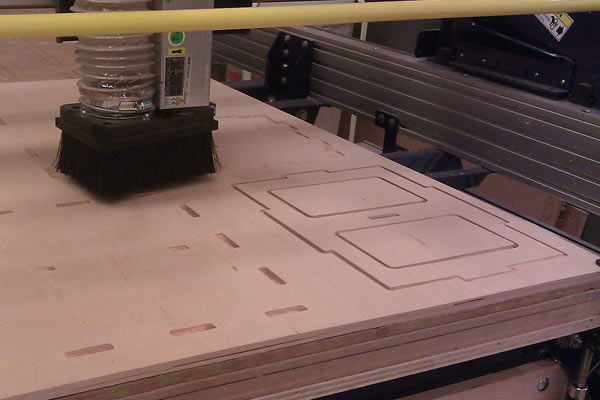
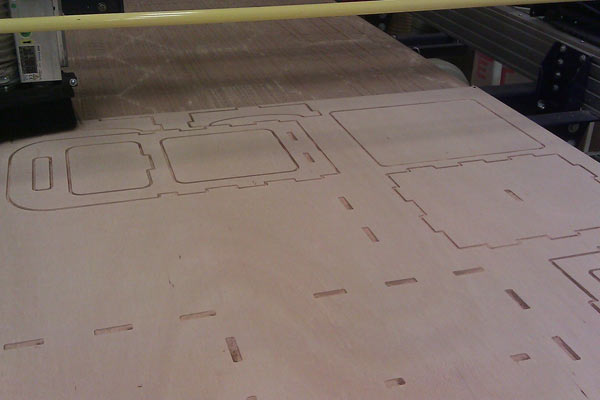
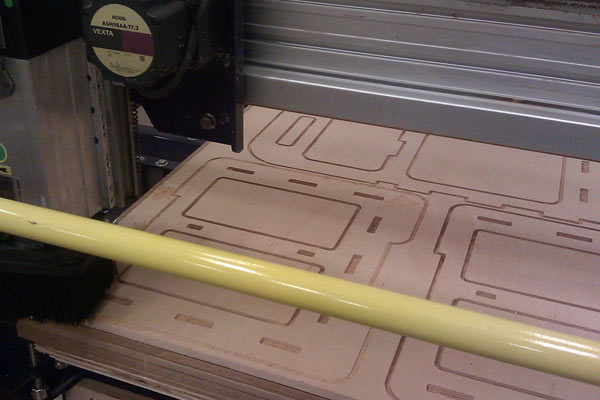
After some sanding the pieces are ready for assembly...
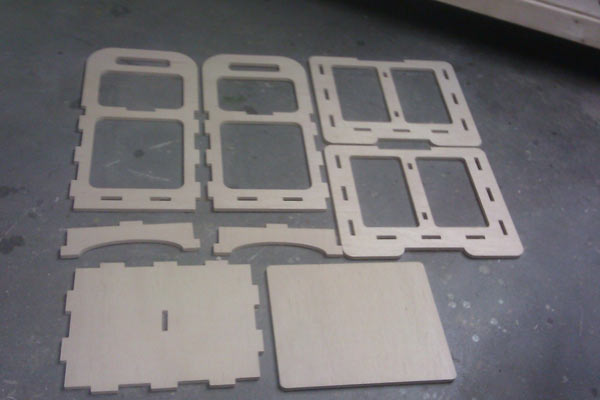
Managed to get it all dry assembled to check fits...
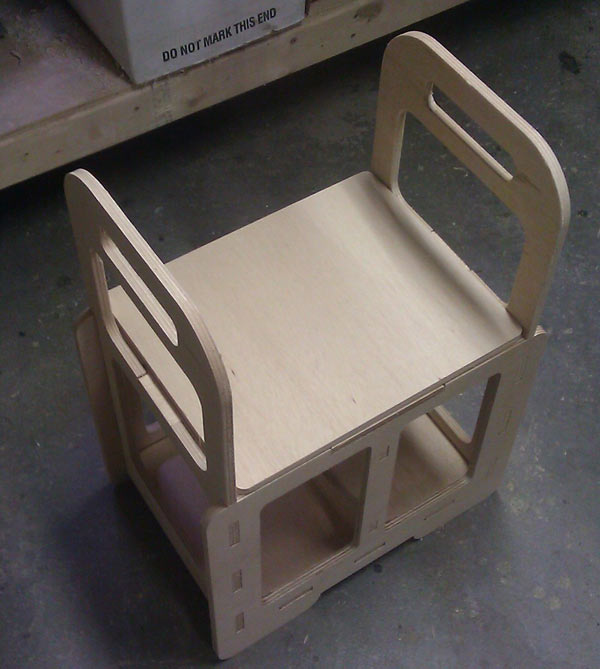
The top lid will be hinged to allow access to the batteries...
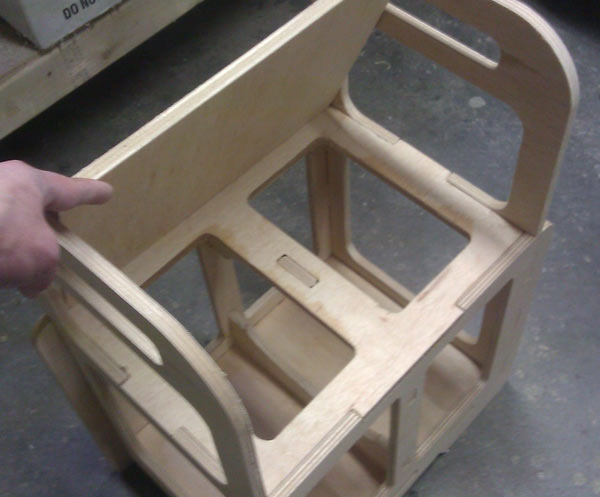
Batteries drop right in and fit good...
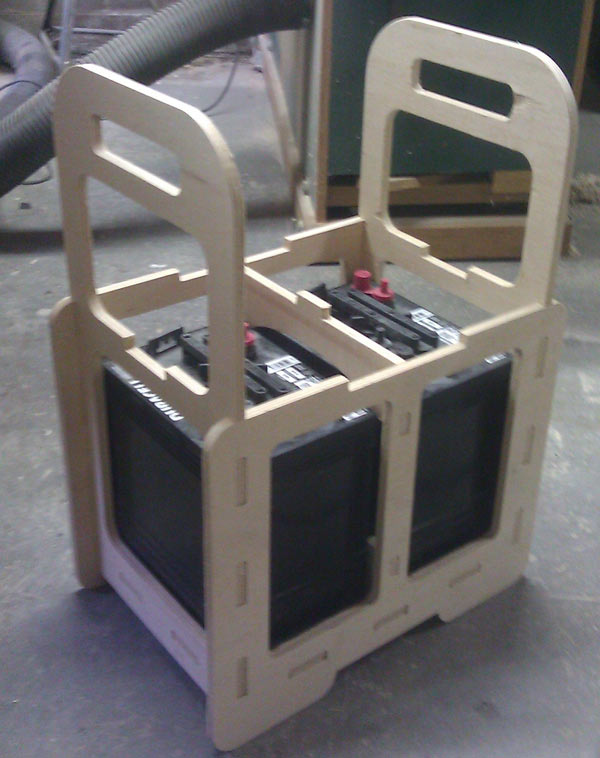
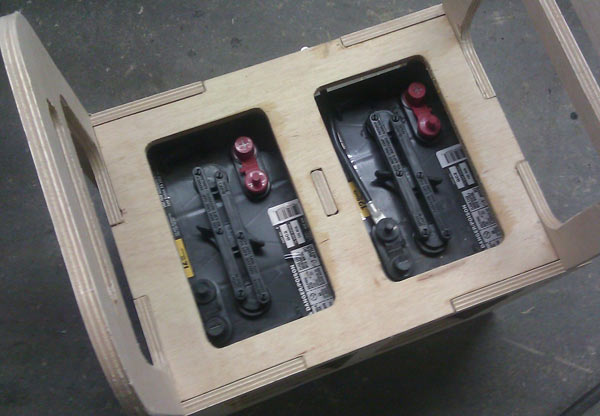
Still have access to the electrical connections and the fill ports.
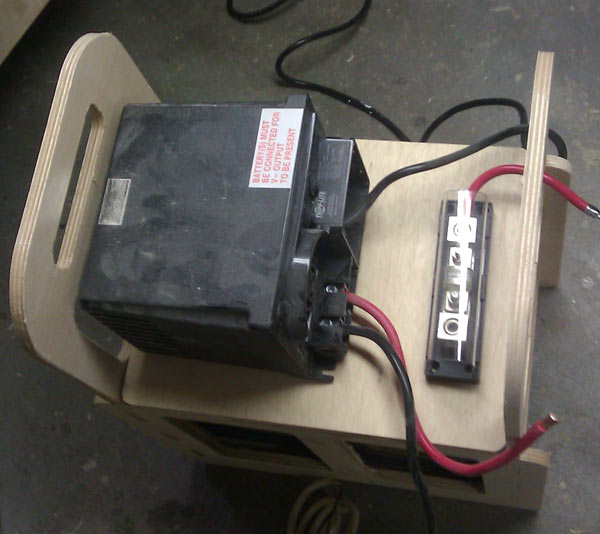
Inverter and fuse block will be mounted to the top hinged lid...
Nice compact unit, but very heavy. Probably around 150 lbs...
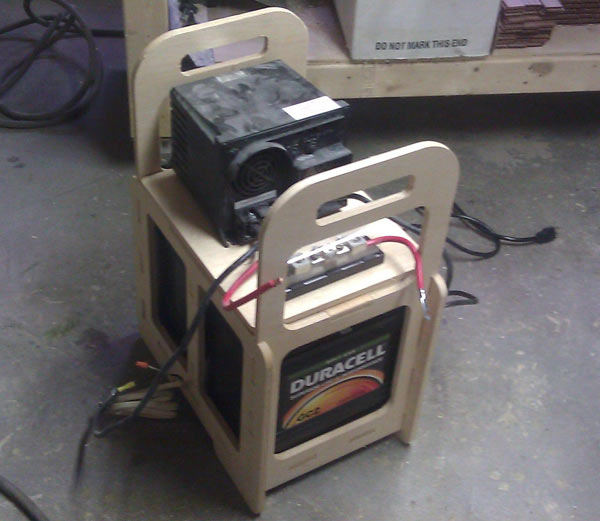
Still need to glue/screw the box together, get a couple of coats of polyurethane on it and get all the hardware mounted and wired. Might add some wheels to make it a little easier to move around, but it is already better than lugging the individual pieces around.
|
|
skootamattaschmidty
Member
|
# Posted: 27 Apr 2013 10:40am
Reply
That's slick! Impressive wood working!
|
|
creeky
Member
|
# Posted: 29 Apr 2013 09:30am
Reply
alaskaman / icc. I just turn off my inverter when I leave. But I have a permanent installation and haven't unhooked my inverter in over two years. I do have disconnects from the panels to the CC, from the CC to the batteries.
jaransont3 : using a cnc router is cheating  . Looks real nice. . Looks real nice.
|
|
jaransont3
Member
|
# Posted: 5 Jun 2013 09:20pm
Reply
Finally finished up the battery box/inverter for the cabin tonight. Several weeks ago I put a few coats of polyurethane on the box. Tonight I hinged the lid mounted the inverter and the fuse block to the lid and hooked up all the cables. Got it plugged into the house right now and the batteries are getting topped off. Will actually be sort of nice having it here at the house too for power outages.
Here are some pictures....
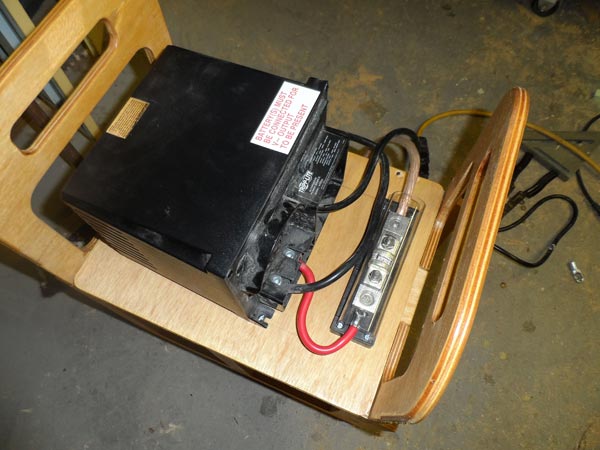
Top view with everything hooked up. Nice short cable runs. 110A fuse.
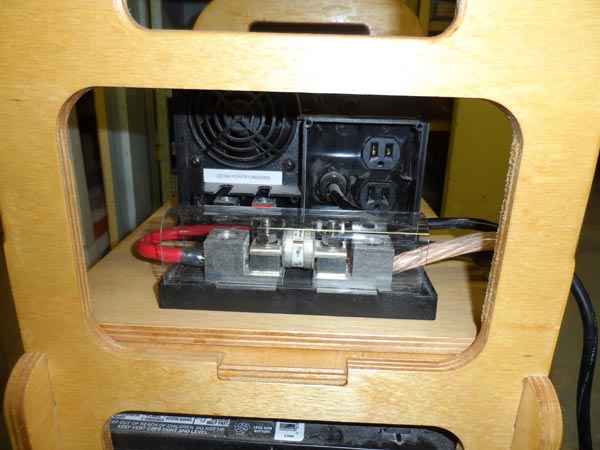
Front View. Easy access to the fuse and the plugs and switch on the inverter.
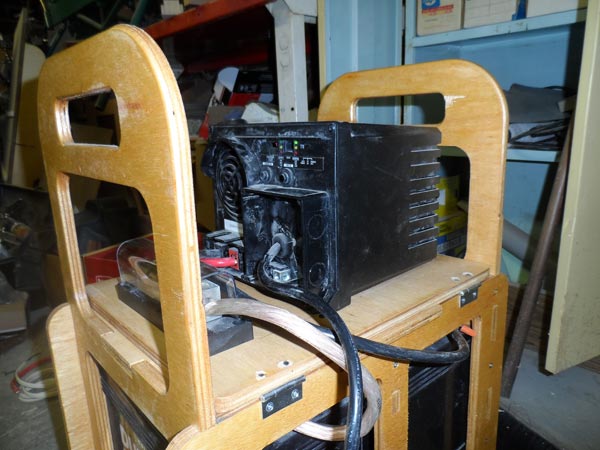
View showing the hinges. Cables have enough length to easily open the lid up and not stress the cables or the connections.
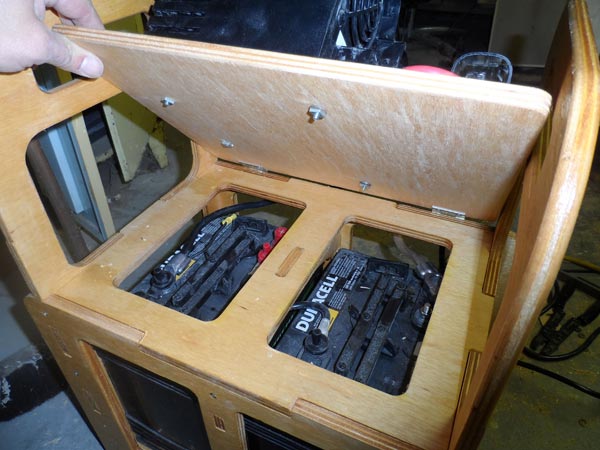
With the lid up, I have easy access to the battery connections and the fill caps to keep them maintained.
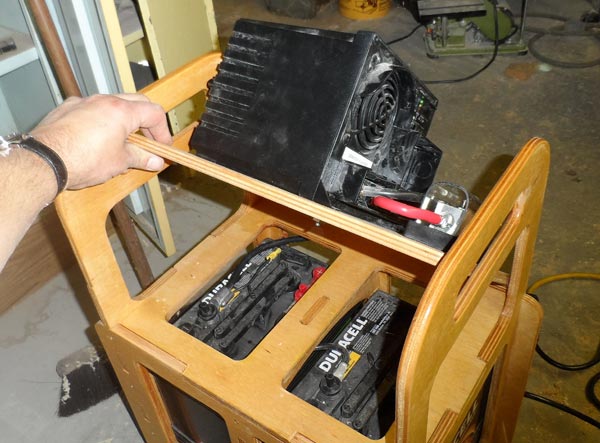
Slightly different shot of the lid with the inverter and fuse block mounted to it.
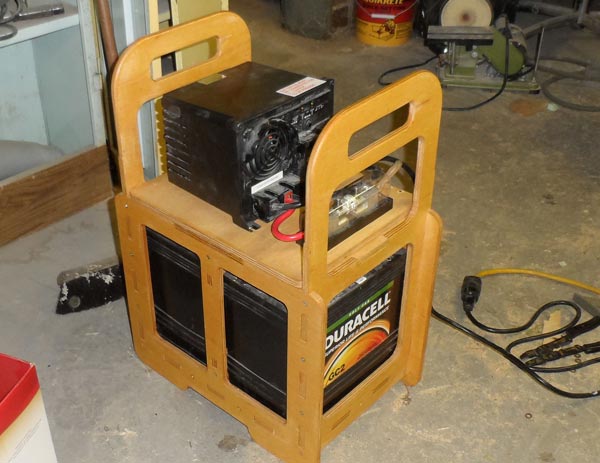
Overall shot.
I think I am still going to add at least some wheels on one end. It is really heavy.....
Can't wait to get it back to the cabin and put it to use.
|
|
jaransont3
Member
|
# Posted: 27 Jun 2013 01:08am
Reply
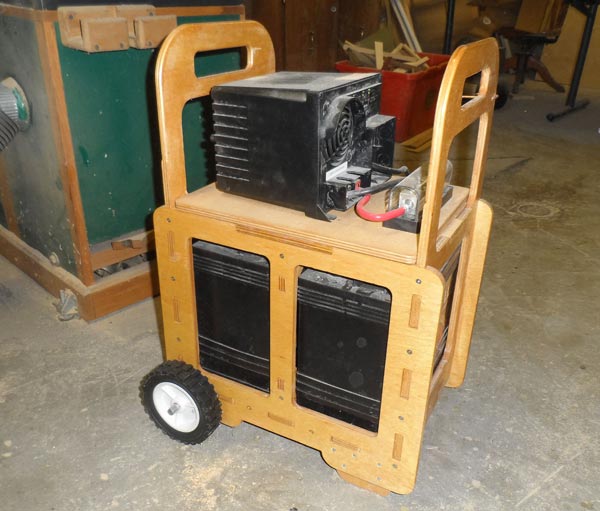
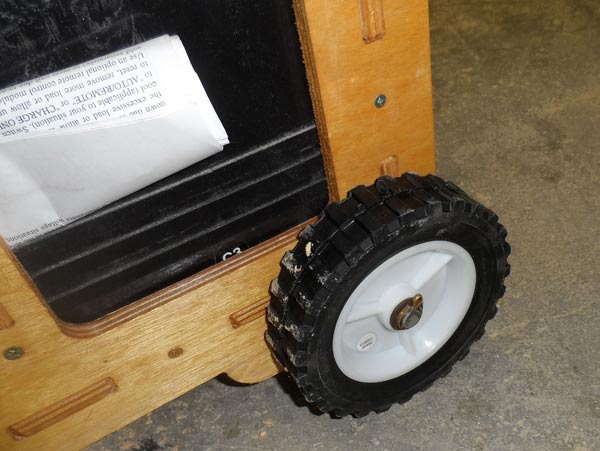
Added a couple of wheels to the battery box tonight. Also added a couple of short feet to the front to get it all back to level. Will make it much easier to move around considering the whole deal weighs over 150 lbs.
Need to get a couple more washers for the one side, but it is otherwise good to go...
|
|
tnky03
Member
|
# Posted: 27 Jun 2013 09:56am
Reply
Wow, that is really nice work!
|
|
jaransont3
Member
|
# Posted: 30 Jun 2013 10:18am
Reply
Happy to report that the battery box and inverter are working great. We got up to the cabin yesterday and got it all plugged in. The inverter runs the compact frig just fine. We shut the generator down at 10:30 or so last night and it still indicted a full charge this morning after keeping the frig cold all night and running a few lights.
Only negative to the whole set-up is that when the frig starts, the surge from the start-up causes the cooling fan to run on the inverter and it is a little loud when everything else is absolutely quiet. All and all a pretty decent compromise.
|
|
|
jaransont3
Member
|
# Posted: 13 Jul 2013 02:04pm
Reply
Little more update on the battery/inverter set-up we use at the cabin. We used it the entire time we were at the cabin for the week of the 4th of July. During this time we had the compact frig hooked to it and few CFL lights, and occasionally a cellphone charger . Really nothing more at this time. We typically ran our Honda i3000 generator for a few hours each day while using the power tools and such. This is sufficient to charge the two batteries from about half charge (based on the 3 LED lights on the inverter).
With the batteries fully charged, we could turn the generator off over night and use a few lights and keep the frig cold without coming off the full charge light on the inverter. At one point during the trip we went for a day and a half on just the battery/inverter combo since we weren't using any of the high amp power tools. The battery charger indictor got to the point that the mid-charge and low-charge lights were light, but no lower than that.
We were blessed with really nice weather (upper 70s to low 80s with low humidity and cool nights) while we were there so the frig wasn't working real hard.
We used about 5-6 gallons of gas in the generator for the entire trip at about $3.50/gal. Total cost for power this trip was under $25. Over course this doesn't include any amortized cost of the generator, inverter, or batteries.
We are pleased with the system we have and it looks like it will easy handle the requirement we had to not run the generator over night or when we leave the cabin for the lake or town or whatever.
BTW, I took the wheels that I added off when we got there. The extra width of the wheels made it difficult to get in and out of the space behind the driver's seat in our Ford Flex that we carry it in. I am going to re-think the wheels (it really is too heavy to carry easily) and make a separate wheel dolly that fits underneath the battery box and has 4 wheels so that you can roll it around without having to lift any of the weight.
|
|
| << . 1 . 2 . |

