|
| Author |
Message |
Rickant
Member
|
# Posted: 7 Jan 2018 06:30am
Reply Quote
So our cabin has an outhouse but also a bathroom with a composting toilet (separett). The greywater is plumbed and goes into the ground but clearly that is a mess because it doesn't drain properly, is close to the cabin, and stinks. I will put in something new. Rather than buy a biolan or other expensive system here is what I was thinking. About 10 feet away from the cabin, dig. 4x4x 2.5 ft deep hole. Put in a trusty 45 gallon drum with holes on the sides. Greywater would feed one side near ground level. On theit her side about even height I would put a perforated drain pipe covered with the sock extended int out about 10ft. Backfill both with gravel and leave the top of the barrel with removable lid exposed in case access is required. The drum would be empty or have a few inches of gravel inside. Does this sound right?
|
|
Steve_S
Member
|
# Posted: 7 Jan 2018 07:01am
Reply Quote
Have a peek at my build thread... http://www.small-cabin.com/forum/6_5643_0.html#msg82841 Post 5 to see how I did mine, works great... only one change since those photo's... top pipe going into the GW Dry Tank (the old olive barrel) is 3" from the filter box at the side of the cabin.
I could post updated photo's if you want.
|
|
Rickant
Member
|
# Posted: 7 Jan 2018 07:06am
Reply Quote
Cool. Sure more photos would be great. Where did you get the barrel from? Filter box? Is that in your post? I won't have an excavator so I was hoping to have a shorter drain line....
|
|
Steve_S
Member
|
# Posted: 7 Jan 2018 09:53am - Edited by: Steve_S
Reply Quote
Pics - attempt-2
PIC-1:
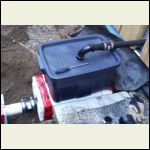
The filter box. Simple 40L tote, 1-1/2" inlet from cabin going into a T at top to split water up. 3" Toilet Flange on bottom to 3" ABS pipe just past insulation on bottom. Toilet flange has stainless screen, plastic mesh on top of that, then synthetic filter and 2" if loose straw on top of that. Catches, hair, food particles etc... replace straw every 2 - 3 months and toss on compost pile.
PIC-2:
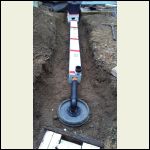
Drywell tank = 40 gal Olive Barrel. 3" pivoting toilet flange on top, attached to 3" ABS so it just passes cover box. ABS is attached to white 3" PVC Sewer Pipe (lighter & 60% cheaper) with Rubber Fernco Coupling (allows for quick disassembly if needed). Sewer Pipe insulated to prevent freeze up. Top of DryWell also get's 2" of foam & an insulated box over the top. Tank Top is 12-16" below grade. Drywall Tank is 12' from cabin. No pipe is exposed to the elements.
Pic-3:
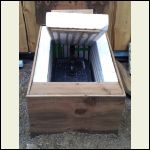
Filter Box Shell. PT 5/8 Plywood and PT 2x6. HD-EPS-II (4-1/2") all around and on top. Tight Fit ! to prevent freezing. Even in -30c is has not gotten below -2C inside it (digital thermometer verified such). Easy Access but tight, allows for changing the straw and maintenance if required. NOTE the 1-1/2" coming from cabin also has a rubber Fernco Coupling. All external pipes can be disconnected without cutting & regluing (try to do that in -20C temps and getting wet at same time - Never ever again - did it once, lesson learned !) Why 1-1/2", only a kitchen & bathroom sink & shower feed into it, only me most of the time and no issues. The 3" coming out of bottom of filter has no P-Trap, so straight to drain line... allows warm air back from the drywell and drainage lines which keeps things thawed... no issues with gas / smells (GW is good for that) and it works.
Filter Box exposed
| 
DryWell > pipe > filter_tank
| 
FilterBox Shell
|  |
|
|
Rickant
Member
|
# Posted: 7 Jan 2018 12:12pm
Reply Quote
Very cool. And the olive barrel - is it empty? Does it have a bottom? I assume you had to drill drainage holes in it?
This looks promising!
|
|
Steve_S
Member
|
# Posted: 7 Jan 2018 12:44pm
Reply Quote
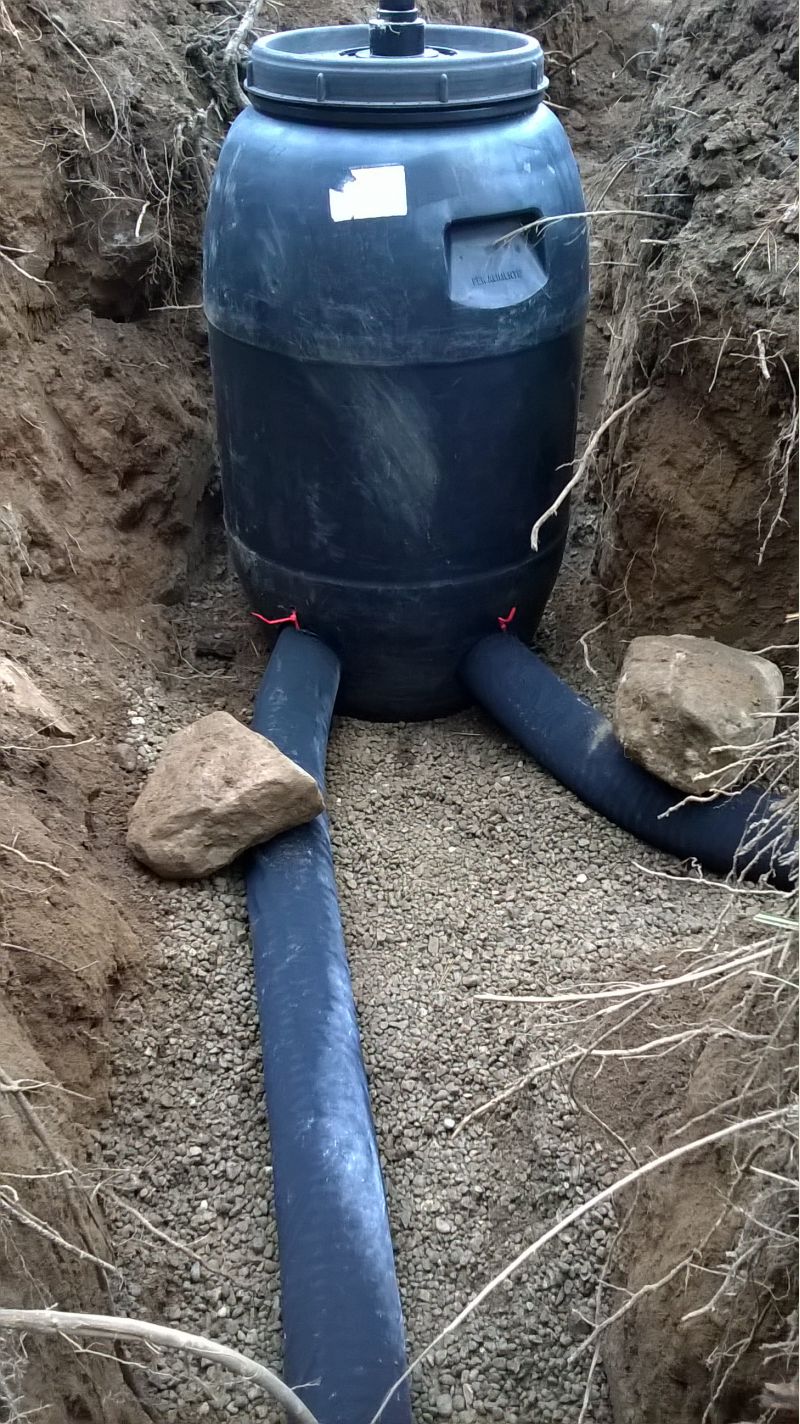
The Olive Barrel is empty and has an intact bottom. It has 2, 4" Drainage O-Pipes (perforated with socks) as discussed & shown in my Build Thread leading from it, 40' down slope each going in a different direction. They are a minimum of 5 feet but average 6-7' deep on top of 1' of drainage gravel and then topped by another foot of drainage gravel and the soil on covering that whole mess.
My soil is Sandy Loam with Clay starting at 8-10 feet on that side, bedrock not far below which is all Banded Granite.
It was done this way so it can accommodate 3x the amount of water I can pull from my well reserve. Zero backup issues, good drainage and the trees etc downslope love having the water... The Apples particularly took off when they "got the taste" but the Pines & Cedars aren't complaining either.
Grey Water Barrel shown before burial, drain lines exposed. (image from my build thread)

|
|
Rickant
Member
|
# Posted: 11 Jan 2018 08:19am
Reply Quote
Cool. My thought was to put holes in the barrel and have one drain line coming out of it... I will have to dig it by hand. Also, will be a challenge to get the gravel as we are on an island. I will have to find someone with a barge I guess, I assume I will need a yard or two of gravel? Or a ton of bucket trips in my tinnie lol.
|
|
Steve_S
Member
|
# Posted: 11 Jan 2018 08:44am
Reply Quote
Well, this is just how I set mine up which is to suit my needs and to work with the land to my advantage as the cabin is high. I chose not to perforate the Dry Well itself with more holes, as it's purpose is to hold the water till the drain lines can dispose of it into the soil. Having Sandy Loam under there is a blessing for this. I also did not want to introduce water anywhere near the cabin and well away from my water source which is 100' the other direction and downslope off the other side of my hillock, to reduce any chances of GW mixing with my ground water and down... I cannot say exactly how much gravel I used as I was also using it for other things, so I had a 25 Ton load dropped but at minimum 1/2 that, more likely about 3/4 though.
There are different ways to manage your GW, depends on the lay of the land and soil types etc... Your being on an island makes it somewhat tricky as you certainly cannot discharge to the lake (well you really shouldn't, as you know). The key is to figure out capacity and how fast the water will drain to soil and the things like, leaving the water run while brushing teeth and such, which add up quick.
|
|
|
|

