|
| Author |
Message |
rockies
Member
|
# Posted: 9 Sep 2013 06:55pm
Reply
Here is the cabin design with a pantry and screen porch attached. The Porch and pantry roofs are a 3/12 pitch.
|
|
rockies
Member
|
# Posted: 9 Sep 2013 06:57pm
Reply
Sections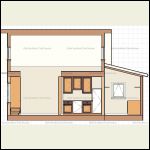
Pantry Section North
| 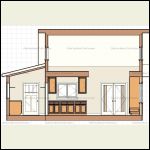
Pantry Section South
| 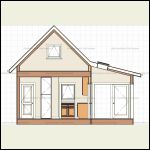
Porch Section East
| 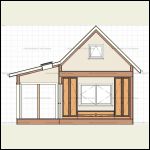
Porch Section West
|
|
|
rockies
Member
|
# Posted: 9 Sep 2013 06:58pm
Reply
Elevations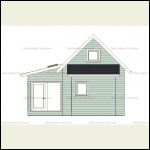
East Elev
| 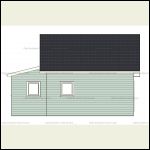
North Elev
| 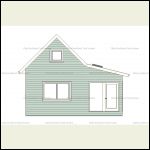
West Elev
| 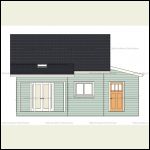
South Elev
|
|
|
rockies
Member
|
# Posted: 9 Sep 2013 07:05pm
Reply
As I mentioned with the initial design, this cabin can be built and finished in stages, depending on your financial situation. I plan to heat it with an indoor wood burning furnace from "Profab" that will be in a small out-building. The electrical and water purification equipment will be located there as well. The foundation will be a concrete pier and wooden perimeter beam design. I'm hoping that the roof and floor will be made out of 10 1/4 inch SIPS so that i don't have to worry about insulation levels and vapour barriers. Just lay the panel, seal the seams and you're done. Exterior walls are 2x6 studs and interior walls are 2x4. Let me know if you have any comments or questions.
|
|
luther
Member
|
# Posted: 30 Oct 2013 07:54pm
Reply
I was originally reading your post on the "your biggest mistake" thread and then found this thread. Your design looks great, and all that planning will pay off. I recently built a 20x20 with loft and a few weeks after I was done was wishing it was 24x24... oh well, I am able to easily add an addition or two.
I also looked at the SIPS floor panels but decided that they were a bit out of my price range.
My only suggestion is to not make too many full height closets in the living room, you may find that it closes off the space.
If you want to take a look at my cabin thread its called "My build in Nova Scotia"
|
|
travcojim
Member
|
# Posted: 31 Oct 2013 11:19am
Reply
Wonder if that could be modified to a shed roof design?
|
|
rockies
Member
|
# Posted: 31 Oct 2013 08:40pm
Reply
A shed roof could be done provided that the stem wall on one side (probably the north side) was increased in height to around 4 feet, just to get enough headroom across the loft and not have an incredibly steep roof. This would allow you to have standard height walls on the south side and put in windows. I have since reworked the west wall with the built-in sofa being recessed into a bumpout, so there is now room for a small dining area on the south side of the livingroom and the closets are along the north livingroom wall.
|
|
rockies
Member
|
# Posted: 1 Nov 2013 06:41pm - Edited by: rockies
Reply
Hi everyone. This is an updated design for my cabin. The basic footprint of 14x20 has been extended on the west side by adding on a 4x10 foot bumpout to hold the builtin sofa. I did find that having tall closets on each side of the sofa with a shelf overhead (shown in the original plan) made the room feel a little closed off. I also changed the double outswing door to a single outswing door next to two windows. This change gives me space for a dining table and chairs in front of the two windows. The kitchen and bathroom were lengthened by a foot allowing for more counter space in the kitchen and a bigger bathroom vanity. Upstairs I increased the stem walls in the loft to a height of 2'9" with a steeper roof pitch of 4:12 for the lower roofs. The extra height in the loft lets me have gable windows at a standard height of 80" and also allows for an easier "tie-in" from the roof of the future screen porch to the main roof's eaveline on the south side. A few other minor adjustments here and there to line up openings, etc, but otherwise it's pretty similar to the original plan. Let me know what you think. Thanks for all your previous advice.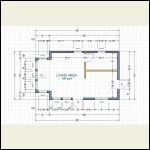
Basic Cabin Floorplan
| 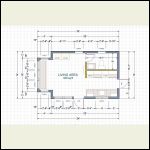
Basic Cabin Layout
| 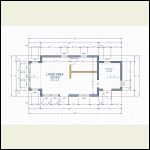
Pantry Addition Layout
| 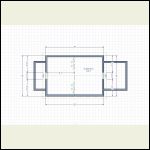
Pantry Addition Loftplan
|
|
|
|
rockies
Member
|
# Posted: 1 Nov 2013 06:44pm
Reply
These sections show the cabin as a basic build, with just the original 14x20 foot size, and also with the pantry added.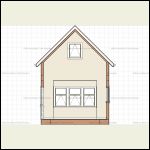
Basic Cabin Section West
| 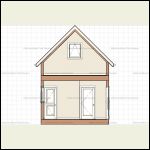
Basic Cabin Section East
| 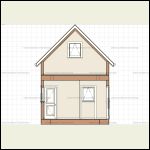
Pantry Addition Section East
| 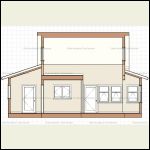
Pantry Addition Section South
|
|
|
rockies
Member
|
# Posted: 1 Nov 2013 06:46pm
Reply
Basic cabin elevations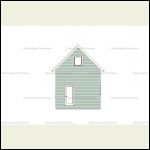
Basic Cabin East Elev
| 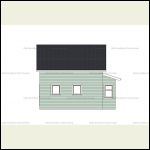
Basic Cabin North Elev
| 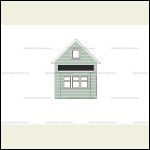
Basic Cabin West Elev
| 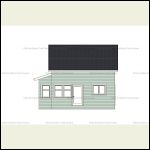
Basic Cabin South Elev
|
|
|
rockies
Member
|
# Posted: 1 Nov 2013 06:48pm
Reply
Pantry Addition Elevations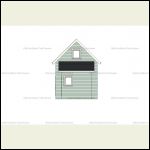
Pantry Addition East Elev
| 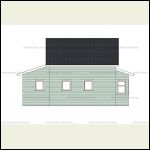
Pantry Addition North elev
| 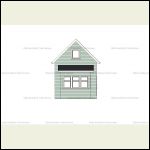
Pantry Addition West Elev
| 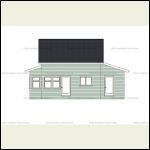
Pantry Addition South Elev
|
|
|
rockies
Member
|
# Posted: 1 Nov 2013 06:49pm - Edited by: rockies
Reply
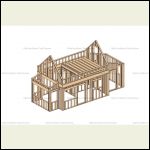
Framing Perspectives. Ridge beam and support post not shown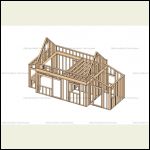
From SE
| 
From SW
| 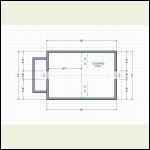
Basic Cabin Loftplan
| 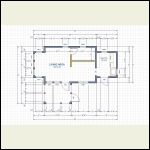
Pantry Addition Layout
|
|
|
adakseabee
Member
|
# Posted: 1 Nov 2013 08:13pm
Reply
Rockies, what drafting program are you using for your plan, elevation and perspective views? Thanks. Adakseabee
|
|
rockies
Member
|
# Posted: 2 Nov 2013 06:46pm - Edited by: rockies
Reply
Porch Addition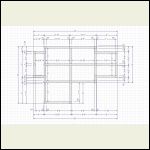
Porch Addition Foundation
| 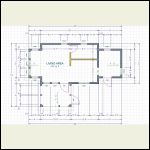
Porch Addition Floorplan
| 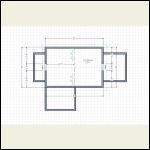
Porch Addition Loftplan
| 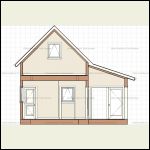
Porch Addition Section East
|
|
|
rockies
Member
|
# Posted: 2 Nov 2013 06:53pm - Edited by: rockies
Reply
I used Chief Architect, the free trial version. You can't save drawings in the free trial version, but I just take screen-shots of my work when I'm done. The downside is that if you want to make changes later you have to redraw the entire plan from scratch and then take another screen shot. The program does a lot of the calculating work for you, and automatically creates the elevations, sections, framing diagrams and material lists.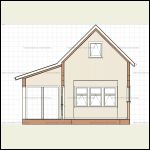
Porch Addition Section West
| 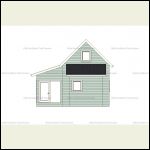
Porch Addition East Elev
| 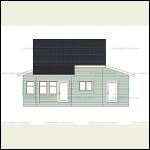
Porch Addition South Elev
| 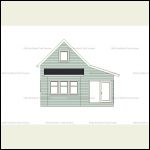
Porch Addition West Elev
|
|
|
rockies
Member
|
# Posted: 5 Nov 2013 05:47pm
Reply
Here is the cabin with a dedicated mudroom added on the north side by turning the window opening into a doorway. A future master bedroom can be added on the north side of the new mudroom later on.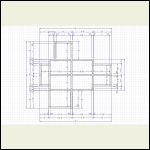
Mudroom Foundation
| 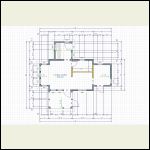
Mudroom Floorplan
| 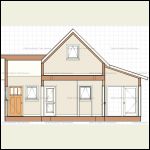
Mudroom Section East
| 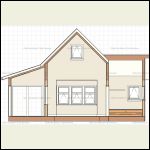
Mudroom Section West
|
|
|
rockies
Member
|
# Posted: 5 Nov 2013 05:48pm
Reply
Elevations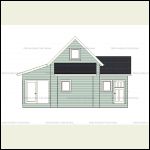
East Elev
| 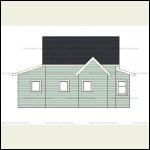
North Elev
| 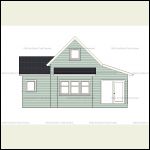
West Elev
| 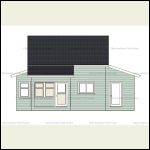
South Elev
|
|
|
rockies
Member
|
# Posted: 5 Nov 2013 05:49pm
Reply
Perspectives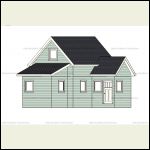
From NE
| 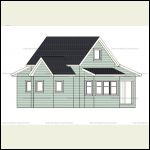
From NW
| 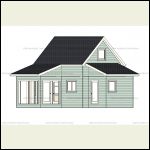
From SE
| 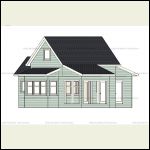
From SW
|
|
|
rockies
Member
|
# Posted: 8 Nov 2013 07:21pm
Reply
Mudroom Sections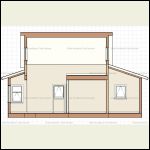
Mudroom Section North
| 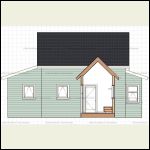
Mudroom Section South
|  |  |
|
|
rockies
Member
|
# Posted: 8 Nov 2013 07:23pm
Reply
Framing Plans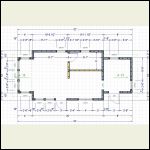
Main Floor Framing Layout
| 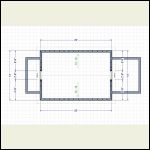
Loft Framing Layout
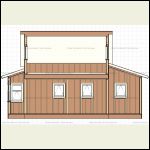
| 
Framing View Looking North
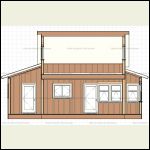
| 
Framing View Looking South
|
|
|
rockies
Member
|
# Posted: 8 Nov 2013 07:40pm
Reply
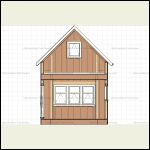
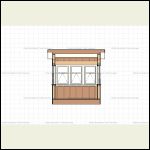
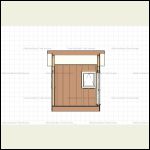
There are no framing plans for the roof or the floor system on the main level because they are going to be made out of 10 1/4" SIP panels. In the framing elevations the windows and doors on the main level are raised off the floor by 6 inches. This is to allow for the inclusion of a 6" deep false floor throughout the main level. The false floor is the simplest method for running electrical, plumbing pipes and radiant floor heating between rooms and additions so that I don't have to cut down into the SIP floor panels. The cabin could be built without SIPS by using the standard system of joists and beams for the floor and roof, but I think building it piece by piece, putting in insulation and vapor barriers, leaving ventilation channels, attaching plywood sheathing (especially for the roof) is too time-consuming compared to the cost savings from standard construction. If you want to run pipes, etc, through a standard "joist" floor system (and don't have to worry about freezing conditions) then you can eliminate the 6 inch high false floor from the wall heights and just frame the walls as normal (80" window heights and no raised door sills).
Let me know if you have any questions.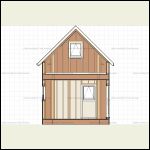
Framing Looking East
| 
Framing Looking West
| 
Framing For Livingroom Bumpout
| 
Framing For Pantry Looking East
|
|
|
rockies
Member
|
# Posted: 9 Nov 2013 05:43pm - Edited by: rockies
Reply
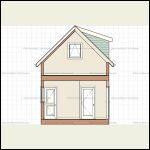
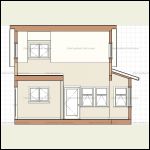
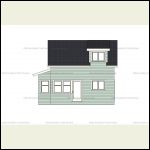
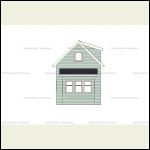
A further option would be the addition of a loft dormer to the cabin. This would be a 4:12 pitch roof measured down from the peak of the main roof. The resulting height of the front dormer wall leaves just enough room for a 36"H x 48"W casement window to be installed at the standard 80" height. The dormer itself is 6 feet wide but the program measures to the sheathing layer so some of the measurements look a little funny.
The entire purpose of this design is to show the range of possibilities for a basic 14x20 foot cabin. If you want (or budget dictates) you could build the cabin (shown as the "Basic Cabin") in this thread and have a very nice home contained in 320 sq feet. Or add on whichever pieces you want at whatever stage you need them. All in all, even if you built the entire cabin with pantry, screen porch and mudroom, it's still a lot of function in a grand total of only 548 sq feet.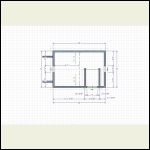
Dormer Loft Plan
| 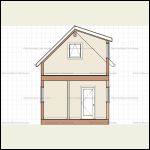
Dormer Section Looking East
| 
House Section Looking East
| 
Dormer Section Looking South
|
|
|
rockies
Member
|
# Posted: 9 Nov 2013 05:44pm
Reply
Cabin with dormer elevations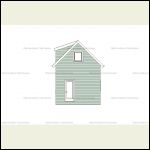
East Elev
| 
South Elev
| 
West Elev
| 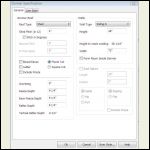
Dormer Specs
|
|
|
|

