| << . 1 . 2 . |
| Author |
Message |
lawnjocky
Member
|
# Posted: 12 Jan 2014 10:53pm
Reply
I had some time today so I fired up the wood burner since the heat shields are in place. Using the hand test everything looks good in regards to stove clearances. The fire box on the stove is really quite small. Most of the bulk of the stove is due to the oven. Figured I would have some coffee while I was at it.
I also worked on some of the detail stuff under the bed. The table slides out like a cutting board.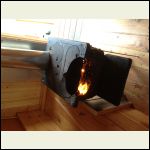
photo89.JPG
| 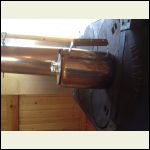
photo90.JPG
| 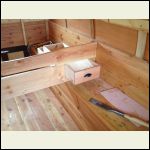
photo88.JPG
| 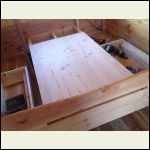
photo87.JPG
|
|
|
ChuckDynasty
Member
|
# Posted: 13 Jan 2014 08:15am
Reply
Really great project, and all of your other posts and comments are terrific and helpful as well.
|
|
lawnjocky
Member
|
# Posted: 13 Jan 2014 01:31pm
Reply
Thanks. This morning I had an hour free so I started making the trim for the top ends. This gets a little tricky because it involves putting a curve in a piece of angle steel. To do this you use a metal shrinker. There are several good videos on youtube on how a metal shrinker works so I won't go into that other than to say it works. The final picture is after three fittings, I think it needs just a bit more bend about two feet from the top end.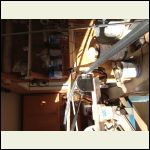
photo91.JPG
| 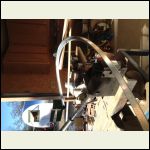
photo92.JPG
| 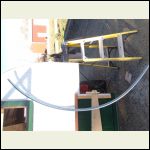
photo93.JPG
| 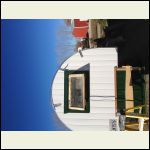
photo94.JPG
|
|
|
lawnjocky
Member
|
# Posted: 14 Jan 2014 06:41pm
Reply
More detail stuff today. Varnished the floor again. Note the splines between the planks, the wet Home Depot 2x6 I used shrank thus the need for the splines.
On the metal trim I dry fitted the rear. Aftr it was fastened there was some slight bowing between fasteners. Lightly tapping the area with an autobody hammer relieved the bows and also flattened some ot the tooling marks.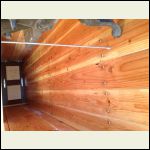
photo95.JPG
| 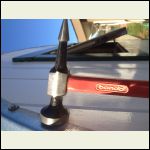
photo97.JPG
| 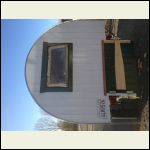
photo96.JPG
|  |
|
|
lawnjocky
Member
|
# Posted: 15 Jan 2014 08:52pm
Reply
Today I made up the trim for the top on the front end. After dry fitting it, each piece was removed individually and refastened with a bedding of caulking. Before removal both sides next to the trim were masked. In theory once the caulking hardens it will be a simple matter of running a razor blade along the edge of the trim cutting any caulk that has squeezed out and then remove it with the tape.
There is another product that I like using for bedding things, it is called Dolphinite. It used to be available at marine stores, I don't know if it is still made and as with most of those good products regulations have required the removal of what made them good to start with. Dolphinite is much easier to work with than caulk.
|
|
lawnjocky
Member
|
# Posted: 24 Jan 2014 08:21pm
Reply
I finished the bed today. I had a queen size futon that was about the right length but a bit narrow but it will work for now. Other than that I have just been doing little pick up details here and there. Next week I hope to paint the metal top and do some touch up. If all goes well I will be camping next weekend.
|
|
lawnjocky
Member
|
# Posted: 24 Jan 2014 08:23pm
Reply
Here are the photos I forgot to attach to the last post: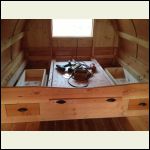
photo99.JPG
| 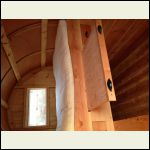
photo100.JPG
| 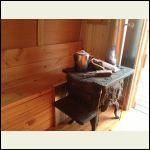
photo101.JPG
|  |
|
|
creeky
Member
|
# Posted: 25 Jan 2014 09:46am
Reply
nice work on the bed. and the floors came out well, eh.
but I think the bending of the exterior trim is my favorite.
|
|
|
lawnjocky
Member
|
# Posted: 28 Jan 2014 08:37pm
Reply
Well it is done. There will be a few details to do. The wiring is done. Paint is touched up. Top is painted.
Lessons learned, first off I think I would use T&G for the lower part. The wood I used was just construction grade and it was wet. It shrank as it dried leaving gaps that I had to fill with wood strips. I think I would start with better wood for the door and table. Pitch is weeping out of the door and the table was warping a lot which took a bunch of extra work to deal with.
On the tear drop the 2 layers of 1/4 ply laminated in place worked well. On the sheep wagon I wasn't as pleased. By the time I put the metal sheathing on every slight distortion seemed to be magnified. Then as it sat in the sun the two materials seemed to expand at different rates resulting in some "oil canning". It is still a good workman like job but as always the builder sees every imperfection.
If I build another I thing I might mill 1x2 T&G in the shop and then strip plank it. Once that was done I would sand it with the 8" grind with a foam pad. Then apply fairing compound and sand again. Then stretch canvas over the top and staple it in place on the edges using monel staples. The staple would be covered with trim when complete. The canvas would get several coats of oil based paint. This is how the cabin top used to be done on wood boats. There is more info on the web about this process.
If my truck starts in the morning (it has been having some glow plug issues, I think it is fixed now but I won't know until I try a cold start) I will give it a test tow tomorrow and take it on its first trip this week end.
|
|
neb
Member
|
# Posted: 28 Jan 2014 09:11pm
Reply
Very nice and a lot of hard work!! Let us know how it goes and have a safe trip.
|
|
lawnjocky
Member
|
# Posted: 23 Feb 2014 11:37pm
Reply
I finally got the sheep wagon out for a few days. My truck had a weird glow plug problem that took forever to figure out. With that taken care of I took the sheep wagon about 100 miles away for a weekend of hog hunting. It performed perfectly even at freeway speeds. No swaying so the axle placement was right. Lots of nice comments.
|
|
old243
Member
|
# Posted: 24 Feb 2014 09:29am
Reply
Did you have any luck with the hogs. We have none in my part of Ontario . Think that would be interesting. Presently about 2 feet of snow on the ground. Blowing and drifting. I guess I will get the tractor out and blow some , the laneway is blocked.
Have fun with your wagon , good project. Old243
|
|
lawnjocky
Member
|
# Posted: 24 Feb 2014 09:49am - Edited by: lawnjocky
Reply
I saw 7 or 8 mature ones with a dozen piglets but they were not on the ranch we were hunting on. We also had at least one come through camp both nights thus they were there but we nevert got a shot off.
|
|
| << . 1 . 2 . |

