| . 1 . 2 . 3 . >> |
| Author |
Message |
kbvalley
Member
|
# Posted: 18 Mar 2011 05:40pm
Reply
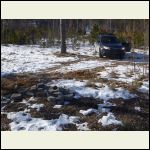
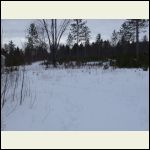
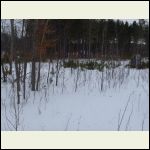
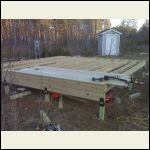
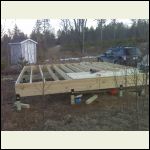
Going up to the property, 60 acres, to start my little hunting mini cabin/shed project. Plan on renting the pull behind style auger to get the 10 remaining foundational holes sunk and sink some 4x4's. Going to build on a deck style foundation. Post and beam. Attached some pics from a month ago, theres power up there and a small tool shed/well house. The front 8 acres of the property had to be logged due to the red pine beatles from a few years back. The little pines are growing up quick and will be a great deer habitat soon. The back 50 is all hard maple and rolling hills. I'll post after the weekend.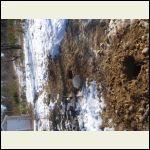
P1010391.JPG
| 
P1010392.JPG
| 
P1010383.JPG
| 
P1010384.JPG
|
|
|
kbvalley
Member
|
# Posted: 18 Mar 2011 06:21pm
Reply
well, local hardware won't rent me an auger due to frost in the ground, I dug these by hand a month ago so I know how much frost there is and its not going to tear up the equipment. Anyone know a rental place open on Saturday that will rent a tow behind or a one man auger in between Lansing and Gaylord, MI? Or better yet, a farmer with an attachment and a desire to make $150 for 10 holes around Lewiston.
|
|
larry
Member
|
# Posted: 18 Mar 2011 08:16pm
Reply
home depot in west branch exit 212
|
|
kbvalley
Member
|
# Posted: 18 Mar 2011 09:09pm
Reply
Thanks Larry. I just got off the phone with them, they are going to set me up tomorrow morning. Thanks again. Just goes to show that I joined the right forum!
|
|
kbvalley
Member
|
# Posted: 18 Mar 2011 09:31pm
Reply
After planning this winter, here are some of the plans. Will look like the picture without the dormer and with a bump out for the bathroom.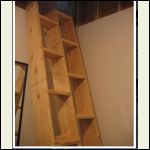
jefferson stair design will go to loft
| 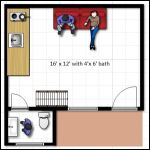
simple scale design
| 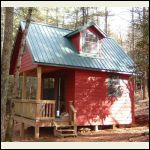
will look like this
|  |
|
|
maine_island
Member
|
# Posted: 19 Mar 2011 08:36pm
Reply
the stairs and kitchen countertop form a sort of constriction by the bathroom door. you are essentially creating a "mini-hallway" just in front of the bathroom door that cannot be used for any other purpose but to walk thru it to get to the bathroom. this is wasteful of space.
further the kitchen sink needs pipes to it and so does the bathroom but in that design they are separated. it's always better (less pipe cost, possibility to share roof stack, less running of hot water before it gets hot) to have those two areas back-to-back or side-by-side to compactify all plumbing in one small area.
perhaps one solution is to move the stairs to a different wall - say the wall on the right.
next swap the toilet & sink so the door into the bathroom is not in the corner but is instead 2' out from the left wall. that allows you to slide the kitchen countertop all the way down adjacent to the bathroom. the bathroom door would then enter the kitchen in the same space that you would have to have anyway in front of the kitchen countertop to stand there and prepare food. so the work area in front of the countertop serves two purposes and there is no "hallway"
|
|
Hick
Member
|
# Posted: 19 Mar 2011 10:46pm
Reply
My wife and I used an attic pull down ladder. Easy to fold up and out of the way when you are not using it. Saves floor room. Our little cabin is 12x16. Just a thought that might help.
|
|
naturelover66
Member
|
# Posted: 19 Mar 2011 11:10pm
Reply
Another Michigander !! Wonderful !! My new cabin is on five acres between Traverse city and Gaylord........... so beautiful. The hubby and I Kayak lakes in Lewiston........ Lake 15, Avery Lake...... Crooked Lake......... nice area.
Love your cabin..... especially the stairs !!
|
|
|
kbvalley
Member
|
# Posted: 20 Mar 2011 02:41pm
Reply
your ladder ideas are welcome, I have struggled with designs and materials, I really like this one, but it looks expensive and I am no metal fabricator http://smallspaceliving.blogspot.com/2008/03/small-space-cabin-architecture-for.html. After much thought I have decided to continue with the building and see how the building takes shape. When it comes time, I will deal with the ladder placement and size as I am standing in the actual structure. I have a feeling that it will be easier seeing it in person. I did get to set my post this weekend and it was a chore. With the frost and the rocks I took about 5.5hours to get what you see here done. There were a few spots that I got down 36+ inches and hit a rock that was bigger than the 10" auger. On the second row of supports I moved down 18" and bored another hole for the post. On the last row I figured that when I hit said boulders I should stop and call it good as it is the least moveable foundation pad I could get. Going back up in 2 weeks to get the 3 double 2x10 beams, 2x8 joists and 3/4 t&g plus 4x12 deck up. After that its all going to move fast.
Looking for any suggestions on floor height since I have to get under there to plumb and run elec. I was thinking of cutting the 4x4 off at 8", putting the 2x10 beams up, and having the 2x8's would afford me with 18-28" of working space. I just don't want this to look like a tree house. Any thoughts?
|
|
kbvalley
Member
|
# Posted: 20 Mar 2011 02:49pm
Reply
I really like Lake 15. Esp. since theres usually very little traffic on it and I take my Old Town out there and listen to the Loons while the sun sets. This was taken there in 2007.
|
|
naturelover66
Member
|
# Posted: 20 Mar 2011 03:22pm
Reply
Beautiful ............ I have an old town Kayak too..... tandum. I cant wait to get " up north".
|
|
kbvalley
Member
|
# Posted: 20 Mar 2011 08:26pm
Reply
follow our project at http://thekbcabin.blogspot.com/
|
|
turkeyhunter
Member
|
# Posted: 20 Mar 2011 08:35pm
Reply
looks like you had a busy weekend too. I would have it min of 2ft at the lowest point. My min is 32" at lowest point. PLUS it get your floor system
Quoting: kbvalley Looking for any suggestions on floor height since I have to get under there to plumb and run elec
off the dampness.
|
|
kbvalley
Member
|
# Posted: 20 Mar 2011 08:44pm
Reply
thanks for the reply. Do you have a pic of yours so I can see what 32" actually looks like. I just don't want that "floating cabin" look. Plus the extra skirting or whatever I decide to do with that area starts to distort the look of the place.
|
|
kbvalley
Member
|
# Posted: 3 Apr 2011 05:43pm
Reply
Another busy Saturday....next is the t&g and the walls...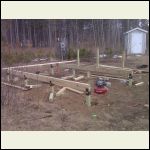
IMG00012.jpg
| 
IMG00013.jpg
| 
IMG00015.jpg
|  |
|
|
kbvalley
Member
|
# Posted: 17 Apr 2011 05:38pm
Reply
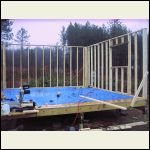
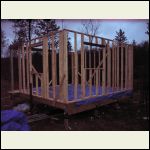
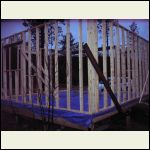
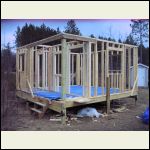
horrible weather, great progress....here's what one amateur can do in 8 hours in the rain. If you're worried about being able to build your own cabin...don't be. Its just like anything else in life, time, money, and patience.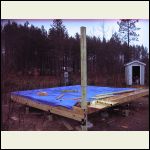
IMG_0008.JPG
| 
IMG_0015.JPG
| 
IMG_0018.JPG
| 
IMG_0019.JPG
|
|
|
kbvalley
Member
|
# Posted: 17 Apr 2011 05:42pm
Reply
This is when I had to call it quits.....
|
|
BlaineHill
Member
|
# Posted: 18 Apr 2011 09:39pm
Reply
Thanks for posting the details of your build. Looks like you pushed pretty hard and made some great progress. It's going to be an awsome place.
|
|
kbvalley
Member
|
# Posted: 1 May 2011 05:53pm
Reply
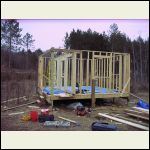
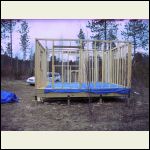
Finally, 60 degrees and dry...got the walls and top plates done. Next t1-11 and roof. Wondering if anyone knows if you can leave the t1-11 up without a roof as I don't know if I can do both in the same weekend.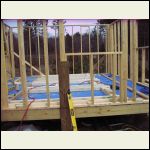
IMG_0002.JPG
| 
IMG_0005.JPG
| 
IMG_0007.JPG
| 
IMG_0010.JPG
|
|
|
kbvalley
Member
|
# Posted: 29 Jun 2011 09:57pm
Reply
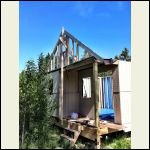
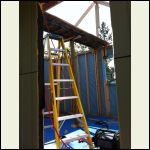
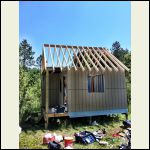
.....some more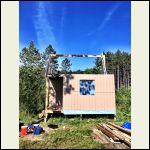
033.JPG
| 
031.JPG
| 
037.JPG
| 
039.JPG
|
|
|
kbvalley
Member
|
# Posted: 29 Jun 2011 09:59pm
Reply
.....and a couple more
|
|
BadgersHollow
Member
|
# Posted: 29 Jun 2011 10:56pm
Reply
I like it Kbvalley! I was thinking about ways to incorporate a little bathroom and I kind of like your idea. I've been looking at RV toilets, maybe with a gravity flow feed from up above in the loft.
|
|
kbvalley
Member
|
# Posted: 29 Jun 2011 11:04pm
Reply
Thats all we had in our old cabin. We buried an old fuel old pig and put holes in it. Then we used an rv toilet and some dwv pipe to attach it and keep it a closed system. Just kept a jug of water to wash it down and used some of the rv blue stuff occasionally along with rv toilet paper. Used that system for 10 years no problem.
|
|
naturelover66
Member
|
# Posted: 30 Jun 2011 12:58pm
Reply
Looks great !!!
|
|
kbvalley
Member
|
# Posted: 6 Jul 2011 07:14am
Reply
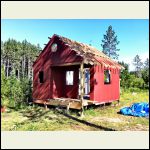
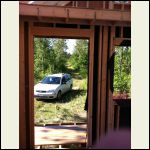
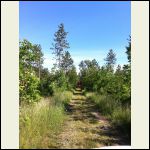
got it painted and started on one gable end overhang. Its really coming along now.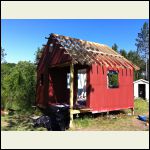
015.JPG
| 
022.JPG
| 
023.JPG
| 
026.JPG
|
|
|
kbvalley
Member
|
# Posted: 19 Jul 2011 07:19am
Reply
Now its officially ready for the decking and metal roof. It will be done before the end of the month (the roof).
|
|
Anonymous
|
# Posted: 20 Jul 2011 08:55pm
Reply
Very nice , you will sure enjoy it when done. And a nice looking lake too.
|
|
Montanan
Member
|
# Posted: 21 Jul 2011 12:22am
Reply
Looks great! I love the color and the octagonal window.
|
|
kbvalley
Member
|
# Posted: 30 Jul 2011 10:28pm
Reply
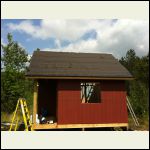
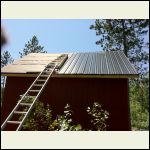
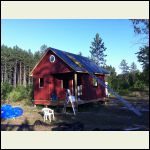
this weekends progress.....all by myself roofing on the nicest weekend upnorth Michigan so far.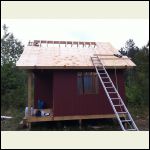
008.JPG
| 
010.JPG
| 
013.JPG
| 
014.JPG
|
|
|
kbvalley
Member
|
# Posted: 30 Jul 2011 10:31pm
Reply
last couple pics
|
|
| . 1 . 2 . 3 . >> |

