| . 1 . 2 . >> |
| Author |
Message |
CaptCanuck
Member
|
# Posted: 26 Jul 2014 10:06am - Edited by: CaptCanuck
Reply
I've been a member here for a while and have read many of your stories with interest...and now I have something to share as well.
We have a nice 12 acre property in Ontario, which is currently water access only. We have tried unsuccessfully (so far) to negotiate access to a nearby road, so we decided that the best thing to do at the present time would be to build a no-permit shed - under 108 sq ft as required by the township.
So after some planning, we started working on it last September.
The location (October 2013):
(To be continued...)
|
|
CaptCanuck
Member
|
# Posted: 26 Jul 2014 10:51am - Edited by: CaptCanuck
Reply
My wife and I are in our 40s with a young son, and had no prior building experience going into this.
Even though it was just a small building, it was a daunting prospect because all building materials had to be transported over to our property by water, in a small jon boat.
Very fortunate for us, I have a very spry 75 year old uncle in the area who has worked as a handyman for the better part of 30 years, and he agreed to help us do this project right.
So he and I, and my dad (also 75 yrs old), got to work on it in Sept 2013, and here is a photo of the beginnings - with my father and uncle standing beside our handiwork.
|
|
Just
Member
|
# Posted: 26 Jul 2014 11:12am
Reply
AW the 8 x 12 my favorite .We have just applied to build one on our permitted cottage sight in southern Ont. I have built three or 4 over the years and have enjoyed the challenge . you can go 8 x 13 as the bylaw in ont. says 10 sq M. , cost a bit more but every in. counts in a very small building. Good luck .very nice pic
|
|
CaptCanuck
Member
|
# Posted: 26 Jul 2014 11:22am
Reply
Thanks Just. Good point about the dimensions, but my uncle made that call as he likes to be efficient when building and thought 8x12 would mean the least amount of waste.
What we lack in footprint, we made up for in height, as you will see. 
Here we are a little farther along:
|
|
Just
Member
|
# Posted: 26 Jul 2014 12:01pm
Reply
so i suppose you call it a raised ranch we are also planing a loft with two signal beds . we are also planing a loft with two signal beds .
|
|
CaptCanuck
Member
|
# Posted: 26 Jul 2014 01:09pm
Reply
Ha, yeah my nickname for it is "the condo". 
Here we are a little farther along with (1) the walls up, (2) putting the rafters up, (3) the view from the top, and (4) feeling pretty good about a job well done!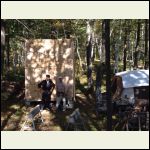
image.jpg
| 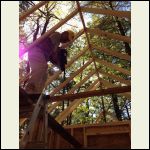
image.jpg
| 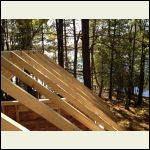
image.jpg
| 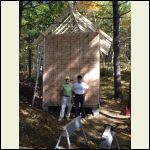
image.jpg
|
|
|
neb
Member
|
# Posted: 26 Jul 2014 01:54pm
Reply
I'm very happy for you and have fun with the build. Looks very nice and please keep us posted.
I want to do a storage shed and just not sure where. I do want to get the poles planted before winter and be able to work on it this coming winter.
Are you going to live there?
|
|
CaptCanuck
Member
|
# Posted: 26 Jul 2014 08:24pm
Reply
Thanks Neb, good luck with your project. 
No plans to live up there unless we can get a road in a some point. The winters here can be extremely cold with heavy snow, and we would need viable 4 season heating, sanitation and power to make it work for us. Perhaps one day, in retirement.
Fortunately the property is only about an hour from where we live in a city, so it is easy for us to go up - even for the day.
Here we are (1) transporting a used window over to our property I found through online classifieds, (2) the roof on, and (3) (4) working on the soffit.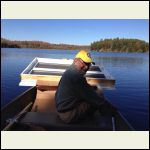
image.jpg
| 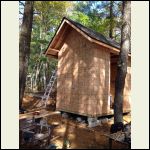
image.jpg
| 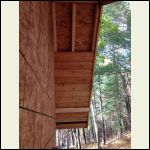
image.jpg
| 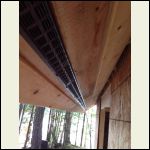
image.jpg
|
|
|
|
neb
Member
|
# Posted: 26 Jul 2014 08:33pm
Reply
Looks very nice! Yep I close also and is a great place to spend a night or two. When it's close you can visit often like I do. Keep us posted on your build and after build.
|
|
Gary O
Member
|
# Posted: 26 Jul 2014 09:27pm
Reply
sweet
What a setting!
Please keep us posted, Captn
|
|
CaptCanuck
Member
|
# Posted: 27 Jul 2014 08:53am
Reply
Thanks guys!
I should mention that since we don't have power at our property, prior to starting our build I found a small but mighty used generator (1) in local online classifieds.
It may be small, but it took everything we dished out and came back for more...and was very very fuel efficient. Highly recommended.
We also got lucky with finding other materials cheaply...some of the windows were "used" - fitted then removed and sold at a deep discount. I picked up a few at Home Depot, but they were on sale too and I needed specific sizes to fit the openings we had.
Here we are with some of our windows and working on preparing the openings (2) and (3) the openings cut and the door installed.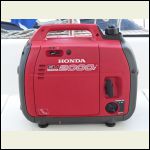
image.jpg
| 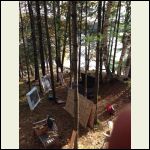
image.jpg
| 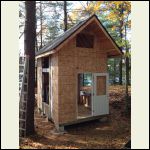
image.jpg
|  |
|
|
leonk
Member
|
# Posted: 27 Jul 2014 09:34am
Reply
very nice place 
|
|
Wilbour
Member
|
# Posted: 27 Jul 2014 01:16pm
Reply
I was contemplating buying my windows this week from homers and low and behold they are 15% off. Normally Im all over used but the price of windows at Habitat is not a lot less than new ones at homers. We get a fair amount of people riding by on bikes and want the shed to look uniform so I want all the same look. I am so use to doing everything on the cheap but I want this place to last so I have to balance that as well.
As for furniture and gear im all over used.
Bought this online last night
http://www.hammockuniverse.com/collections/fabric-hammock-chairs/products/non-adjusta ble-hanging-hammock-chair-with-foot-rest
$40 taxes and shipping included!
|
|
CaptCanuck
Member
|
# Posted: 27 Jul 2014 08:58pm - Edited by: CaptCanuck
Reply
Wilbour, funny you should mention Habitat for Humanity, because one of our windows came from there. It was a great find.
So by this stage in our build it was getting into late October and early November, and we were concerned about the weather turning cold, wet, and possibly even snowy before we got all the windows in. As it turned out though, the late fall weather in 2013 was beautiful and most days we made it up there to work on the cabin we had ideal conditions. Mother Nature was on our side!
(1) transporting more materials on a rare grey day, this time towing another little aluminum boat, (2) putting some windows in, (3) & (4) windows in! Check out my uncle's leather tool belt in photo 4...he's been using the same one for 30 years!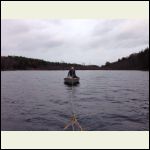
image.jpg
| 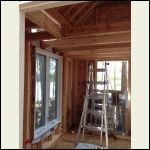
image.jpg
| 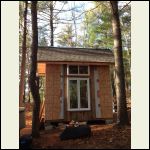
image.jpg
| 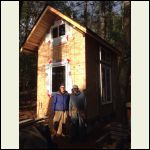
image.jpg
|
|
|
CaptCanuck
Member
|
# Posted: 2 Aug 2014 09:30am - Edited by: CaptCanuck
Reply
Next came insulating and vapor-wrapping the interior of the cabin, and putting the floorboards up in the loft.
As you can see we used the pink fibreglass insulation in the walls, and in the ceiling (no photos unfortunately) we used foam sheeting with foil on each side. There is a 3" gap between the insulation in the ceiling and the roof, which is intended to draw the heat up and out the vent at the top in the hot summer.
That was about as far as we got last Fall before it turned cold and we decided to pack things up for the winter. We were all really please with the progress we'd made and looking forward to getting started again in the spring of 2014.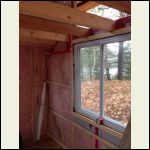
image.jpg
| 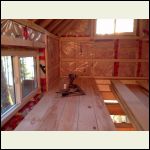
image.jpg
| 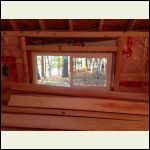
image.jpg
| 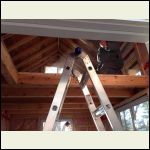
image.jpg
|
|
|
creeky
Member
|
# Posted: 3 Aug 2014 03:15pm
Reply
Hey capt. Great build.
Is it time to build a hovercraft for year round access?
|
|
CaptCanuck
Member
|
# Posted: 3 Aug 2014 05:51pm
Reply
Thanks creeky, I like the way you think! 
|
|
LoonWhisperer
Member
|
# Posted: 21 Aug 2014 05:39pm
Reply
Looking good Cap!  That location looks perfect and your cabin is coming along nicely. Nice score on the genny too! Honda's are awesome. That location looks perfect and your cabin is coming along nicely. Nice score on the genny too! Honda's are awesome.
We are in Ont. as well and just bought an 11 acre property in the Spring. Our cabin looks very similar but I sure wish they built it higher like yours.
Best of luck!
|
|
Ontario lakeside
Member
|
# Posted: 22 Aug 2014 10:58am
Reply
We started in a bunkie like that, your looks great!
|
|
sweet75
Member
|
# Posted: 7 Oct 2014 12:19pm
Reply
Great job!
|
|
Wilbour
Member
|
# Posted: 7 Oct 2014 12:36pm
Reply
Quoting: CaptCanuck in the ceiling (no photos unfortunately) we used foam sheeting with foil on each side
So you attached these to the underside of the rafters? Did you vapour barrier inside of that? What foam sheeting did you use?
|
|
CaptCanuck
Member
|
# Posted: 7 Oct 2014 03:30pm
Reply
Thanks LoonWhisperer, Ontario lakeside and sweet75! I'm going to post some more photos and details as soon as I can get organized.
|
|
CaptCanuck
Member
|
# Posted: 7 Oct 2014 03:32pm
Reply
@Wilbour, the product we used was something like this:
http://www.homehardware.ca/en/rec/index.htm/Building-Supplies/Building-Materials/Insu lation-Acc/Rigid/Poly-Foam/2-x-4-x-8-R12-ISO-Foam-Insulation/_/N-2pqfZ67l/Ne-67n/Ntk- All_EN/R-I2719421?Ntt=4%27+x+8%27+Insulation&list=1
We put it between the rafters, and no additional vapour barrier. There is a ridge vent on the structure, and we used pink fiberglass insulation in the walls, and then vapour barrier over that.
|
|
redlandfd
Member
|
# Posted: 7 Oct 2014 10:22pm
Reply
Great looking place...I like the access by boat only
|
|
Wilbour
Member
|
# Posted: 8 Oct 2014 07:36am
Reply
I am back to thinking I will use similar foam sheeting face nailed to the rafters and vapour barrier on that. Cutting the foam to size and fitting it in-between the rafters would mean attaching blocking in each cavity so the foam does not bounce around inside the opening when the wind blows (lots of wind here).
How did you insert the foam while maintaining an airspace?
|
|
CaptCanuck
Member
|
# Posted: 8 Oct 2014 11:29am
Reply
@Wilbour, we cut the foam to size and wedged it nice and tight between the rafters.
It is flush with the inside edge of the rafters to maintain the airspace between the ceiling and the roof, and then we also taped all the edges/seams between the rafters and sheet insulation with sheathing/housewrap tape like this:
http://www.homedepot.ca/product/red-sheathing-housewrap-tape-60-millimetres-wide-and- 50-metres-long/951143
|
|
CaptCanuck
Member
|
# Posted: 8 Oct 2014 12:20pm - Edited by: CaptCanuck
Reply
Thanks redland, we've come around to enjoying the access by boat for a lot of reasons.
The downside though is that we are dependent on another landowner for our water access right of way and though the current owner is friendly (family), we don't know what the future could bring...and we'd like road access so that we are fully in control of our property and access.
From a pure "getaway" standpoint though, water access is ideal. No one driving in, more privacy and solitude, less chance of theft, all that stuff...
|
|
CaptCanuck
Member
|
# Posted: 9 Oct 2014 12:37pm - Edited by: CaptCanuck
Reply
As promised, back to the photos and progress report.
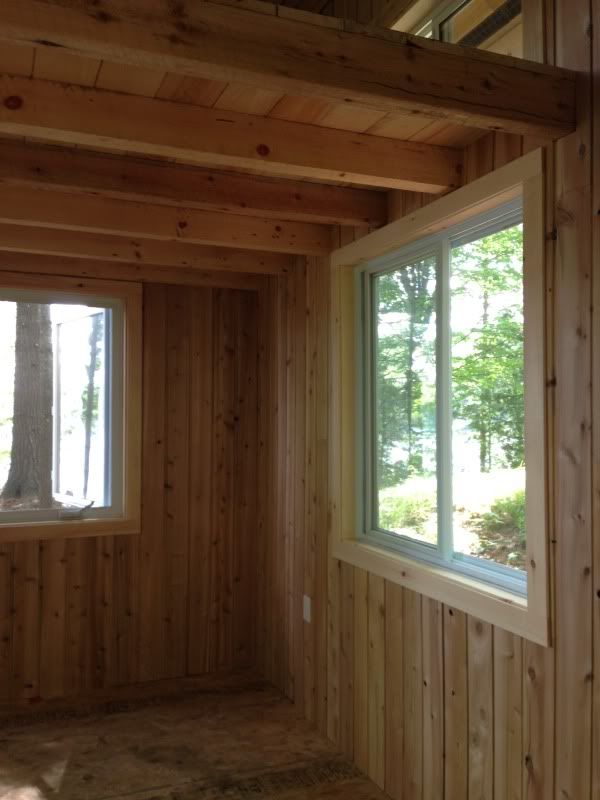
After taking a break for the winter, we got back to work on the cabin in June, and with a lot of the hard stuff done we got down to the finishing work and it progressed quickly.
The walls are tongue and groove cedar and pine, purchased very inexpensively from a small local sawmill that is shutting its doors.
Main level, with pine floor to come next:
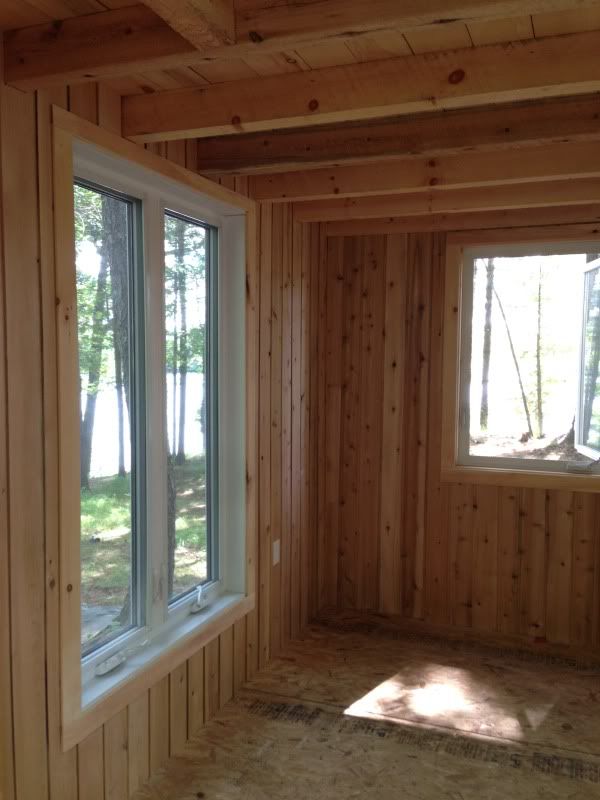
Loft:
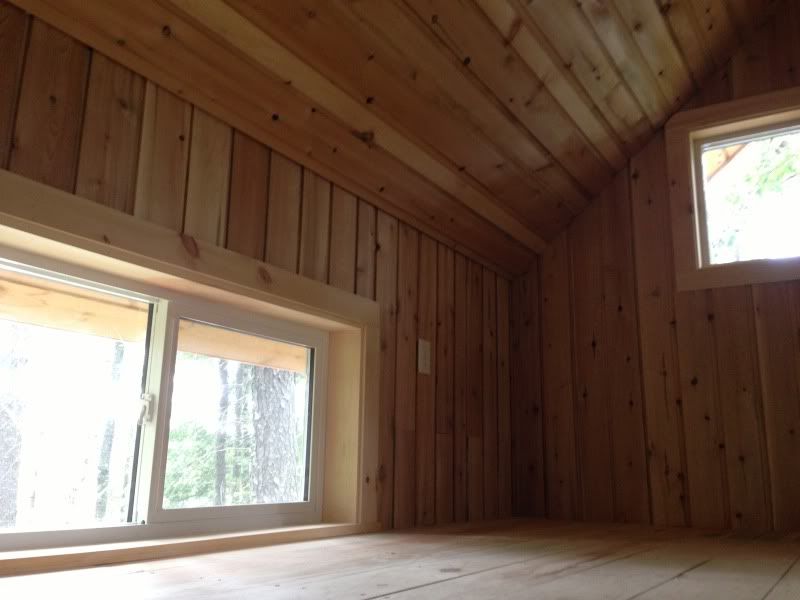
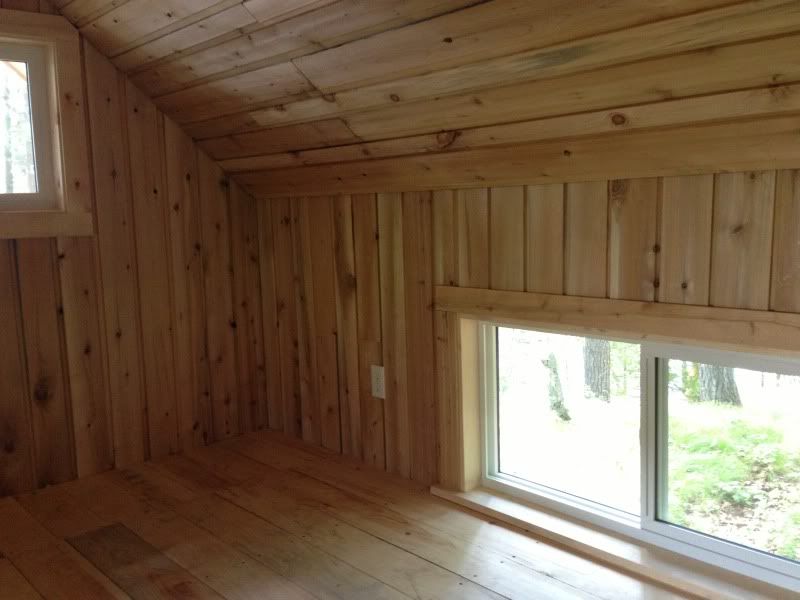
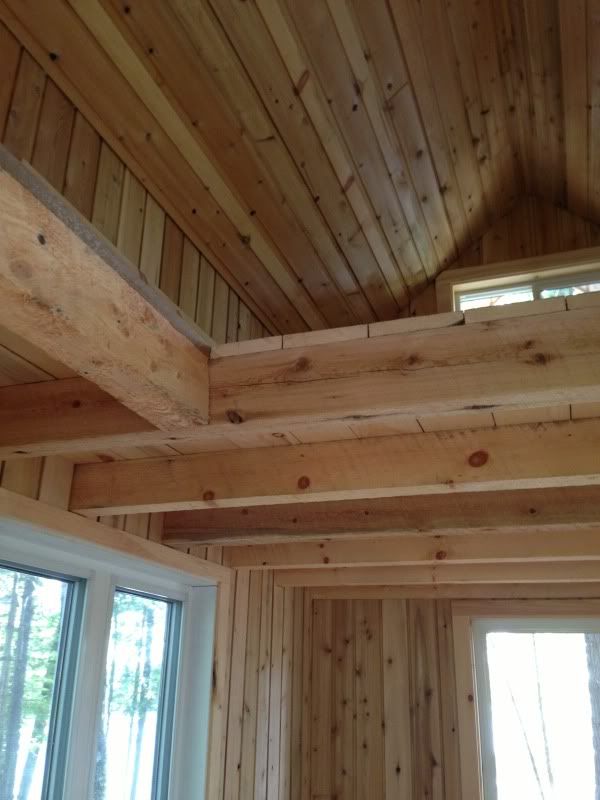
And of course, what makes it all worthwhile. 

|
|
duster
Member
|
# Posted: 14 Nov 2014 12:33pm
Reply
I'm in n. Ont., near the Quebec border and my township also permits 108 sq. ft. I'm planning a 14 x 7 cabin and I'm curious about what you used for your foundation. Did you pour concrete? Use deck blocks? Or some other way of supporting the frame?
|
|
CaptCanuck
Member
|
# Posted: 18 Nov 2014 09:16am
Reply
We used cinder blocks on patio slabs - at each corner and one in the middle on each of the long sides.
The ground was quite level and very solid , so my uncle felt that that would do just fine for this build. If it settles a little we can always jack it up and shim.
If I had a road in I would have likely done things a bit differently, but with water access only, there are bound to be some compromises.
|
|
| . 1 . 2 . >> |

