|
| Author |
Message |
wmmoore
Member
|
# Posted: 24 Aug 2009 02:07pm
Reply Quote
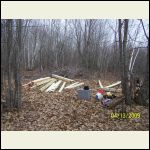
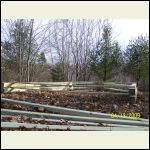
This project started as a hunting stand for my son and I. It kind of morphed into a bit more of a roomy and user friendly project to work on together. It is not finished and has a way to go but it will be usable come the fall deer hunt.
Until I bored a trail into the woods that my 4wheeler could make, everything had to be hauled in by hand.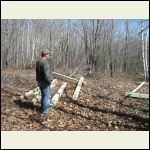
2.jpg
| 
April_13_2009_008.jp.jpg
| 
April_13_2009_019.jp.jpg
|  |
|
|
wmmoore
Member
|
# Posted: 24 Aug 2009 02:16pm
Reply Quote
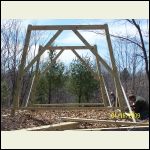
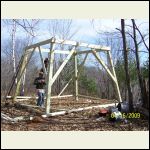
Having a circle of friends that can help is quite a blessing. Lots of the work required two people as the stand is elevated 12ft.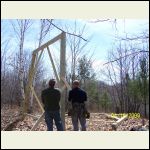
4_16_2009_004.jpg
| 
4_16_2009_010.jpg
| 
4_16_2009_042.jpg
|  |
|
|
wmmoore
Member
|
# Posted: 24 Aug 2009 02:23pm
Reply Quote
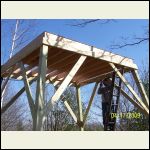
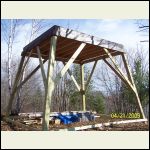
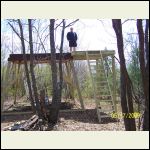
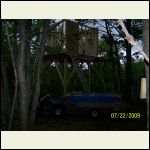
The platform floor is 10x12 and it sits on 12ft 6x6 treated timbers that are lagged to treated lamanated footings that are burried into the earth 15". The support beams are compound angles that provide for a wide foot print to aid in stability.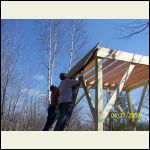
4_17_2009_021.jpg
| 
4_17_2009_025.jpg
| 
4_21_2009_013.jpg
|  |
|
|
wmmoore
Member
|
# Posted: 24 Aug 2009 02:30pm
Reply Quote
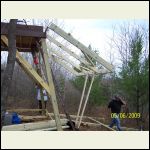
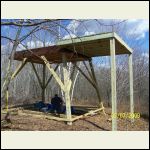
The deck was pre assembled at home and then taken apart and brought out to the stand. I should mention too that the soil at the stand is all sand. There is good drainage there and the treated timber should last for many years before it may require some maintainence. I do not believe that frost heaving will be a problem.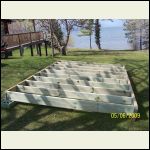
5_06_2009_020.jpg
| 
5_06_2009_040.jpg
| 
5_07_2009_015.jpg
|  |
|
|
wmmoore
Member
|
# Posted: 24 Aug 2009 02:38pm
Reply Quote
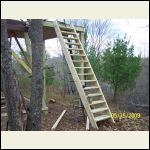
The stairs were also pre asselbled at home and then brought out to the stand and installed. It was quite a work out dragging them through the woods to their destination with the deck.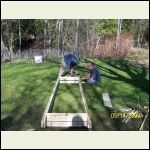
5_14_2009_006.jpg
| 
5_15_2009_001.jpg
| 
5_17_2009_008.jpg
|  |
|
|
wmmoore
Member
|
# Posted: 24 Aug 2009 02:46pm
Reply Quote
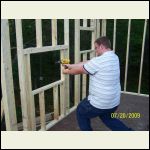
The framing of the walls and placement of the windows required some very methodical and scientific planning.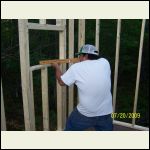
7_20_2009_014.jpg
| 
7_20_2009_015.jpg
| 
7_22_2009_001.jpg
|  |
|
|
wmmoore
Member
|
# Posted: 24 Aug 2009 03:01pm
Reply Quote
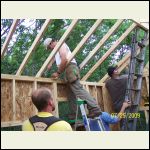
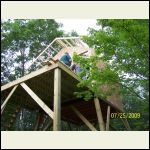
With help, the framing and roof went up in an afternoon. I would do as much prep work as I could prior to the gangs arrival. Making sure all the materials and tools were there required a bit of planning as well. Everything was assembled with battery power and hammers. By the time four fully charged lithium ion batteries were discharged, it was time to go home anyhow.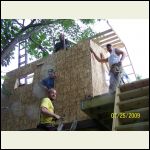
7_25_2009_006.jpg
| 
7_25_2009_032.jpg
| 
7_25_2009_039.jpg
| 
7_25_2009_047.jpg
|
|
|
wmmoore
Member
|
# Posted: 24 Aug 2009 03:15pm
Reply Quote
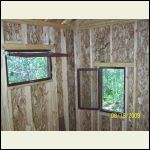
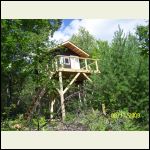
The eaves on the deck side have a 30" over hang to provide for additional protection. Soffit and insulation are my next priority. Then I will begin working on the interior.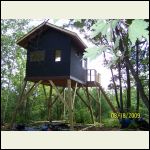
8_18_2009_005.jpg
| 
8_18_2009_007.jpg
| 
8_18_2009_010.jpg
|  |
|
|
|
wmmoore
Member
|
# Posted: 24 Aug 2009 03:26pm
Reply Quote
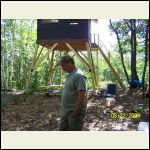
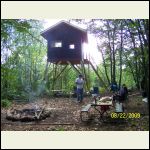
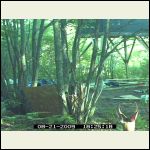
We had the first cook out there on Saturday! It was the first fire in the fire pit. The day before I put out my trail cam prior to leaving and within 45 minutes there was a visitor there checking things out. I will post more as the Hideout progresses. Bill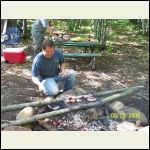
8_22_2009_002.jpg
| 
8_22_2009_006.jpg
| 
8_22_2009_015.jpg
| 
0821091825180..jpg
|
|
|
unixfmike
Member
|
# Posted: 24 Aug 2009 07:10pm
Reply Quote
Well that is just plain awesome.
--MikeW
|
|
Camper
Member
|
# Posted: 25 Aug 2009 11:28am
Reply Quote
That is awesome -
Any plans on putting a lower deck beneath the building?
How far Up North are you? My little spot is east of Antigo near the Wolf River.
|
|
wmmoore
Member
|
# Posted: 25 Aug 2009 09:54pm - Edited by: wmmoore
Reply Quote
Putting a deck on the lower half will be great. I plan on eventualy having an area for a picnic table. I do have a smaller camp on my lower 40 that includes exactly what you have suggested. I am near Ashland.
|
|
CabinBuilder
Admin
|
# Posted: 27 Aug 2009 11:32pm
Reply Quote
That is awesome hideout, wmmoore.
Great job too!
|
|
Anonymous
|
# Posted: 28 Aug 2009 12:58pm
Reply Quote
you have givin me some great ideas on building our cabin in upstate ny, i love the idea of being up... great job!
|
|
wmmoore
Member
|
# Posted: 2 Sep 2009 06:27am
Reply Quote
During the course of the summer I began looking for a good location to drive a sand point. The location that I chose is roughly 100 yards from the hideout. It was important to me to have my own source of water.
|
|
cabingal3
Member
|
# Posted: 15 Sep 2009 02:27pm
Reply Quote
i am an oregonian too.thats a pretty cool place.thanks for sharing.cabingal3
|
|
Anonymous
|
# Posted: 22 Sep 2009 07:23am
Reply Quote
Thanks CabinBuilder. I hope to be further ahead soon. Up until last week there was just ice and water on the roof. The shingled roof went on in 7 hours and it was 85F out that day. Very warm out. With a 6 12 pitch and over 20ft up it was time consuming and a bit taxing.
|
|
wmmoore
Member
|
# Posted: 22 Sep 2009 07:26am
Reply Quote
And thankyou too cabingal! Your place looks pretty cool as well!
|
|
paulsonlaw
Member
|
# Posted: 29 Dec 2009 09:50am
Reply Quote
That is VERY COOL!!!
|
|
flatwater
Member
|
# Posted: 29 Dec 2009 10:32pm
Reply Quote
One of the things that I found after I built my dear stand (much smaller then yours 4x8 ) that the deer pretty much ignored it after it was up for a few months even when I'm in it making noise.
|
|
elkdiebymybow
Member
|
# Posted: 8 Jan 2010 02:14pm
Reply Quote
What a cool project! Thanks for sharing. Where did you buy the pitcher pump? I tried one that must have been a poor quality model because it didn't work real well and would fall apart when I pumped it. I'm going to work on my well in the spring.
|
|
Anonymous
|
# Posted: 23 Feb 2010 02:03pm
Reply Quote
wmmoore
I love it. Do you have any more detail drawings etc. on the stand/raised platform. Does it shake or move in the wind?
|
|
|

