| . 1 . 2 . >> |
| Author |
Message |
TheCabinCalls
Member
|
# Posted: 15 Jun 2012 09:50
Reply
Finally decided to take you through the cabin project. Will start from the beginning (after surveying and other headaches).
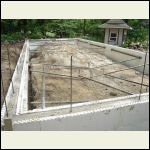
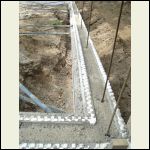
Taking down a few large cottonwood. Digging footings and setting ICF blocks. Walls will be 11" wide (5" insulation, 6" concrete).
18x38 Slab on grade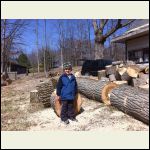
Clearing cottonwood
| 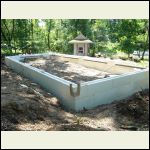
ICF Foundation
| 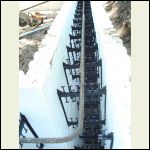
ICF Rebar
| 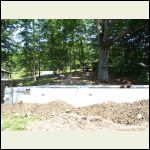
ICF Foundation Rear
|
|
|
TheCabinCalls
Member
|
# Posted: 15 Jun 2012 10:01
Reply
Here are a few after the foundation walls are poured.
Using the beach while work is done
| 
After foundation pour
| 
Bracing and Rebar
|  |
|
|
TheCabinCalls
Member
|
# Posted: 15 Jun 2012 10:08
Reply
Waterproofing foam and pouring the slab.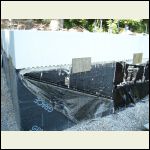
Waterproofer peels off
| 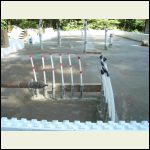
Rough Plumbing and Heat Tubes
| 
Time to burn off some steam (and brush)
|  |
|
|
TheCabinCalls
Member
|
# Posted: 15 Jun 2012 10:22
Reply
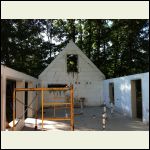
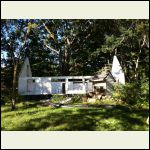
Walls and openings. We ended up getting 15 brand new mis-measure windows. So we were able to afford to actually put bigger windows for views. Contractor goofed on pitch and had to redo gable ends.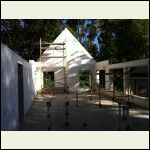
East gable end
| 
West gable end
| 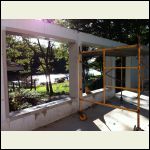
Large openings
| 
Structure view from water
|
|
|
Scott_T
Member
|
# Posted: 15 Jun 2012 10:54
Reply
Curious - what motivated you to make all of it with concrete?
|
|
TheCabinCalls
Member
|
# Posted: 15 Jun 2012 11:08
Reply
As you know a ton of information was gathered. It boiled down to price, speed, maintenance, cost of energy. We put radiant heat tubes and aren't planning on air conditioning. So we wanted it to be tight and effecient.
Our goal was to have foundation and rough framing done by "professionals" so we could take it from there.
We were going to go with SIPs, but every company we'd get close to using would flake out.
We then looked at timbre framing it using the local Amish. It was going to cost too much and take too long. We finally found a local concrete company that could take care of foundations and framing all in one shot (sort of).
I come from a long line of woodworkers so trust me...it was hard to consider, let alone use concrete.
|
|
TheCabinCalls
Member
|
# Posted: 15 Jun 2012 11:15
Reply
Finally we introduce that wood that makes a cabin feel like...well a cabin. We plan to leave the joist exposed and put TG syp on top.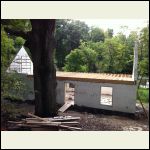
Rim joist and decking
| 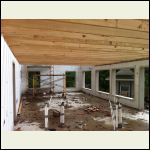
Rafters
| 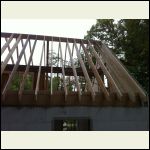
More Rafters
| 
A moment of Peace
|
|
|
TheCabinCalls
Member
|
# Posted: 15 Jun 2012 11:24
Reply
Roof deck and interior starts...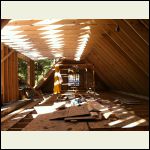
Loft area
| 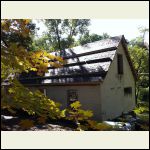
Roof deck north side
| 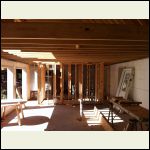
Rough framing
| 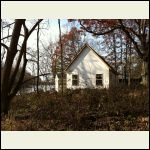
Rough Shell
|
|
|
|
TheCabinCalls
Member
|
# Posted: 15 Jun 2012 11:33
Reply
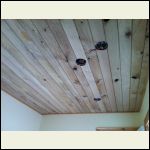
Putting down SYP 2x6 T&G boards. It will be ceiling and loft floor.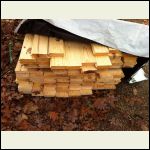
Wood Arrives
| 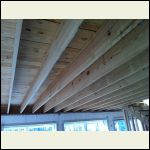
T&G SYP boards
| 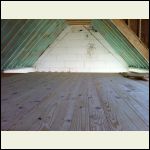
Loft floor
| 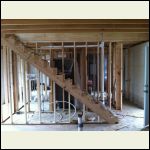
Stairs and rough plumbing
|
|
|
TheCabinCalls
Member
|
# Posted: 15 Jun 2012 11:42
Reply
Framing Loft/Attic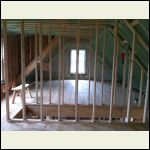
Loft/Attic
| 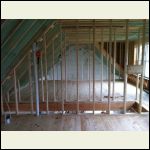
Loft/Attic 2
| 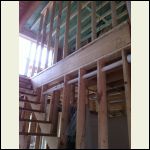
Look up stairs
|  |
|
|
TheCabinCalls
Member
|
# Posted: 15 Jun 2012 11:45
Reply
Domestic/Floor hot water heater is installed.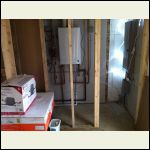
Navien 210A
| 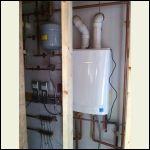
Navien and controls installed
|  |  |
|
|
TheCabinCalls
Member
|
# Posted: 15 Jun 2012 11:50
Reply
Trim and Stair details...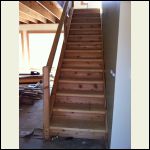
Rough Sawn Cedar for trim and rise
| 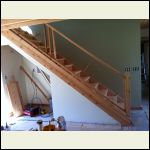
Cedar for post and spindles
| 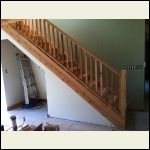
SYP treads and Cedar Rise
| 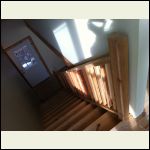
View from top
|
|
|
TheCabinCalls
Member
|
# Posted: 15 Jun 2012 11:57
Reply
Framing direct vent fireplace. I lost the battle on this one. I wanted a wood stove. She didn't want the mess or smell.
We found a local sawmill that had taken down a 200+ year old White Oak tree and so we felt we had to use it...
We left the joist exposed in most of the areas, but this hallway had too many mechanicals running through it to leave it open.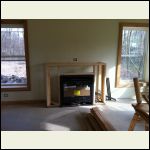
Frame Fireplace
| 
200 year white oak
| 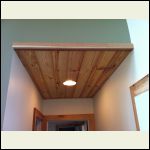
SYP boards cover mechanicals
|  |
|
|
TheCabinCalls
Member
|
# Posted: 15 Jun 2012 12:11
Reply
To save on cost and keep things simple we just sealed the concrete floor and will use it as is.
We also made our cabinets. We used rustic alder.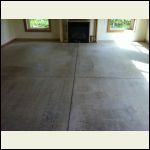
sealing floor with matte finish
| 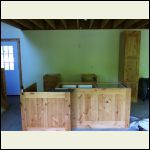
rustic alder cabinets
| 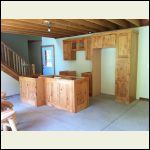
kitchen view
| 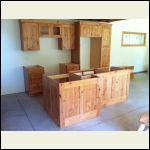
kitchen view 2
|
|
|
TheCabinCalls
Member
|
# Posted: 15 Jun 2012 12:15
Reply
Set countertops: steel gray with leather finish.
Stone fireplace using veneer. The white oak beam came from triming our huge white oak right outside.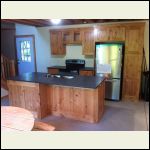
countertops go on
| 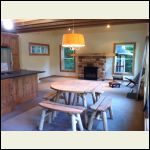
stone put on fireplace surround
| 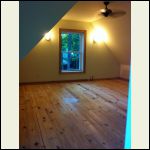
loft electric installed
| 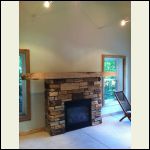
low voltage lighting and fireplace
|
|
|
TheCabinCalls
Member
|
# Posted: 15 Jun 2012 12:20
Reply
Question for you all. We that white oak beam you see above. I have not cut it to length yet. Obviously I will probably have to use a chainsaw to cut it, but what do you think is the best way to top it off?
I thought about cutting 12" length and building it out from the wall with those then getting a 1" white oak board to cap it.
Thoughts?
|
|
Scott_T
Member
|
# Posted: 15 Jun 2012 12:20
Reply
Very nice...sturdy. Should be around for a long, long time.
|
|
Scott_T
Member
|
# Posted: 15 Jun 2012 12:28
Reply
Quoting: TheCabinCalls what do you think is the best way to top it off?
I think a cap board would look good. Given your window trim style might also consider piece of decorative trim where the mantle cap board meets the wall?
|
|
trollbridge
Member
|
# Posted: 16 Jun 2012 11:15
Reply
Why it looks as if you are ready to move in----I would say you are well over the hump!!! Enjoy! Beautiful place that will get even better after you move in! The character I think you refer to as remembering as a kid will come with time! Be happy and have fun!
|
|
TheCabinCalls
Member
|
# Posted: 18 Jun 2012 00:43
Reply
trollbridge, thanks for the pep talk. We are close. My goal is to wrap up a few that things this week and call for our final inspection.
Before we started we read a handful of great books. It was these books that really sparked a renewed passion for cabins that started young for me. It was also these books that got me excited enough to try the build. They all kept saying take your time, study the land, how you'll use it, which way the sun and wind move across it. We did that - we started off taking our time. Then we pull a permit. Once the money started flowing it felt like we were under deadline. So that slow laid back feeling the books talked about and I remember as a kid vanished quickly.
We did go up this saturday. I spent a short time doing a couple things of work the rest was spent playing with the kids and fishing.
You really forget how great it is to get away until you are on your way back home. Then thoughts and stress slowly start coming back. Work isn't work at the cabin...it is us being us. However, thinking about what needs to get done at the cabin when your at home is something different.
|
|
steveqvs
Member
|
# Posted: 18 Jun 2012 07:53
Reply
Very nice! Did I miss the size (footprint) of your cabin? I like the look and the pitch of the roof!
Enjoy.
|
|
TheCabinCalls
Member
|
# Posted: 18 Jun 2012 08:38
Reply
It was hidden up there.
18x38
Slab on grade with heat tubes
13/12 pitch roof
11" icf walls and gable ends
Vinyl windows/slider (all mismeasures)
Navien water heater
Life breathe air exchanger
Cedar trim and risers
Syp loft floor and treads
concrete floor
Rustic alder cabinets
Granite top (mis measure slab)
No a/c
|
|
steveqvs
Member
|
# Posted: 18 Jun 2012 13:49
Reply
Wow, impressive list.... even with the mis measured stuff.. funny! Did you draw up your own plans or purchase them?
I go back and forth about ideas for my cabin. But my daughter just got married last weekend so my cabin will have to be delayed even a little longer..... ! So I have time.
|
|
Anonymous
|
# Posted: 18 Jun 2012 19:44
Reply
Mis measures were a blessing... We got 15 brand new windows bought by a school and never opened.
We did our own drawing, which inspector didn't like. We picked out things we liked from mainly three books: cabin, not so big house and pattern language. We found two plans that worked with our site and sun path - we just morphed the two plans together.
We made adjustment along the way, which inspector didn't like. Some things we had to change; like ladder had to be stairs that me code. We also werent able to add the porch on our plan because of setback rules. We also wanted beams not joists but inspector wouldn't allow without engineer stamps. Our icf manufacture was great about giving us stamped drawings free of charge. Inspector never saw concrete walls before.
We took our time researching. Look at these books:
Cabin (dale m)
Waterfront living
Your cabin in the woods (Conrad)
Pattern language
Cabinology
Not so big house (double book)
Sala architects website
Ross chaplin architect website
Homes addition of Fine Home Builders mag
|
|
trollbridge
Member
|
# Posted: 19 Jun 2012 11:08
Reply
Doing a lot of research does really help. Our inspector was very easy to work with so I can't complain about him but the county zoning dude was difficult and the DNR and FEMA people-ugh! Once everybody got their $$ from us they were happy-but the tactics they used were very stressful and tying up the process and then informing us the zoning laws have once again changed was extremely frustrating!
PS- many of the books you mention above are very good resources and very enjoyable reading too!
|
|
TheCabinCalls
Member
|
# Posted: 19 Jun 2012 11:35
Reply
I know. They say never pick on kids or they grow up to be salty regulators.
We had the same. In fact, we had to have a surveyor out three times, because they kept telling us of new requirements...that they could have requested at the time of the first survey.
It was those books that actually kept us sane, calm and excited.
|
|
steveqvs
Member
|
# Posted: 19 Jun 2012 13:40 - Edited by: steveqvs
Reply
Wow, lucky I guess. I shouldn't have the problem with inspectors. I know of no permits needed in my area. I recognize some of those books but I will look over your list.
thanks!
|
|
trollbridge
Member
|
# Posted: 19 Jun 2012 14:43
Reply
steveqvs....you are lucky then-count your blessings!
Congratulations on your daughters wedding. One of our daughters got married last June and boy did it seriously hurt the working pace of our cabin and the pocket book! LOL!
|
|
steveqvs
Member
|
# Posted: 19 Jun 2012 15:43
Reply
Thanks Trollbridge. Yes money, its always about money isn't it! Its good though to see her start this phase of her life... i just need to plan more and spend less for awhile.
|
|
TheCabinCalls
Member
|
# Posted: 20 Jun 2012 18:21
Reply
Went today and put last of light fixtures up and kitchen supply and drain lines. Also capped a lift station and hauled away left over wood.
I will cap the fireplace and hopefully get it inspected Friday.
Not sure what we are missing...hopefully we got it covered. With inspectors you just never know.
|
|
| . 1 . 2 . >> |

